I picked up a Star Trek the Next Generation (STTNG) in February. It was in very good shape for a routed machine, but it definitely lived up to its reputation of needing a lot of attention to get it running 100%.
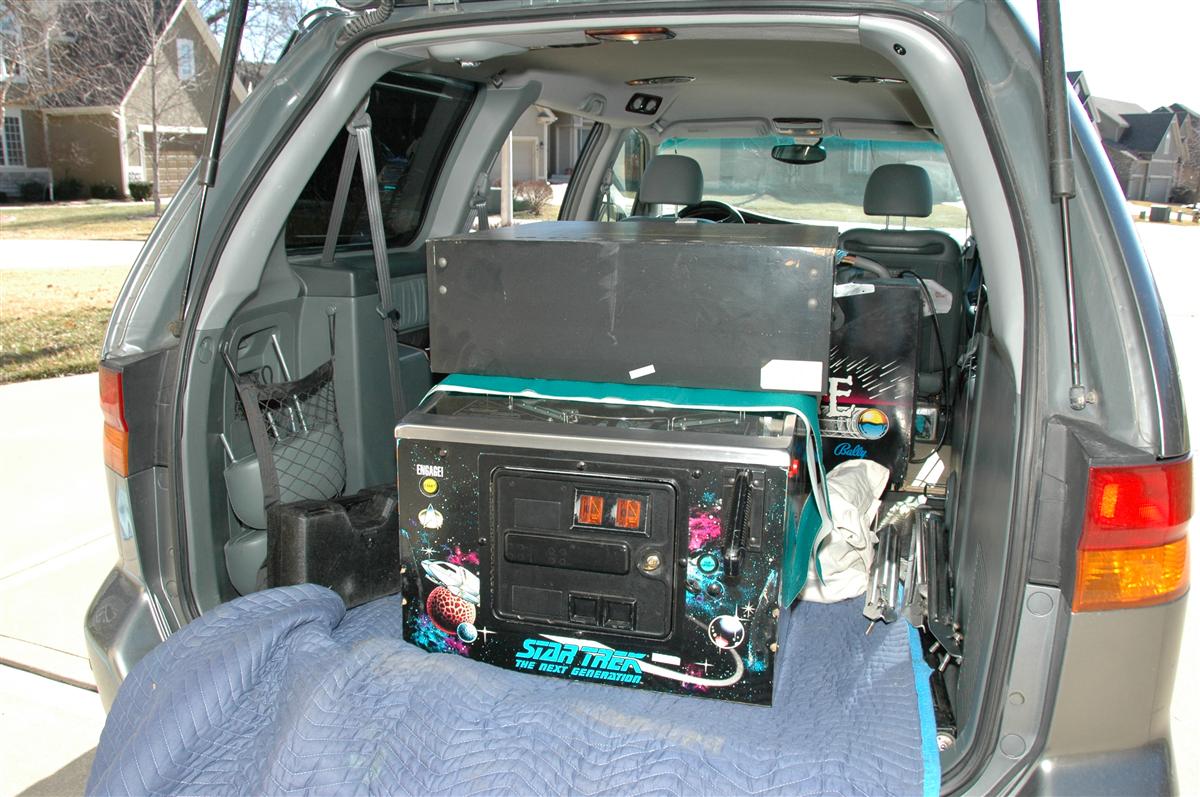
Other than rebuilding the flippers, I haven’t done a complete “shop” job on this game as it was pretty clean to begin with. It is next in my queue to be torn down. I have purchased all new ramps (subway included) but they won’t be installed until I do the teardown. About the only other cosmetic change I’ve made at his point is new cannon covers. The point of this post is to detail some of the work I had to do to get the game going 100%. I’ll try to add some more photos of the areas I mention.
The first thing that was noticeably wrong was that the right lower flipper would stay in the up position. It was somewhat intermittent, but the game was basically unplayable because of it. The fix was pretty simple. The plastic opto interrupter inside the cabinet was “sprung” and would not return to position reliably, therefore the opto beam was not getting entirely blocked when the flipper button was released and the flipper was staying up. After replacing the interrupter, the flipper worked fine.
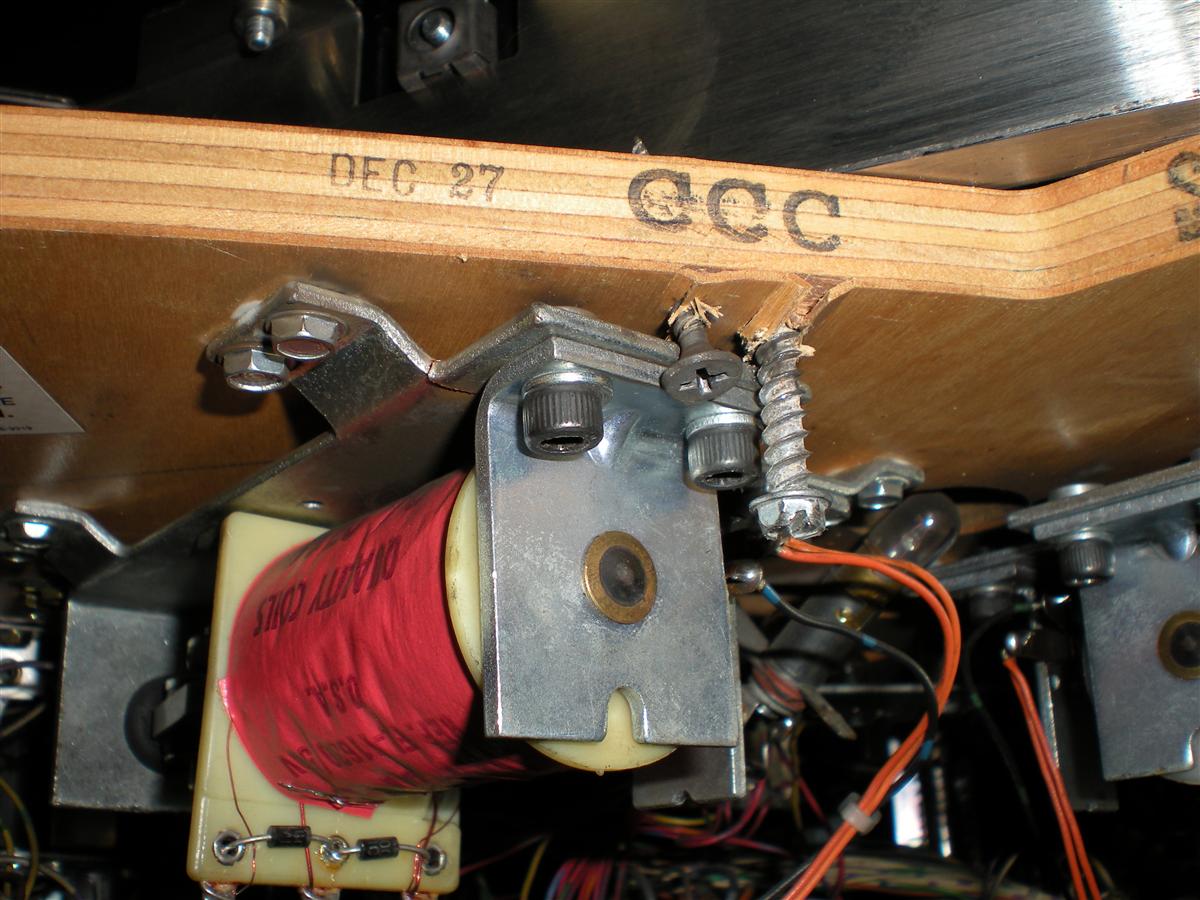
Next I noticed a nice little hack to keep the game running.
The mounting bracket was broken at the coil stop and the stop was held in place with a couple of wood screws. I keep brackets on hand so I replaced it when doing a flipper rebuild.
Next I noticed that the actuator for the stand up target at the back of the game was broken. It had actually been repaired in the past and had broken again. I found the part in the cabinet and later realized what it went to. I didn’t have this part on hand and I had to order a replacement from Bay Area Amusements.
The general illumination for the lower portion of the playfield was flaky and would go out a few minutes after the game was turned on. It ended up being a cold solder joint at one of the resistors on the power driver board for this circuit. Continuity was fine for all the traces, but evidently when the board heated up, the joint would get hot and develop enough resistance that the string would not light up. I cleaned up the solder joint and the lights work fine.
The backbox lamps were completely out. Connector J120 needed to be replaced and the header on the power driver board needed to be replaced. At some time in the past Fuse 109 and 110 had fried and burned up the holders and damaged the PCB. The holders were sloppily replaced. I had to do some not so pretty repairs on this section of the board using jumper wires to get it reliably fixed. It doesn’t look great, but sometimes running jumpers is the only choice you have.
Next, balls were getting hung up in the trough. I had to remove the trough and file the divots that were keeping the balls from rolling down to the eject coil.
Some of the lamps for the shields and a couple of the insert lamps were intermittent due to cold solder joints at the bulb holders. I had to remove the PCB and clean up and resolder the connections.
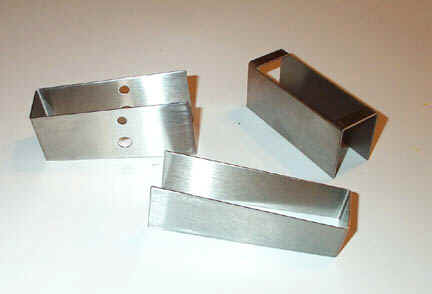
The subway ramp was cracked at the Start Mission scoop. I repaired it with super glue and ordered subway ramp protectors from Mantis Amusements. I’ll transfer them over to the new subway ramp when I get it installed.
I also had to remount the bushing for the lower diverter on the subway as it had broken loose.
All the welds of the Start Mission scoop were broken and it basically fell apart when I removed it. I took the scoop to a local welding shop and they did a great job of putting it back together. I don’t think it will be breaking again.
One of the rods for a pop bumper ring was broken. Easy fix.
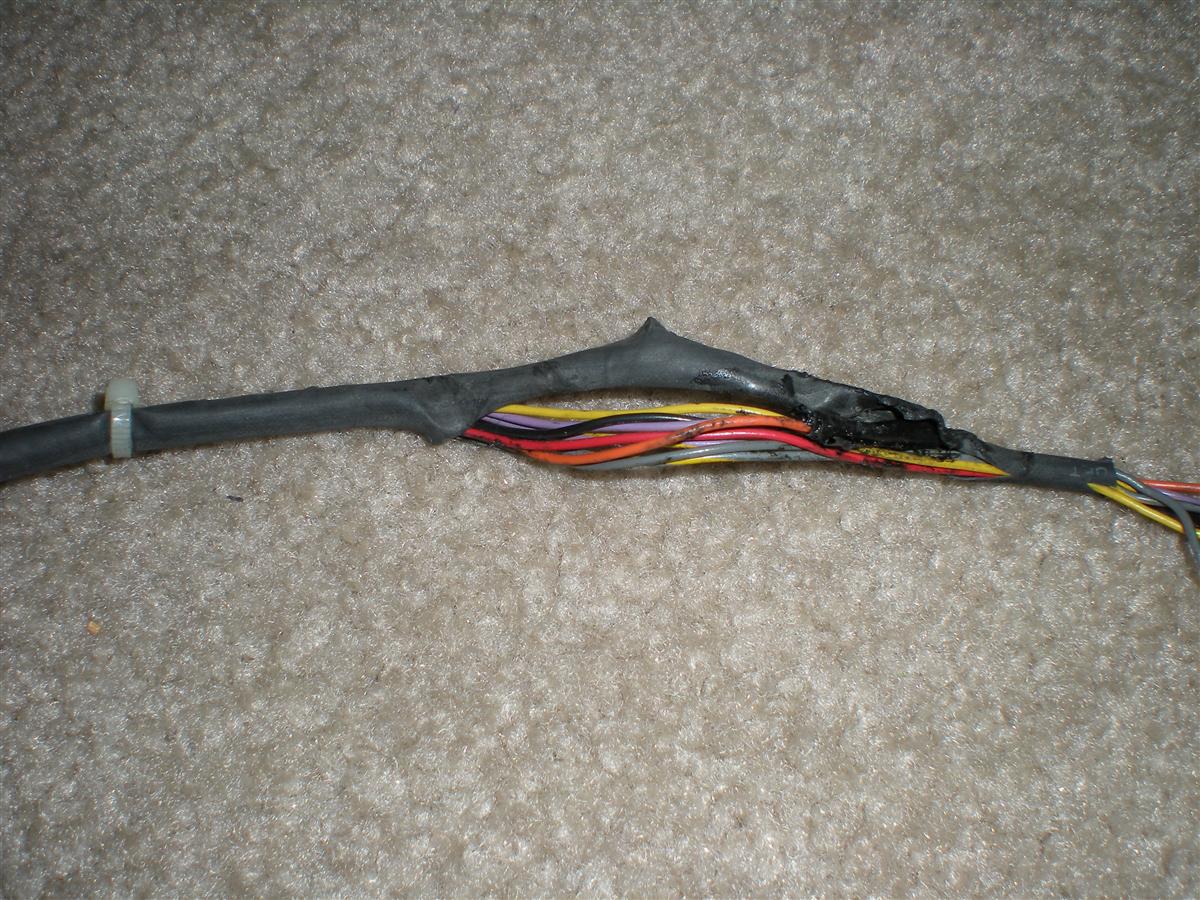
I noticed that the harness for the left cannon was frayed and wrapped with electrical tape.
It also had a jumper wire run for the coil. Obviously this was the wire that broke when the harness frayed. I made new harnesses for both cannons and installed them.
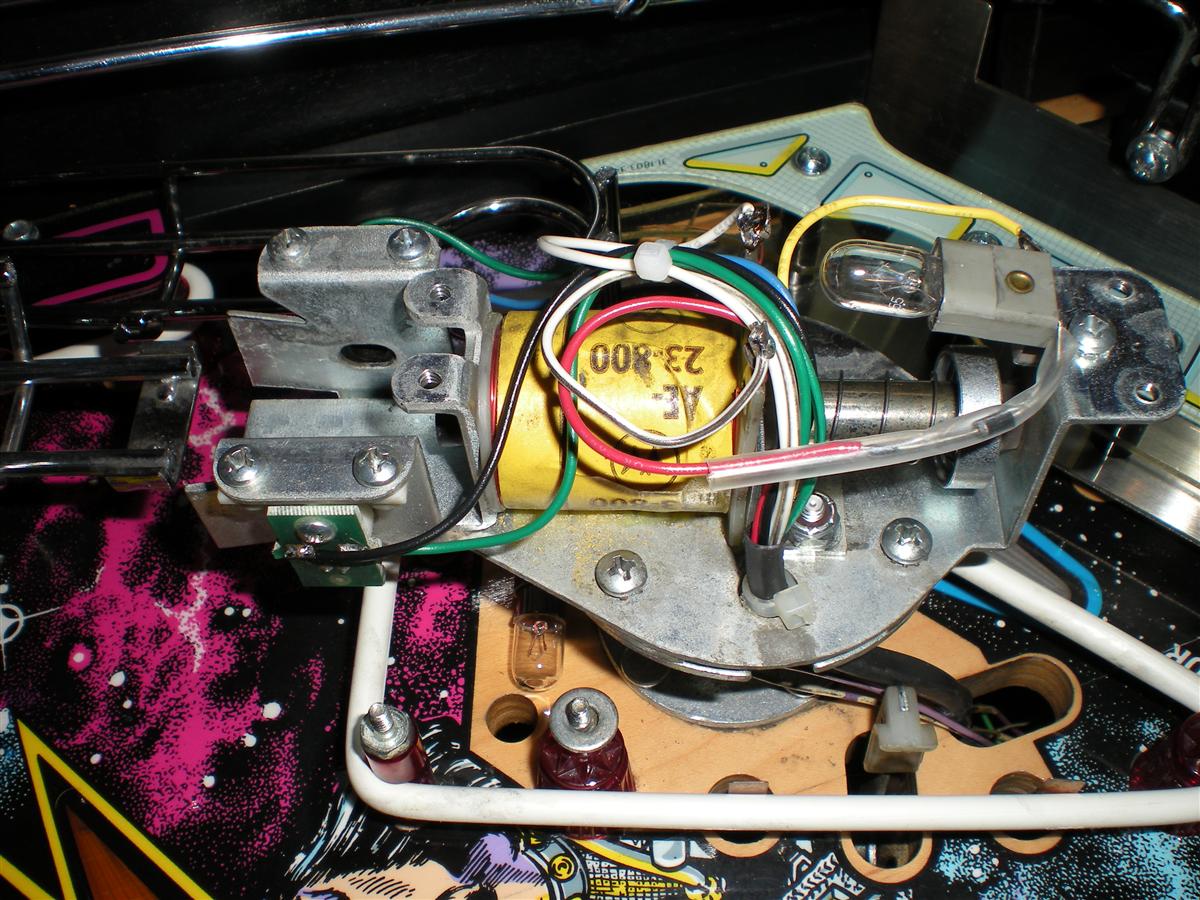
The left popper was not reliably kicking out balls, especially when balls were locked for multiball. I had to do a bit of fiddling with the popper and its coil to get everything aligned so that the balls would eject properly. I also had a problem where balls were not reliably rolling from the subway into the popper. I had to do some tweaking to the subway and its mounting brackets to get the balls to roll into the popper without hanging up.
Now for the most frustrating fix on the game. The machine would often lose track of balls. It was usually during multiball and hard to track down. Part of the problem was balls not reliably rolling into the left popper as I described above, but that wasn’t all. I finally narrowed it down to one of the opto sensors for the left popper. I removed the popper but left the wiring connected so I could test the opto sensors in the game’s diagnostics. I would get phantom triggers of one of the optos, specifically when I was moving or rotating the assembly. This lead me to think there was a short somewhere in the wiring. I set up my meter to test continuity on the suspect opto and despite me moving and flexing the wires all over the place, it always had continuity. I removed the opto receiver during the troubleshooting and I finally noticed that it was randomly triggering from ambient light. So in the end it was the opto receiver that was bad. I replaced it and that took care of the problem.
So there you have it. Quite a bit to fix for a game that was advertised as totally working. And quite a few little hairpulling things that took a while to find and fix. I think in this case, the game lived up to its reputation for having lots of little things that can go wrong. I imagine trying to keep one running on a route could be rather frustrating at times.

