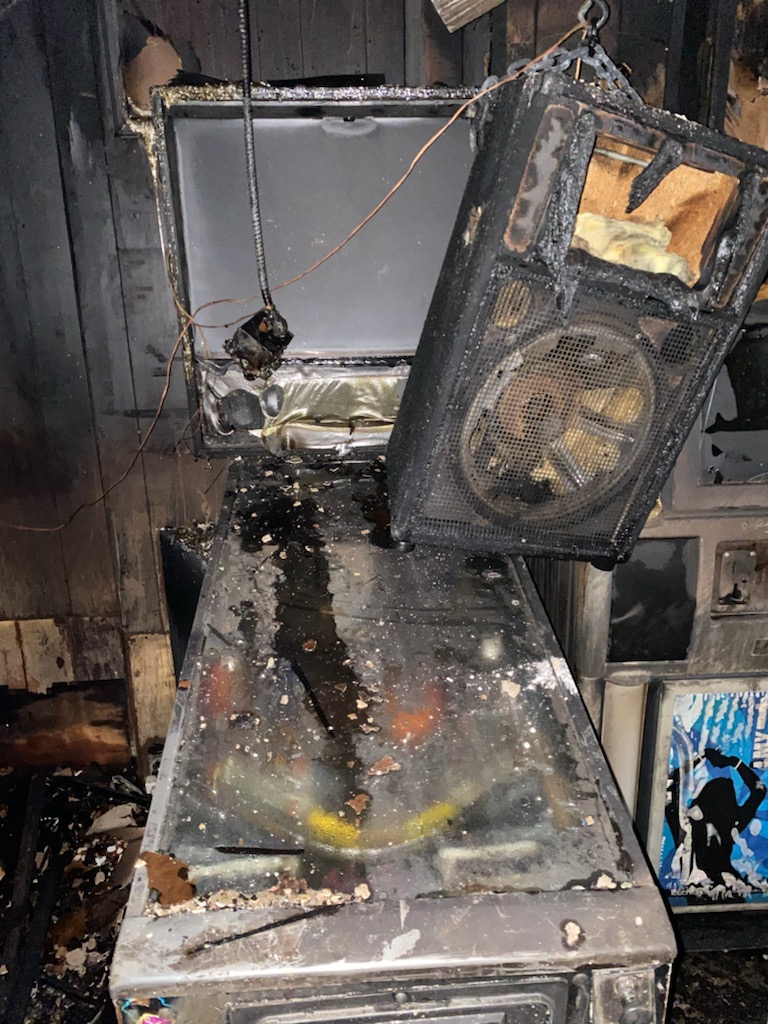
Starting in mid-July of 2021 and ending in April of 2022 I rebuilt and restored an Addams Family that was in a fire at Davey’s Uptown Rambler’s Club in March 2020. The TLDR is I ended up with one basically new Addams Family (TAF) and my original Addams Family.
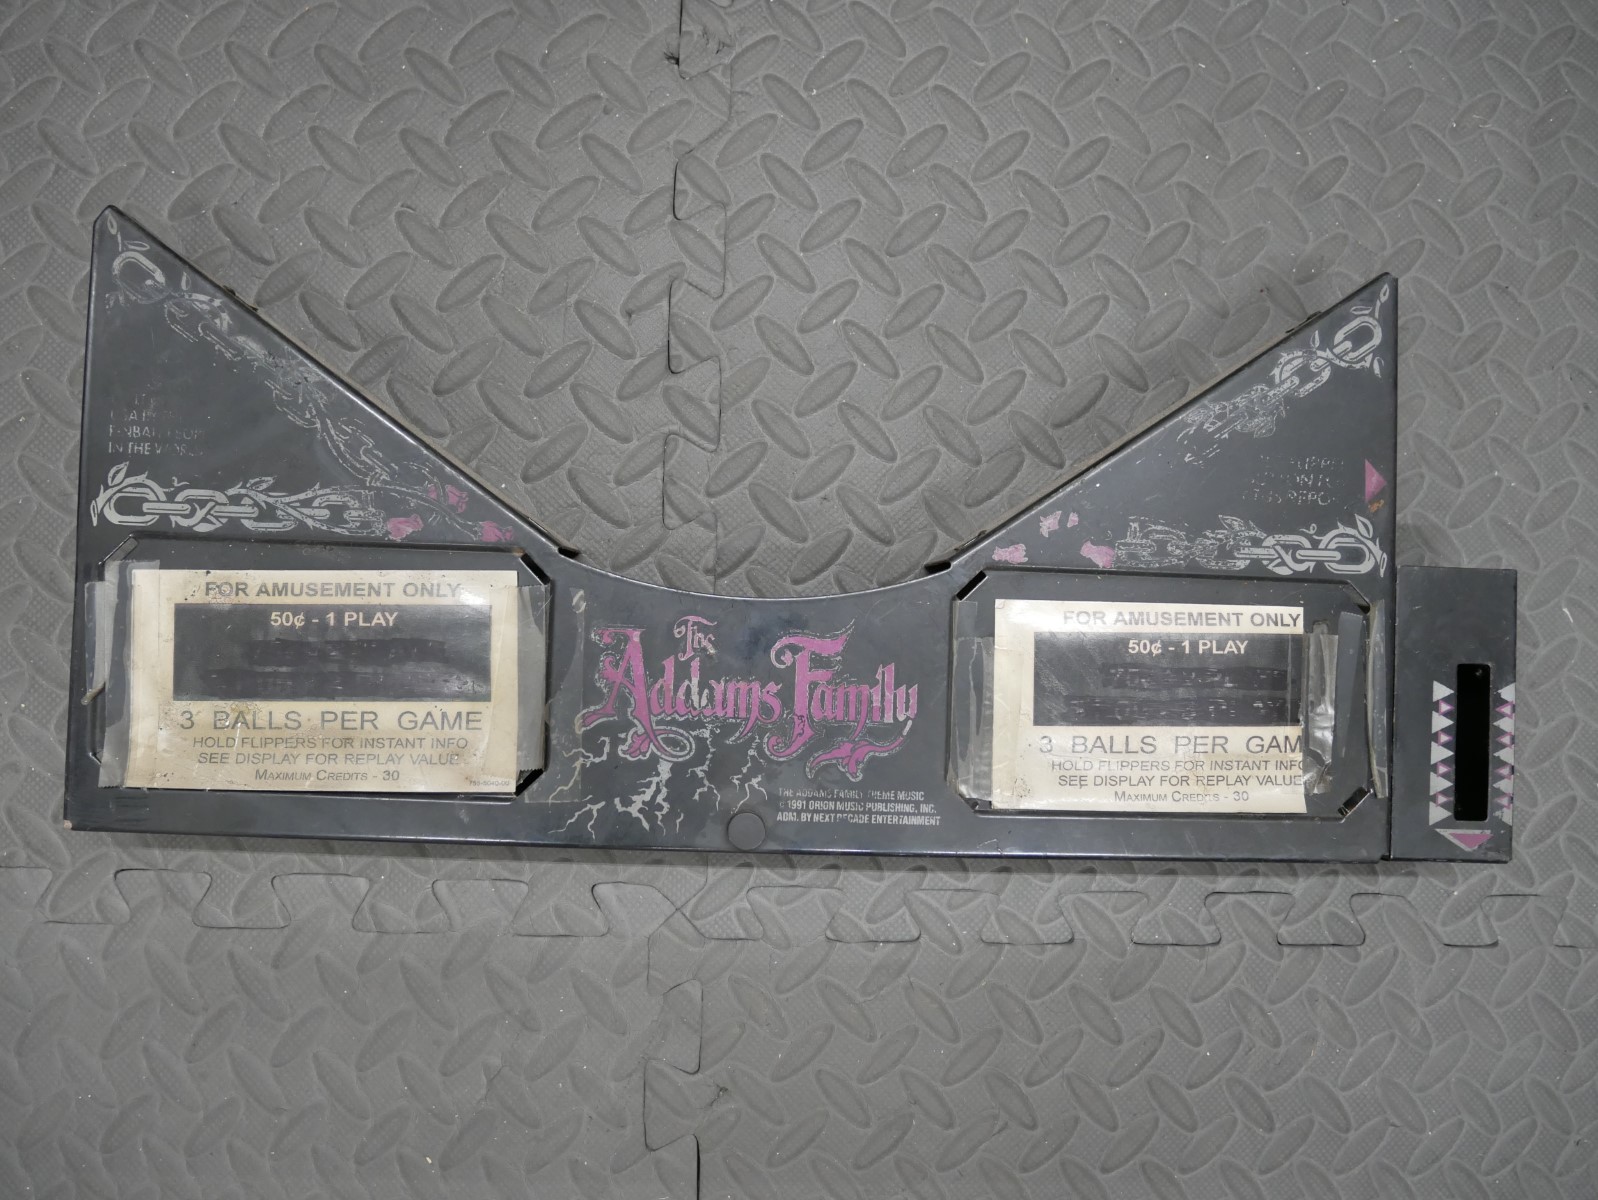
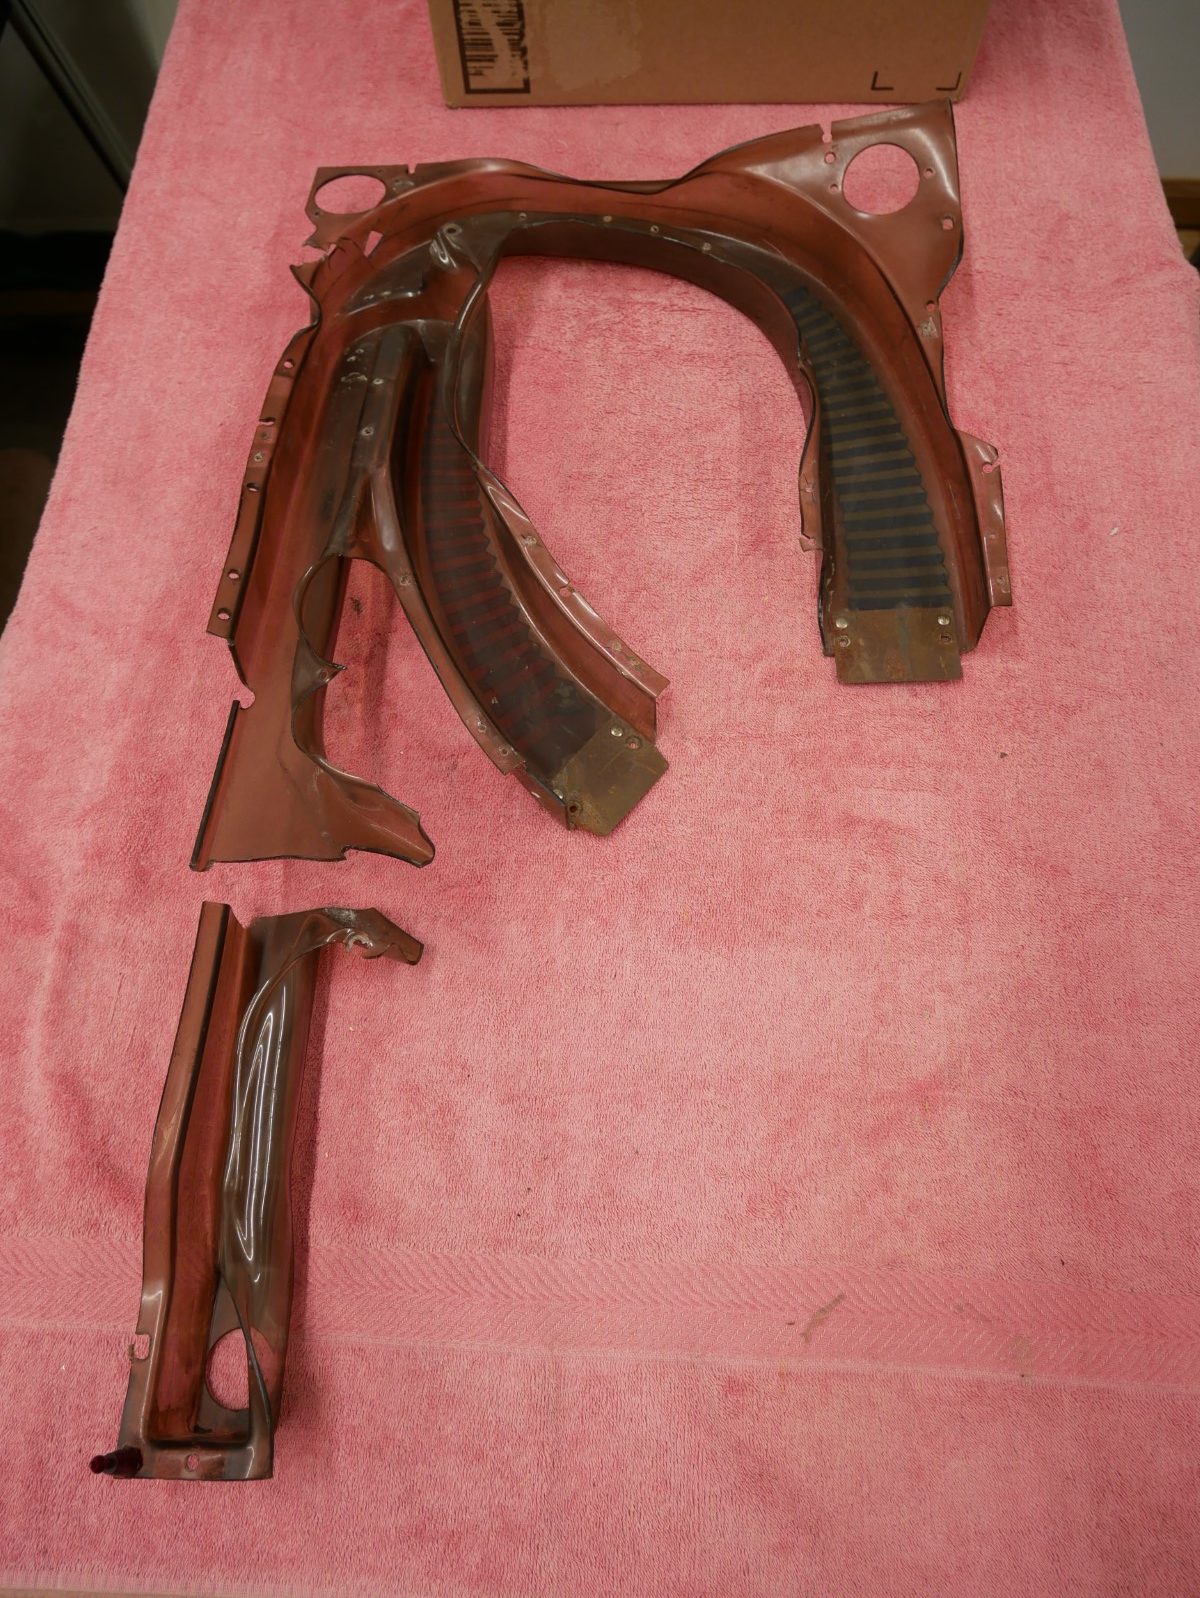
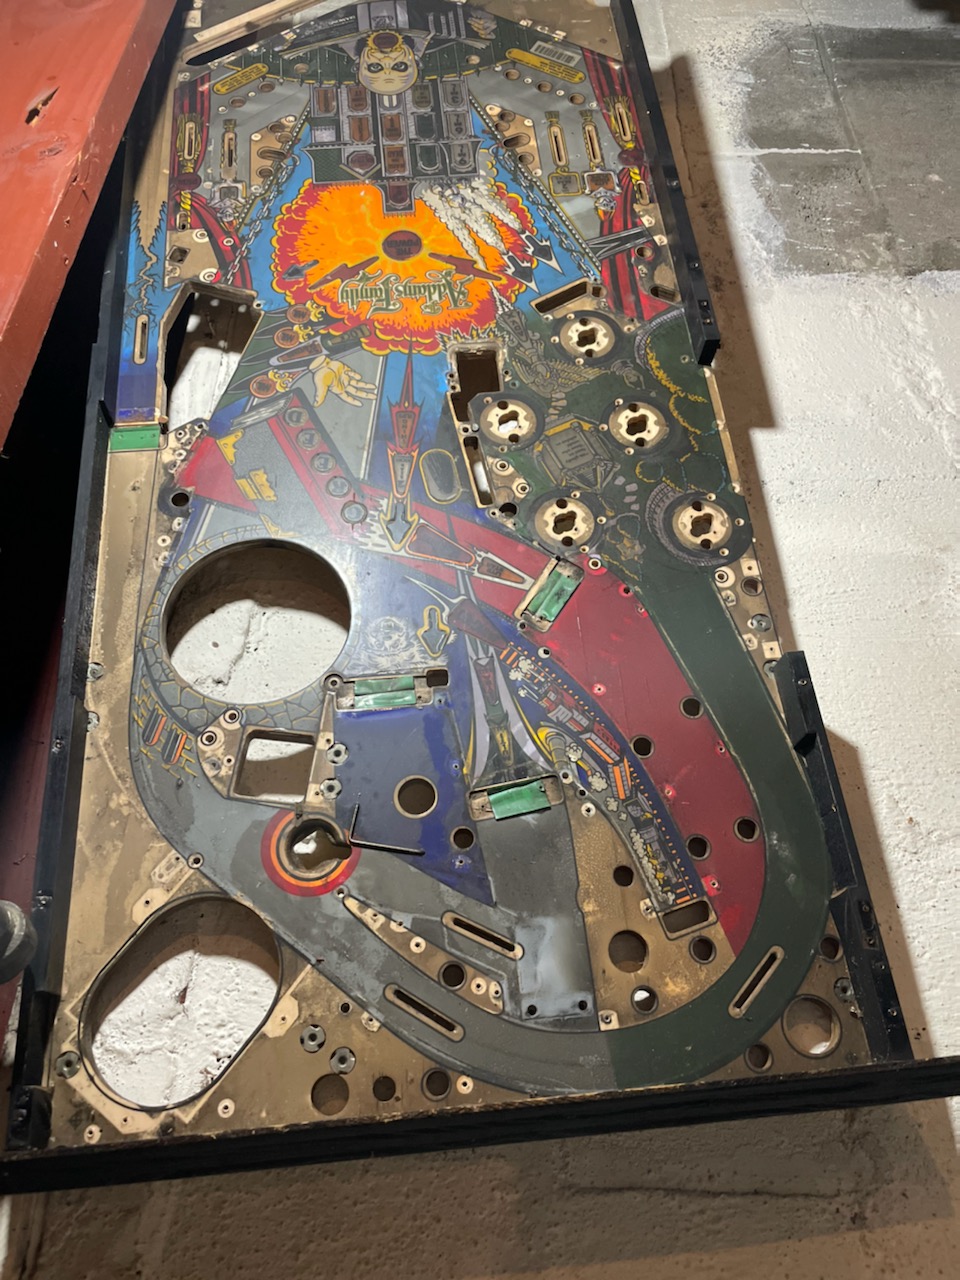
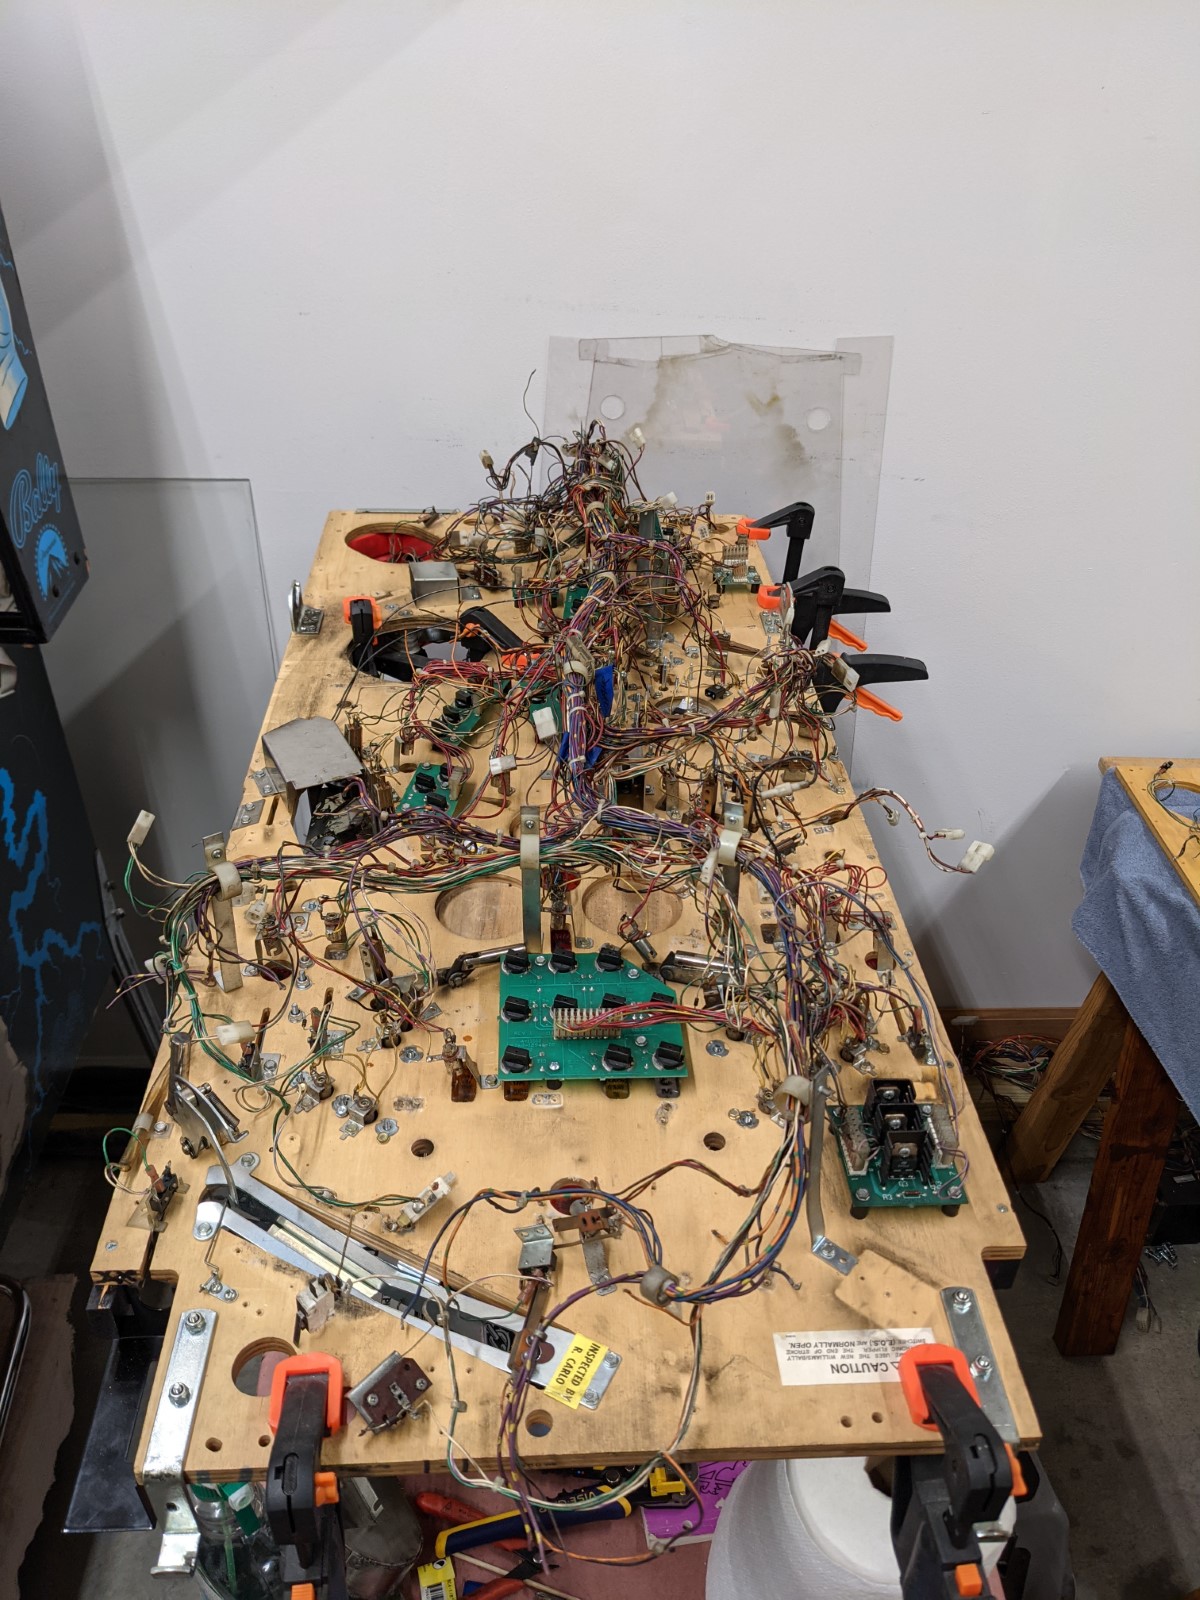
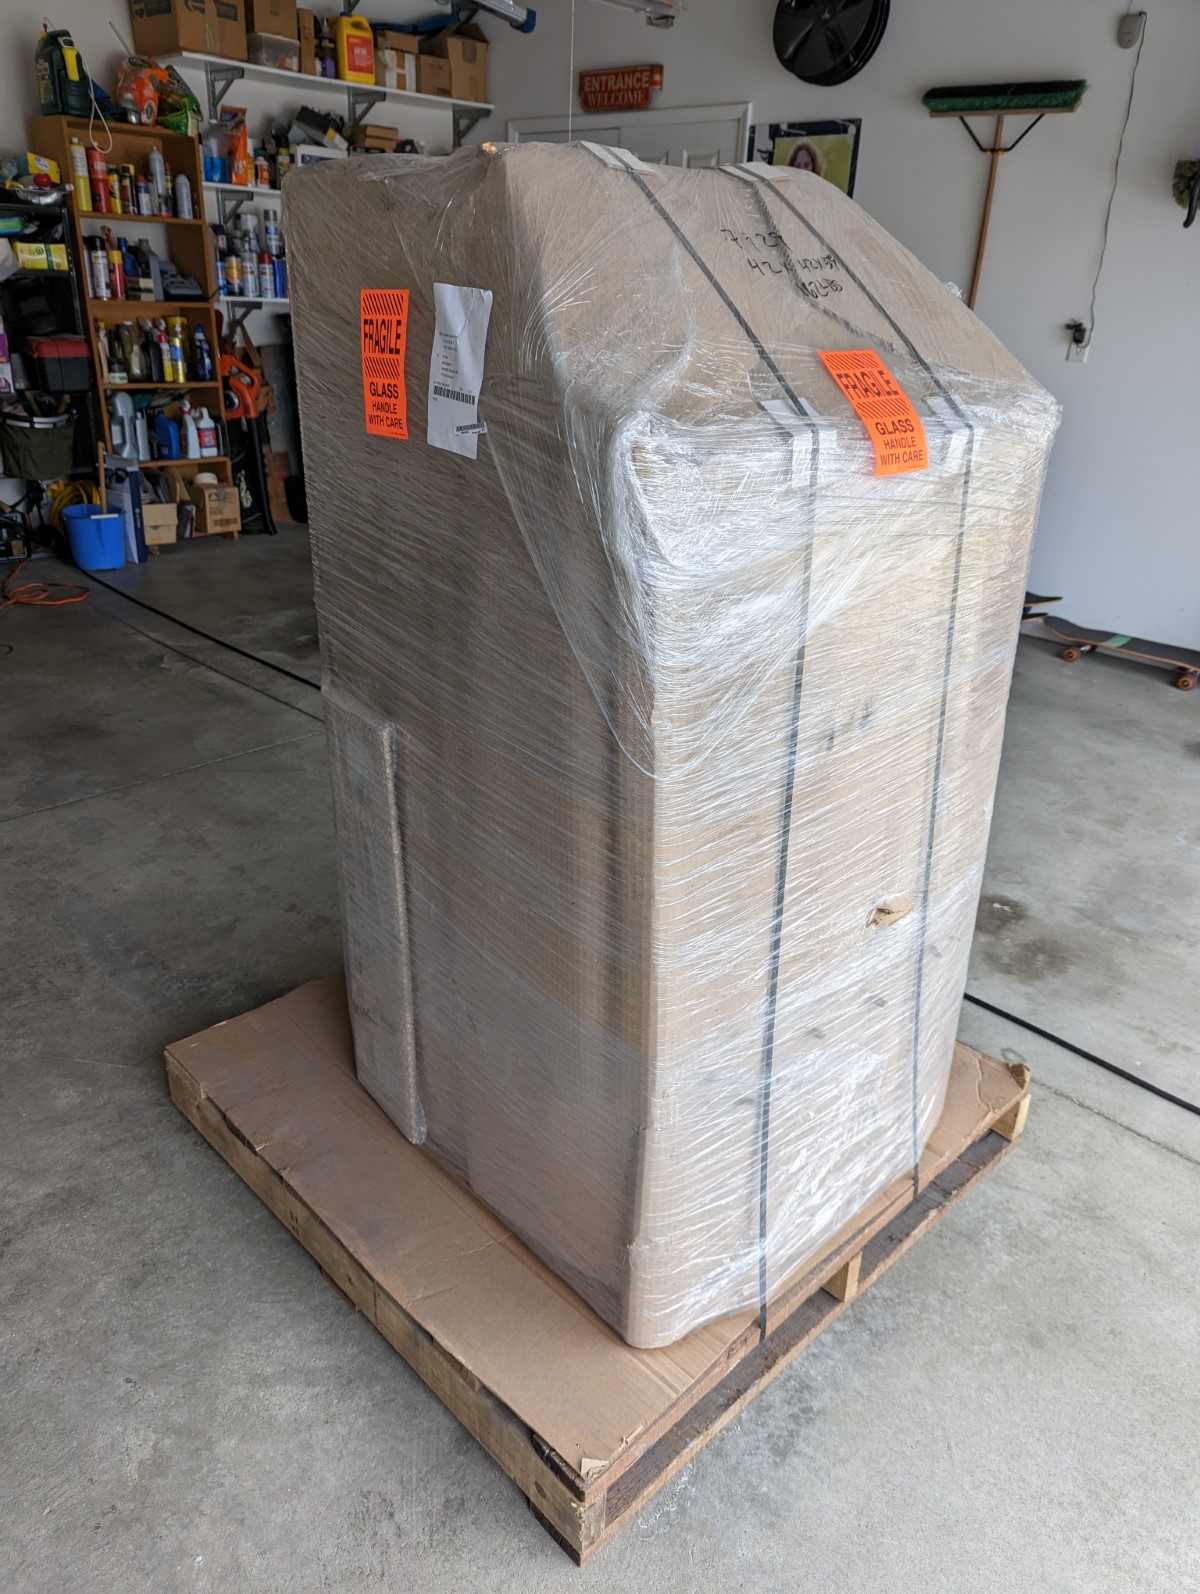
I purchased a box of parts from the owner of the game. What I got was the playfield parts ( both upper and lower), the circuit boards from the back box, and the under playfield wiring harness. However, the under playfield wiring harness had been cut in order to remove the playfield from the game. Understandable as the building was hot, stinky, and basically falling down as the parts were being removed from the game. Below is what I bought. I don’t have a picture of the cut wiring harness. Just imagine a balled up mess of smoke stained wires, switches, coils, etc.
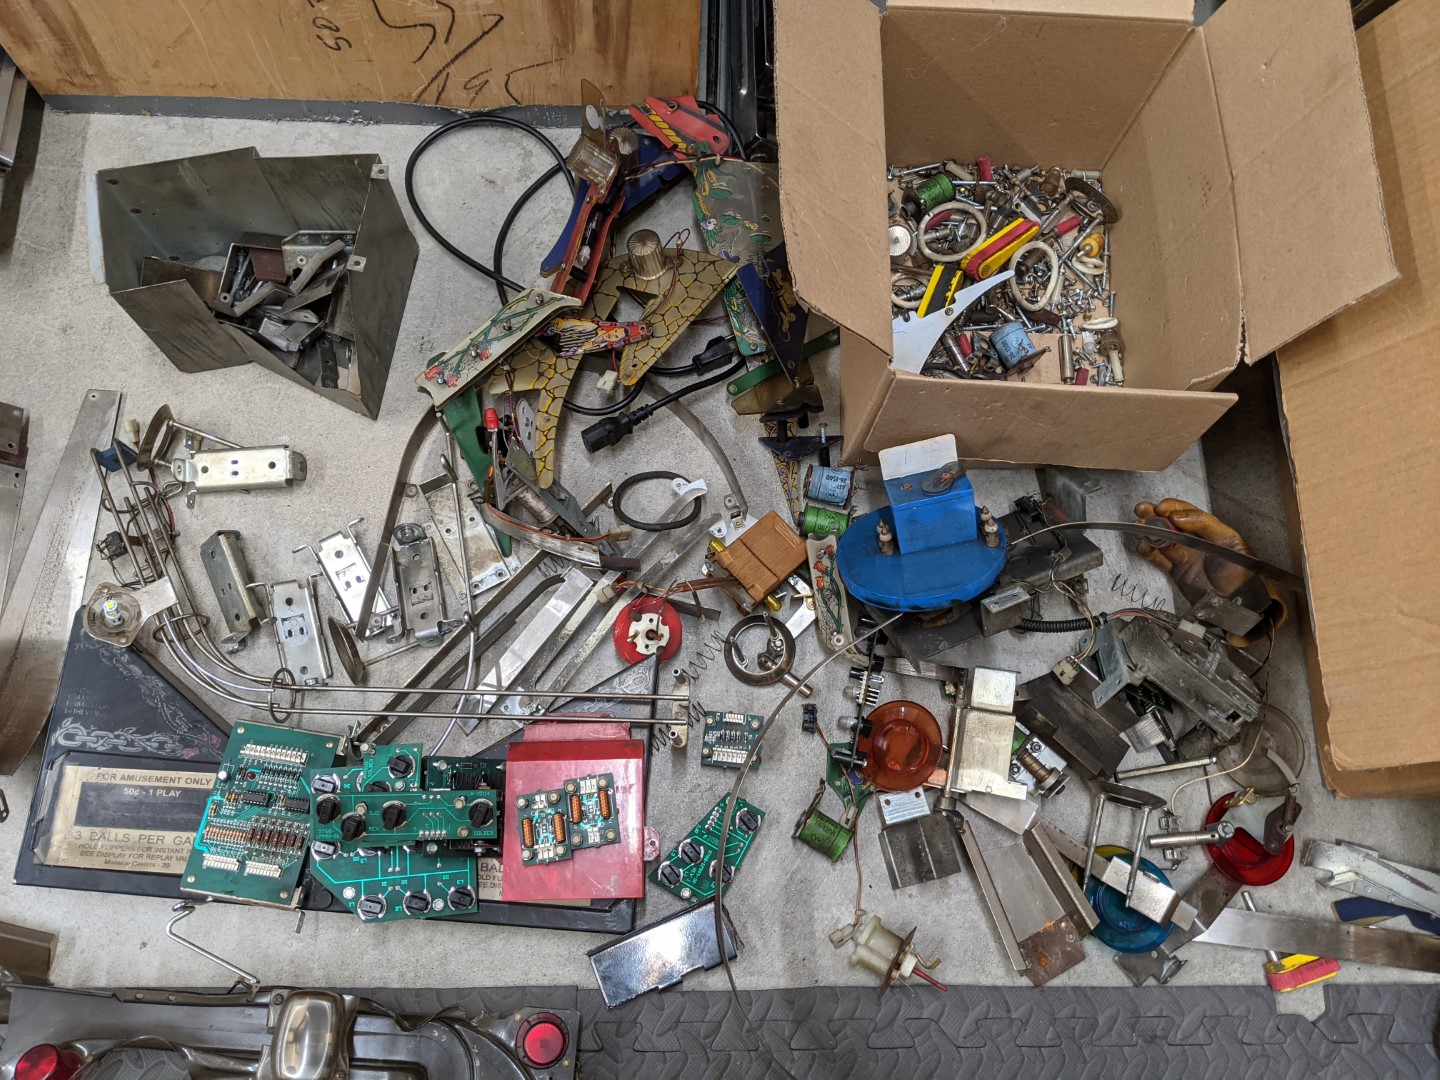
This meant I did not have a cabinet or any of the cabinet parts. But for the most part, this wasn’t a huge stumbling block as I did have the hard to find playfield parts such as the wireform, Thing and Bookcase assembly, all the metal lane guides, apron, and all other game specific parts.
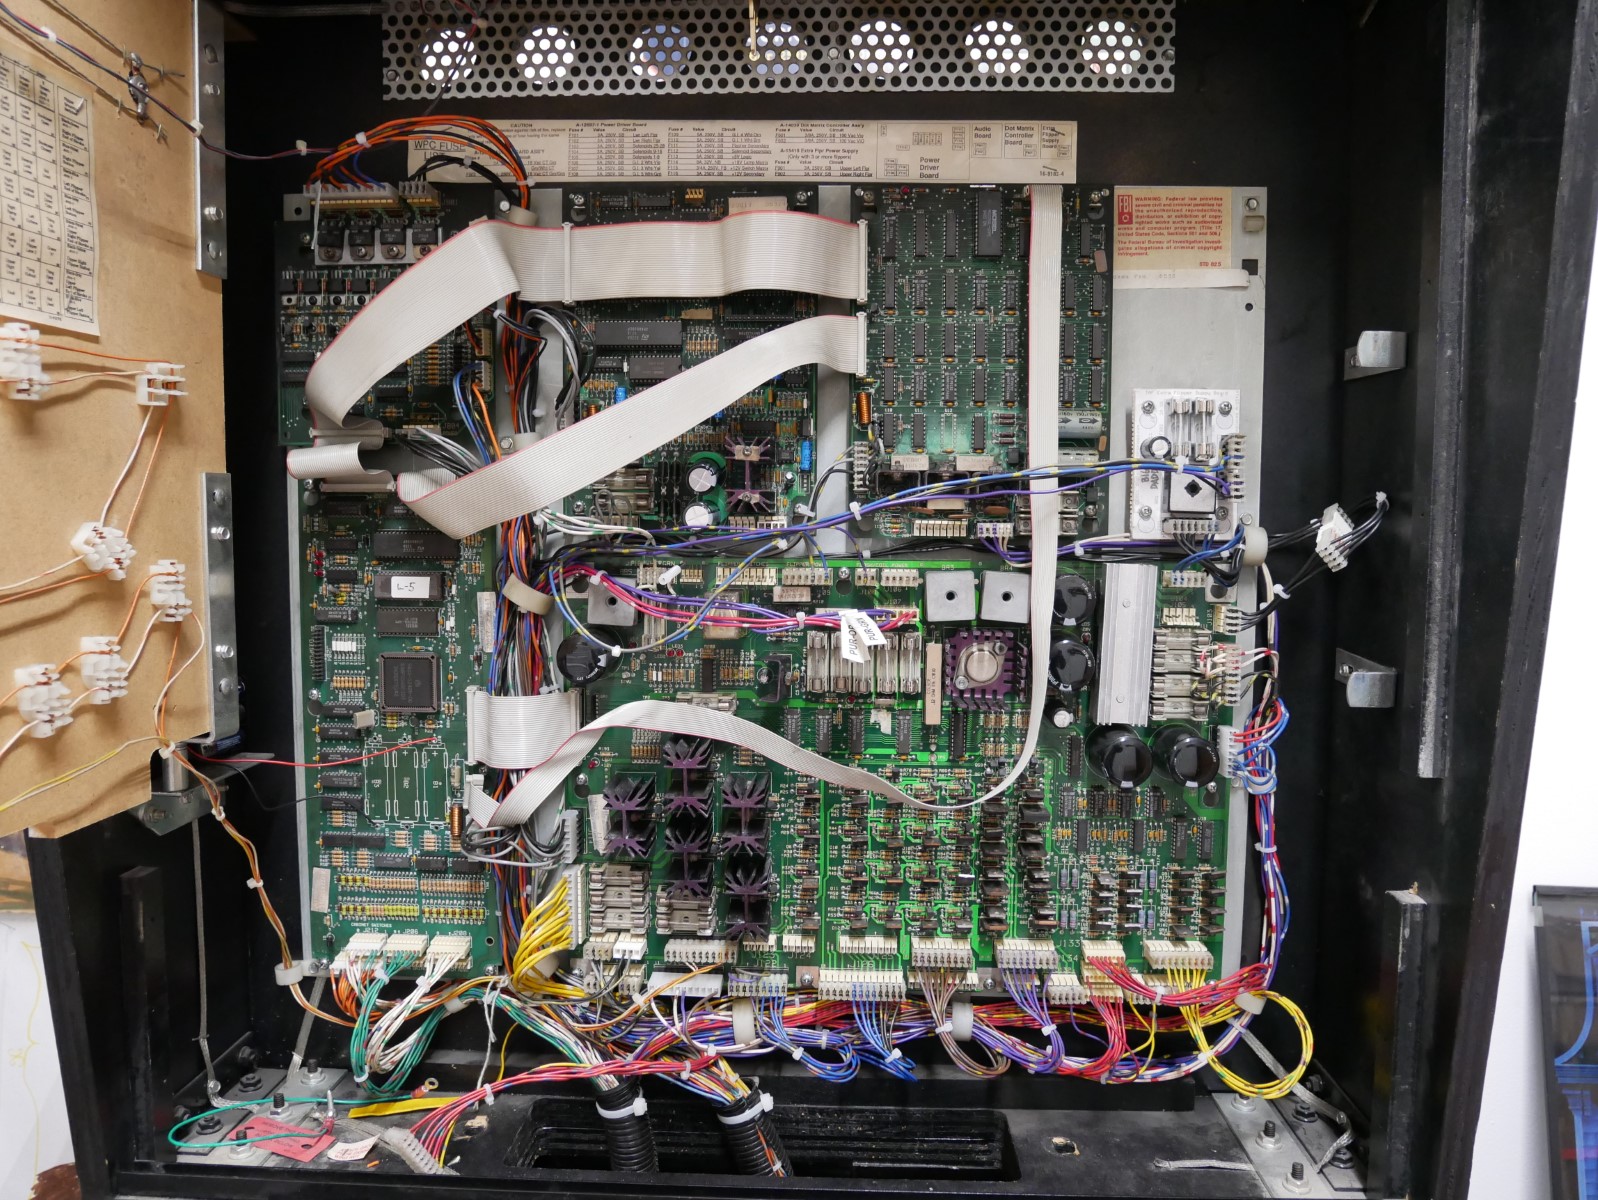
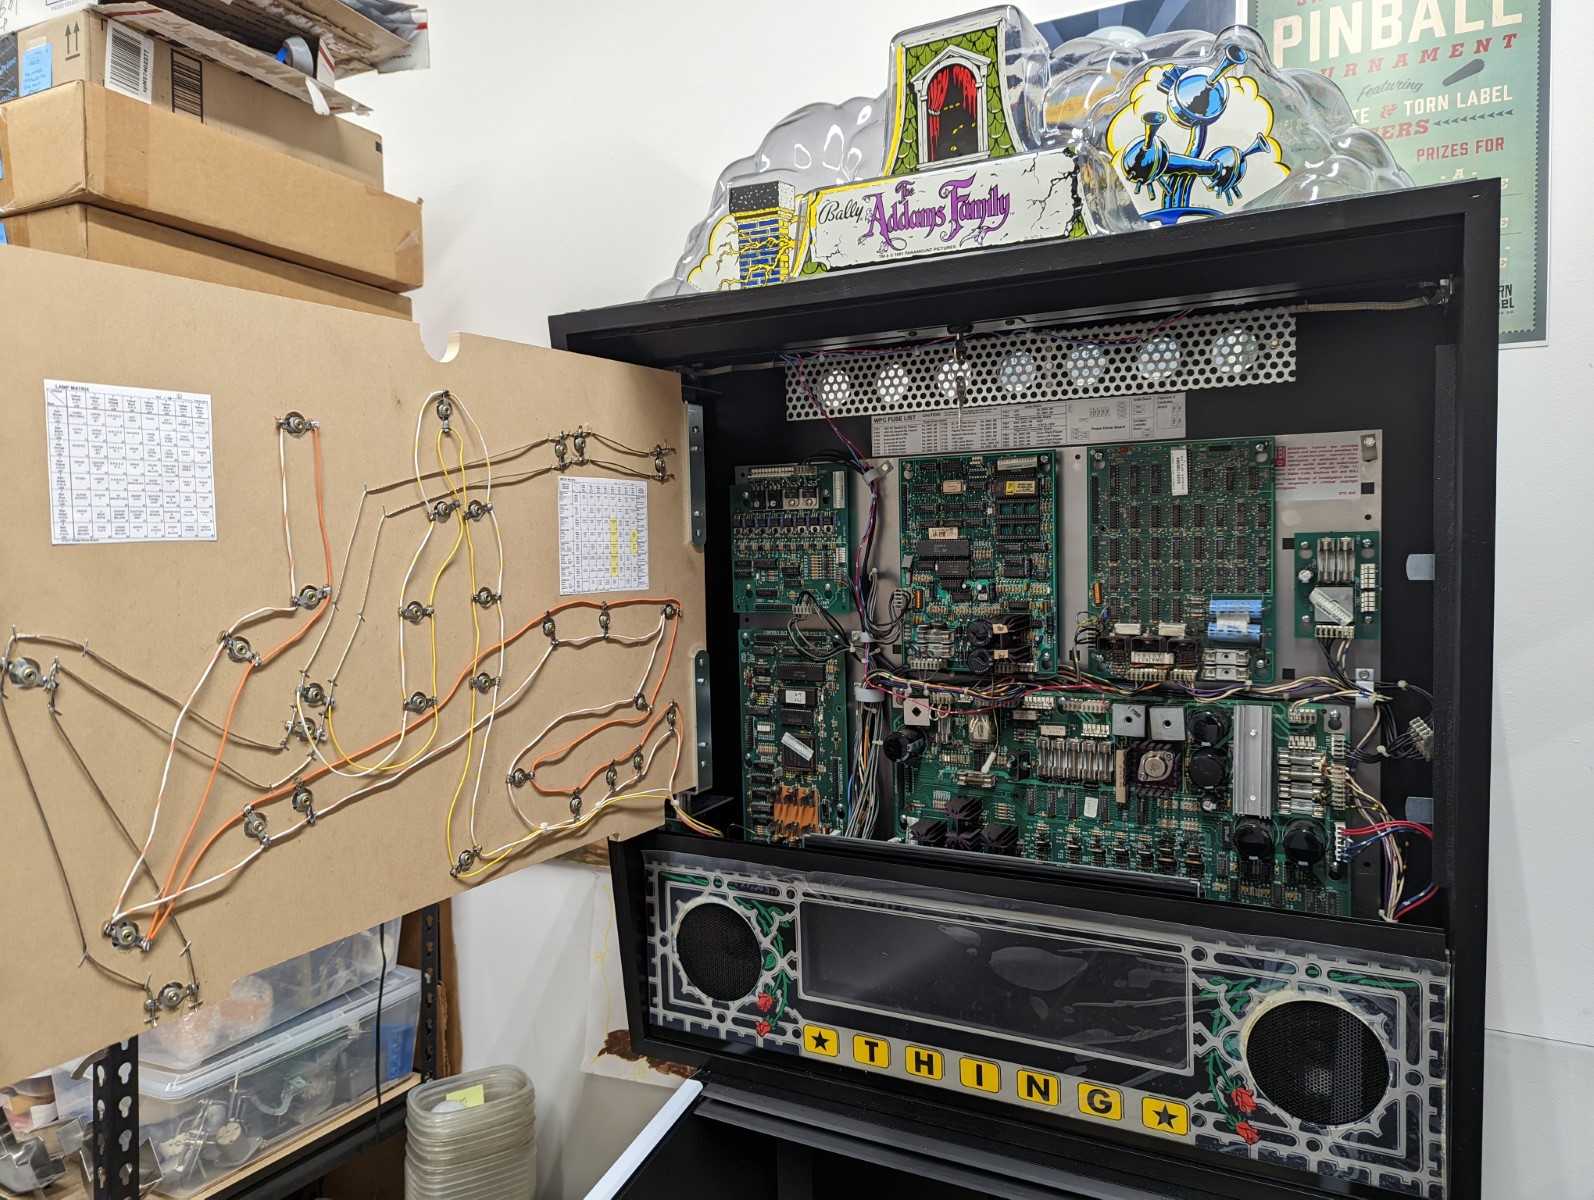
Below are the circuit boards that came with the purchase.
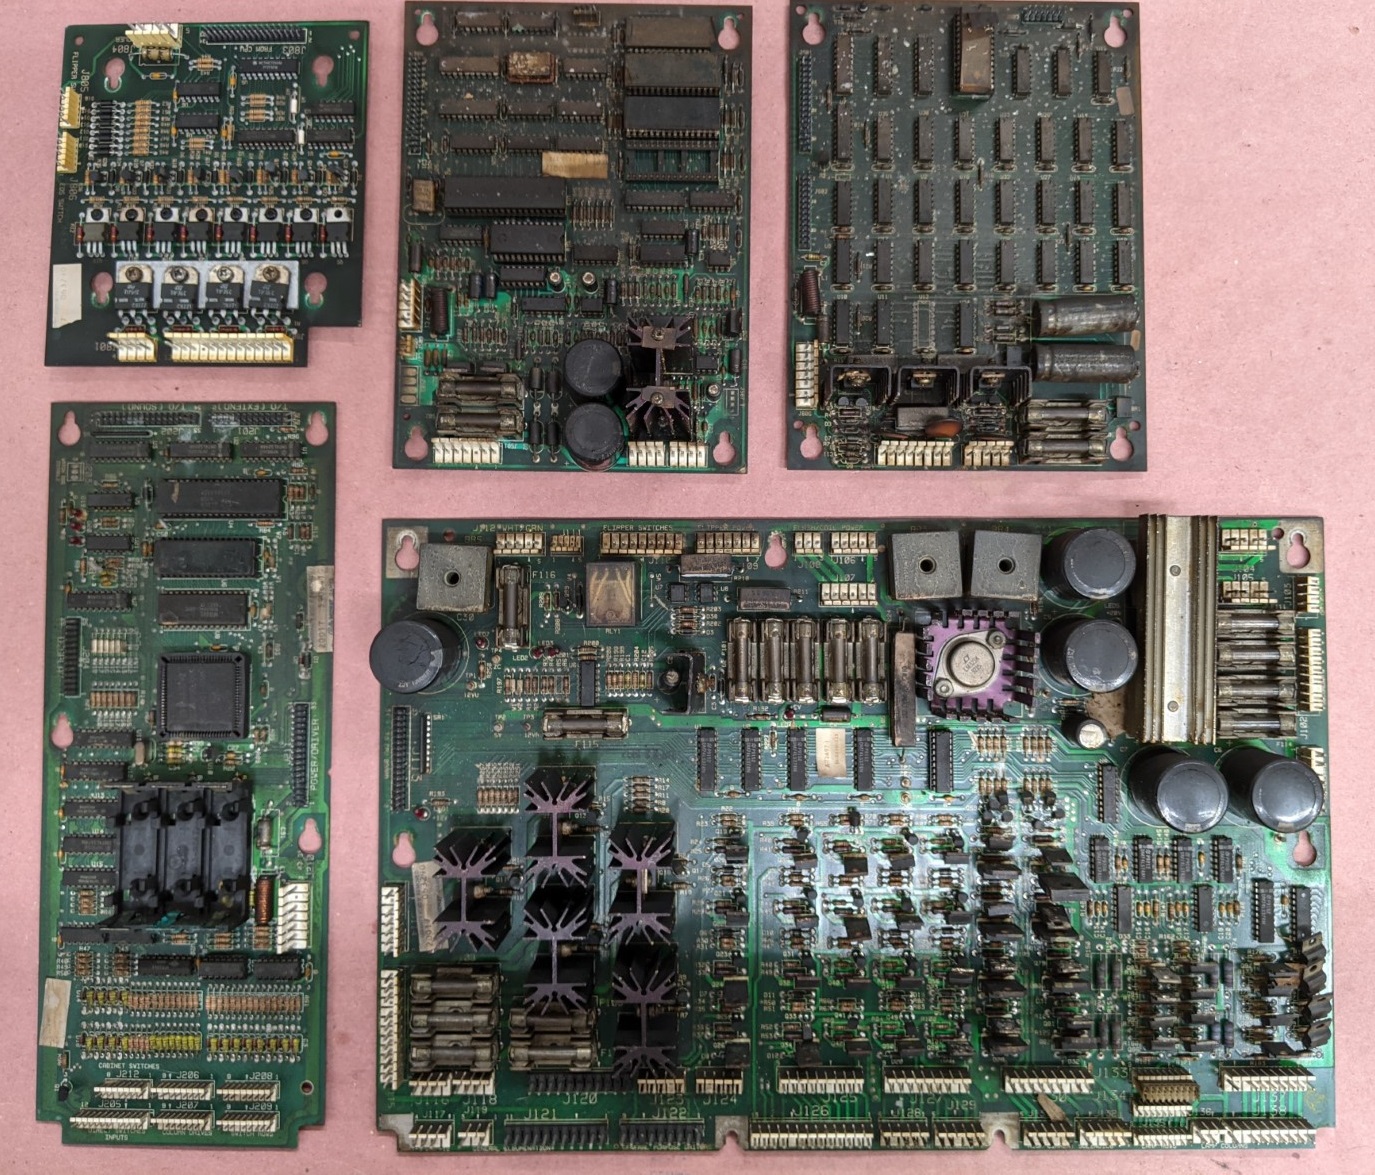
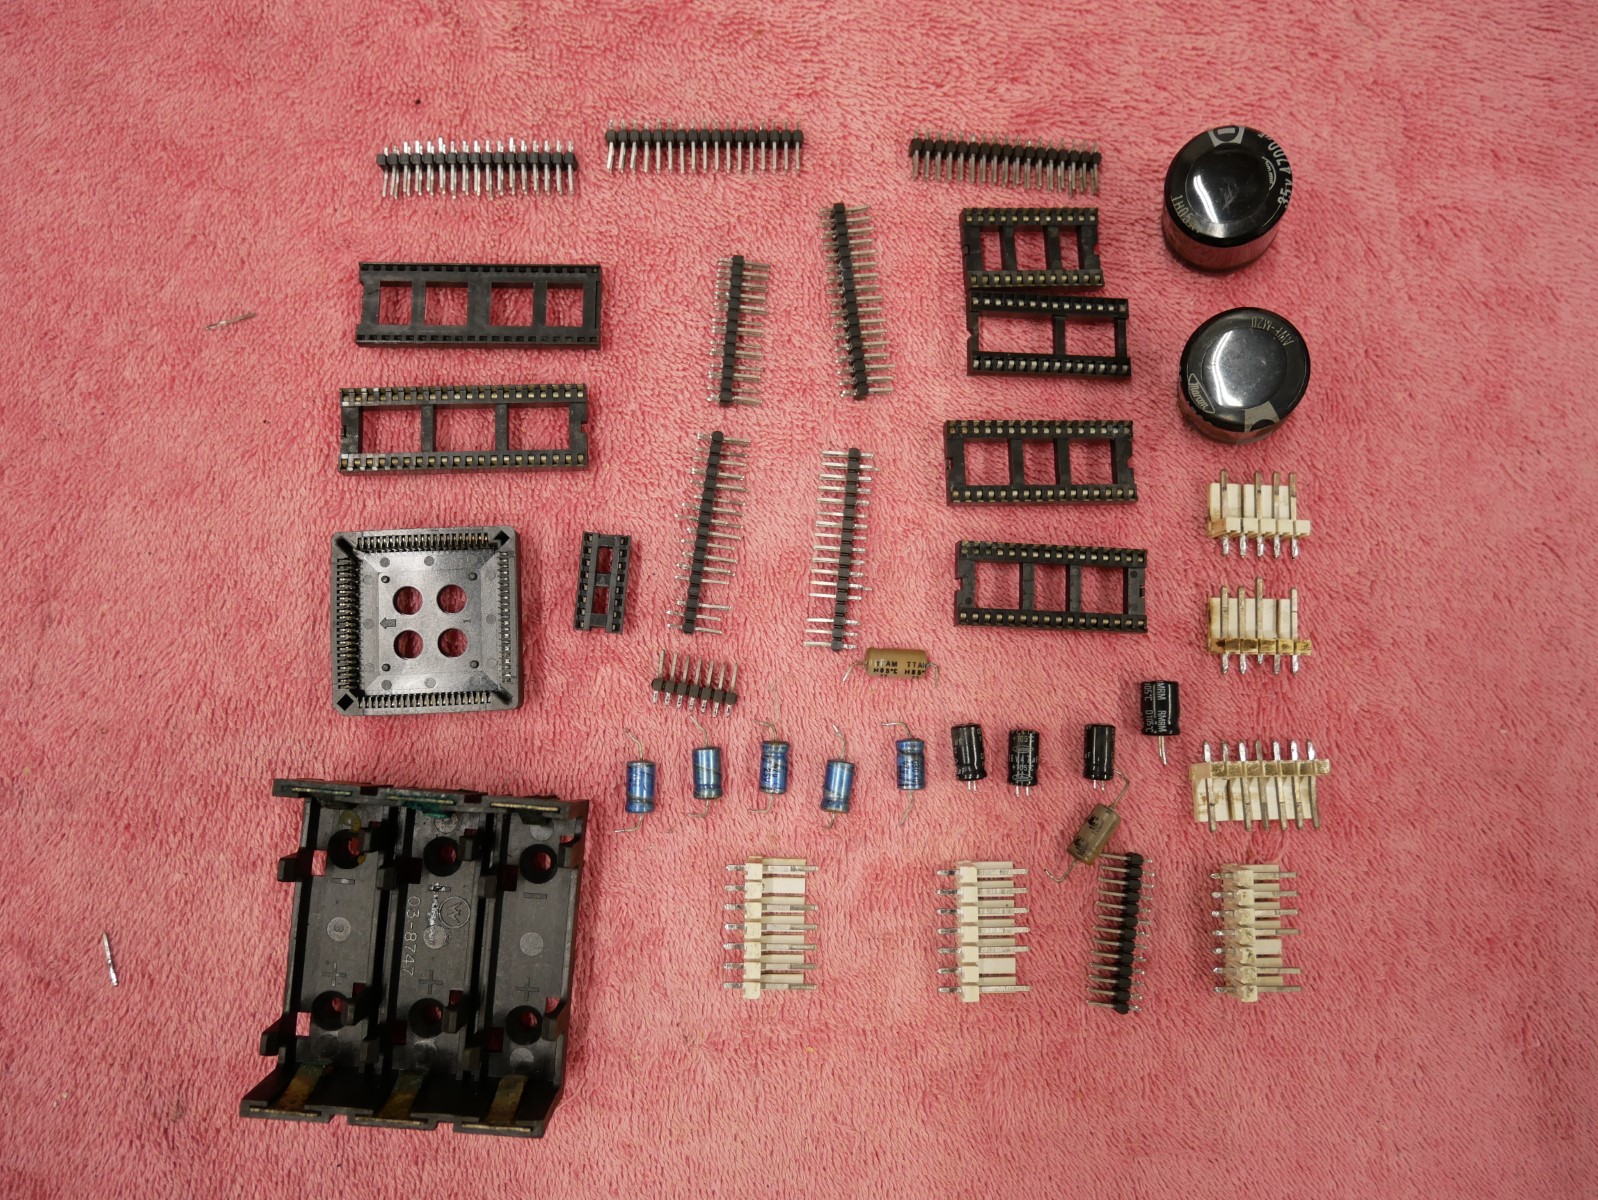
I had to do a lot of clean up work on the circuit boards both from a smoke/grime perspective and from an electronics perspective. All the dual .100 header pins for the data cables had to be replaced. I didn’t trust them to be reliable as they were stained and grungy. I replaced several small value capacitors that are usually bad and a couple of the larger ones that tested low capacitance. The power header pins and GI header pins were replaced. All sockets needed to be replaced as they were corroded and grungy. This included the ASIC socket. Below is all that was replaced.
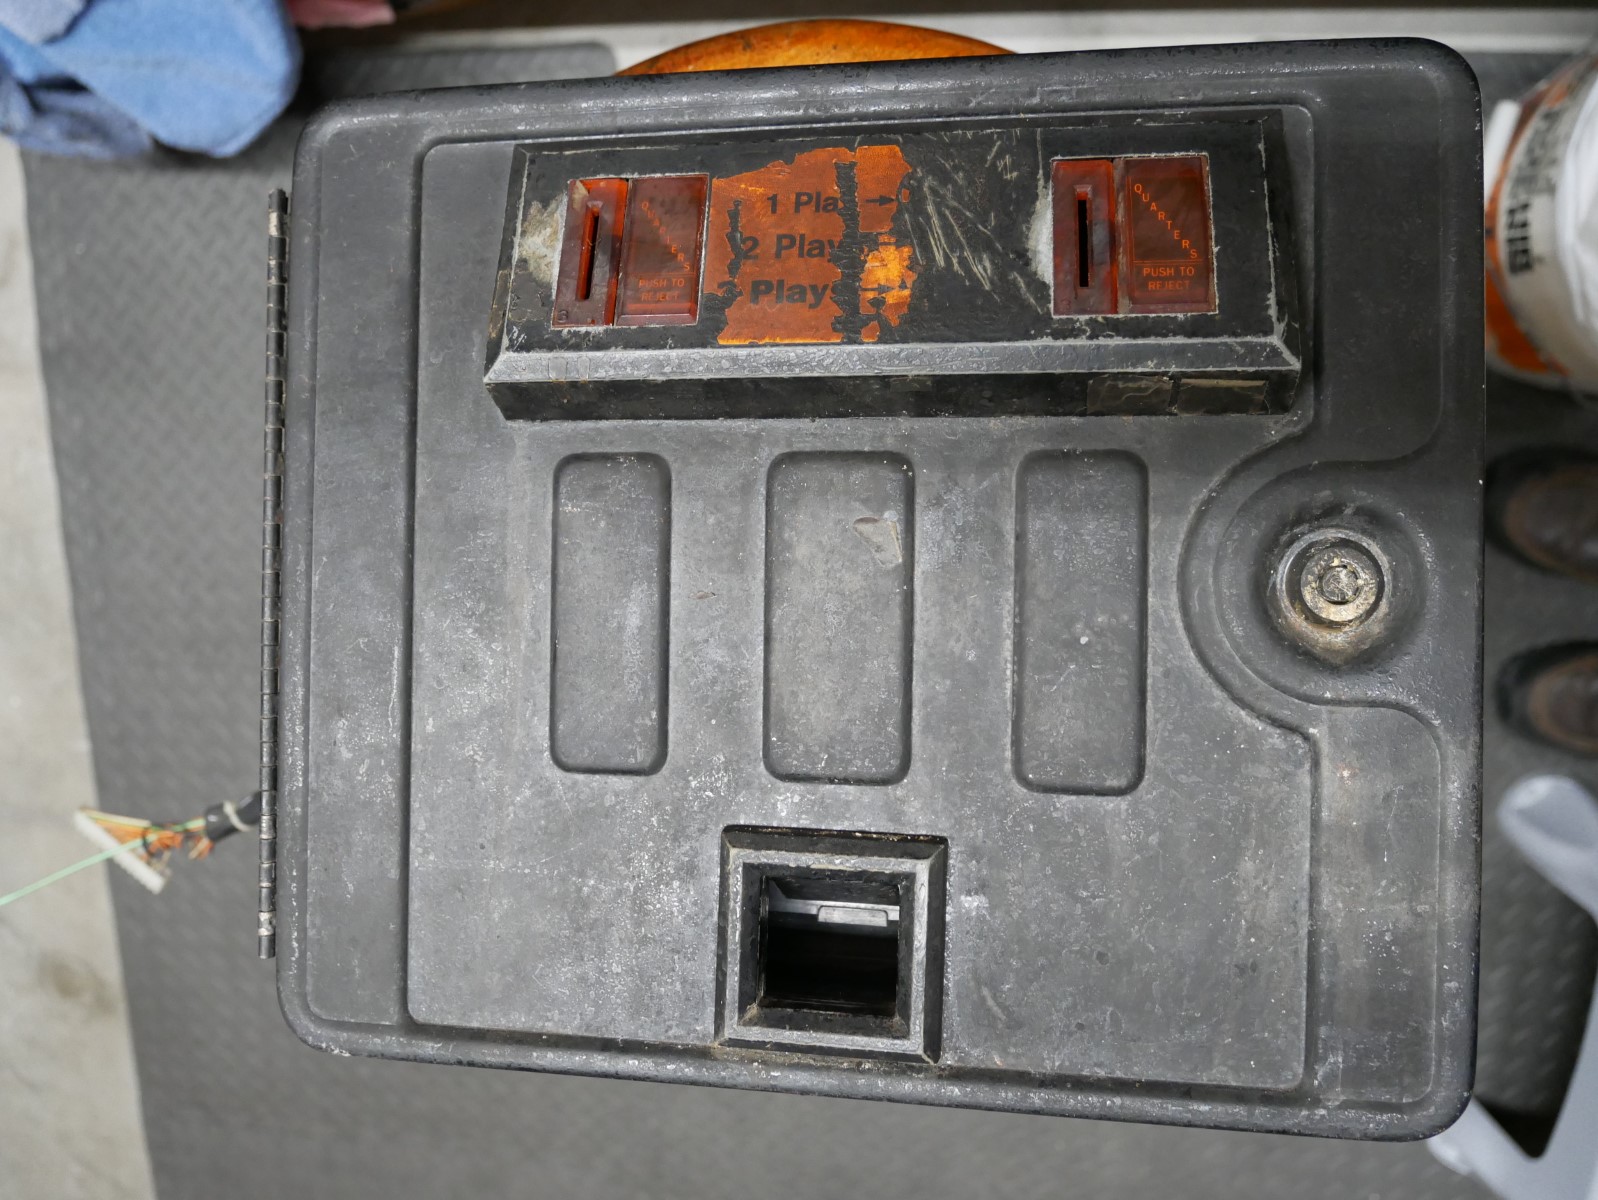
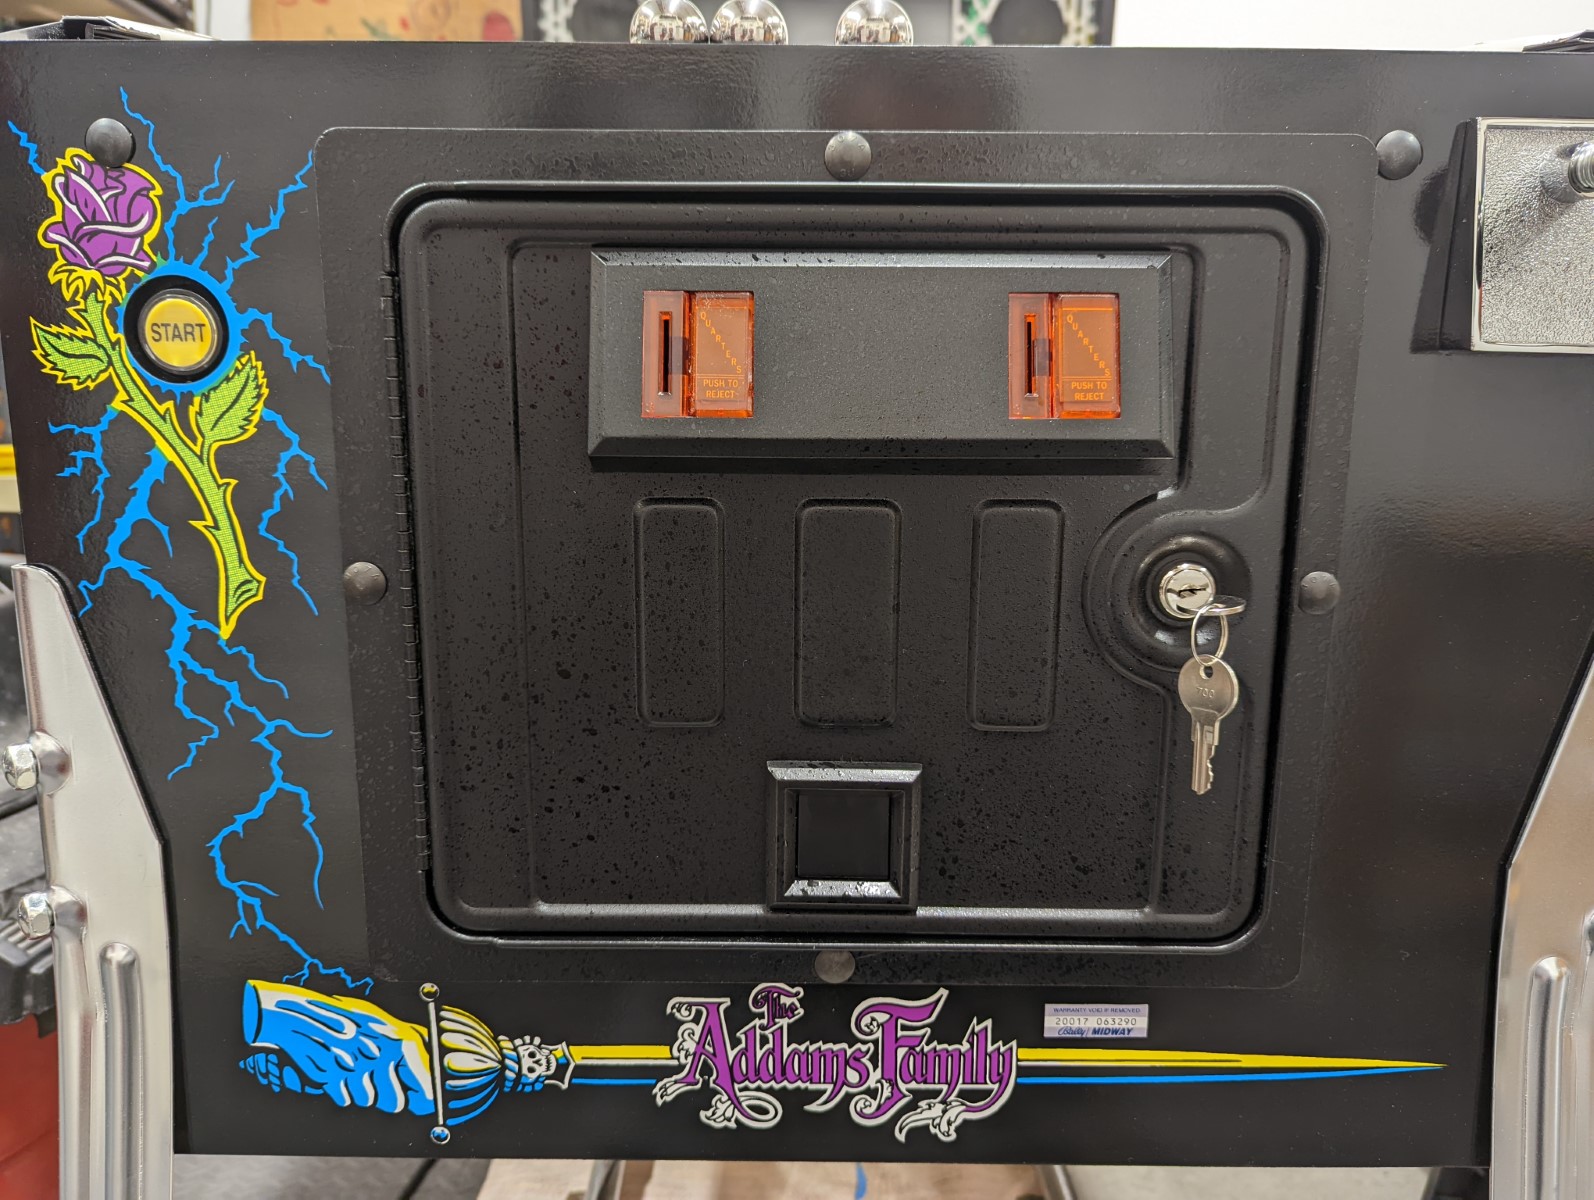
Artie Scholes rescued the parts from the game before the building was demolished. I got in contact with him and found out he still had the playfield rails and playfield backboard, the coin door (minus frame), and the lockdown bar. I was able to get these parts from him. (Thanks big time, Artie!) Artie kept the playfield.
I took on this endeavor pretty confident I could end up with a complete game, but now I had to figure out the details. I had a complete and working TAF that I could use as a guide and template. I needed a cabinet and all the parts that go with a cabinet. I already had a CPR Gold playfield that I ordered years ago so I could restore my current TAF. But here’s what I needed:
- Cabinet with decals
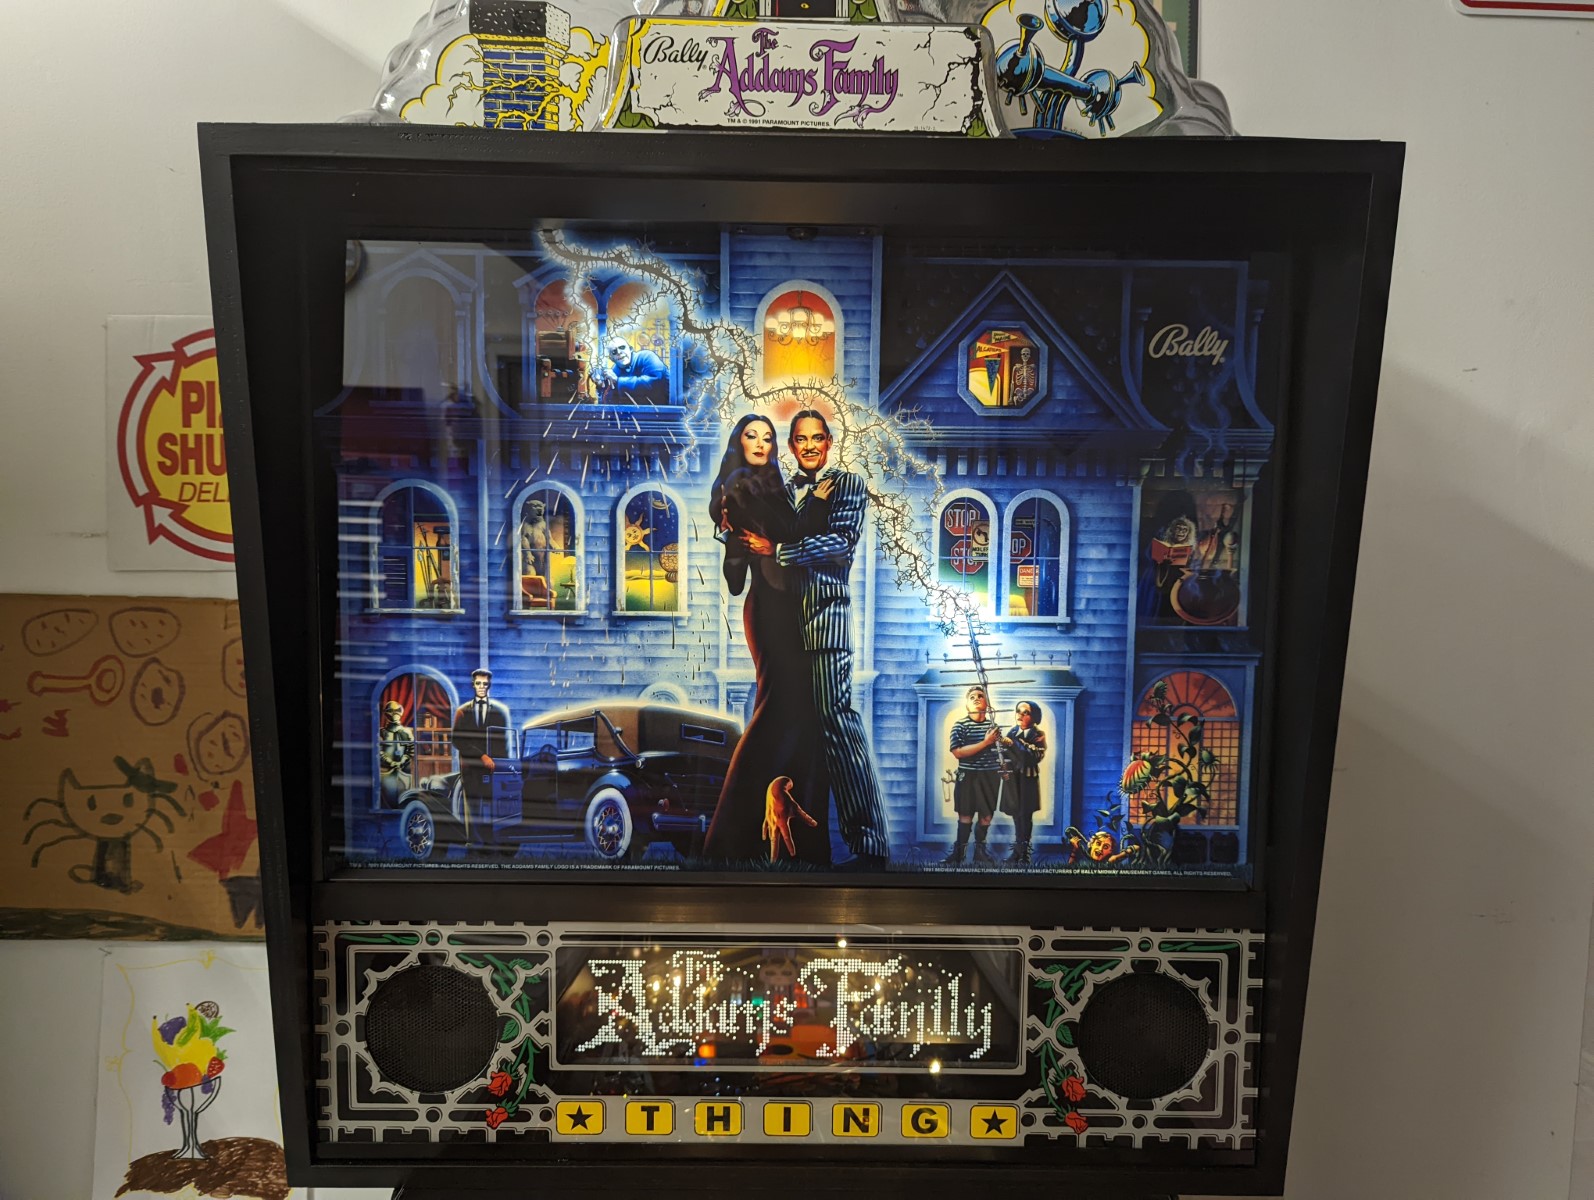
- Translite or backglass and trim
- All cabinet parts (legs, brackets, hinges, side rails, lockdown assembly, lockdown bar (the original wasn’t in good shape), power box, speakers, transformer, knocker, grates and grills, flipper buttons and switches, shooter assembly and rod, coin door interface board, tilt mechanisms, backbox lock, wire clips, and all mounting hardware such as screws, bolts, nuts)
- Topper and topper flashers with wiring harness
- Cabinet wiring harness
- Backbox lamp board
- Backbox speaker board with plastic panel
- ColorDMD
- Backbox ground plane (metal piece the circuit boards mount to) and mounting clips
- Coin door frame
- Playfield plastics
- Ramp
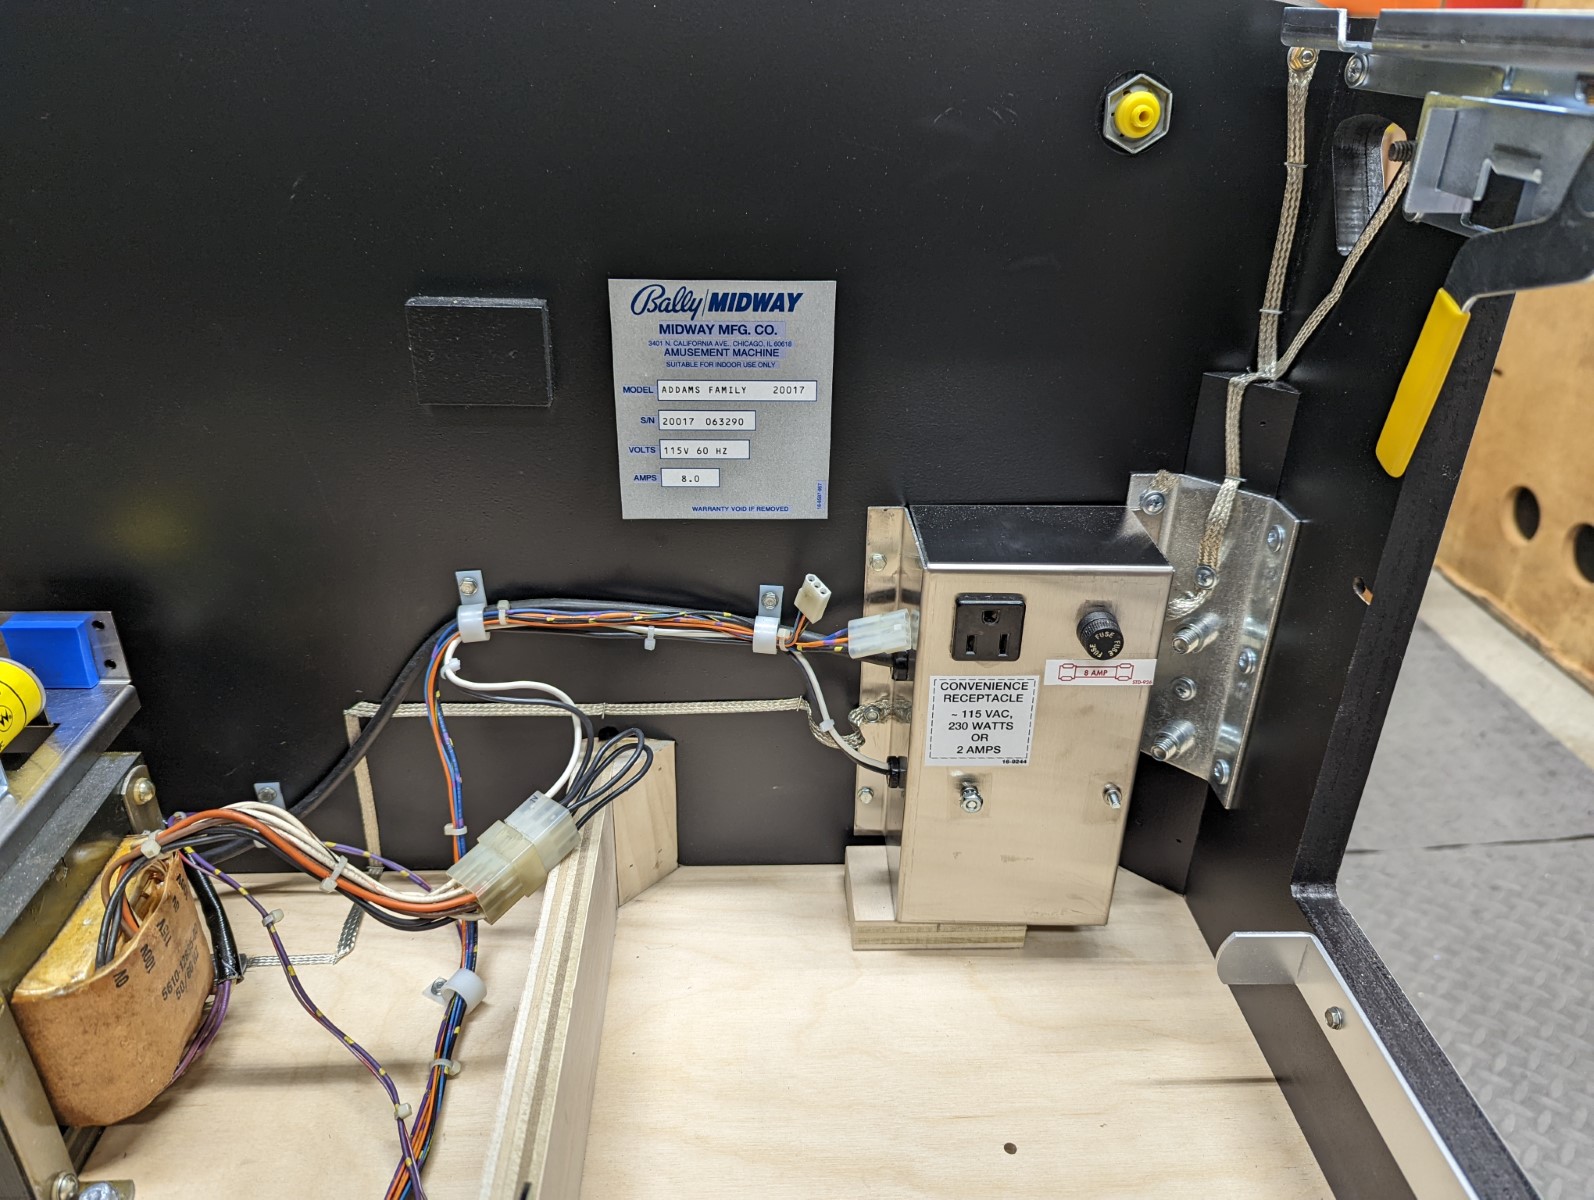
First things first, I started ordering parts. I was able to find pretty much everything I needed except a transformer. They were are hard to turn up (reproductions are now available.) I finally got one though. FYI, non-DCS games like TAF use transformer 5610-12835-00. This transformer has higher AC voltages going to the sound board than the later transformer used in DCS games. From what I understand, a later transformer can be used, you just may not be able to get the volume as loud as an original transformer allows.
At the end of July 2021 I ordered the cabinet, a fully trimmed WPC standard body replacement from Virtuapin.net. I omitted the coin door as I had one, and added a backbox lamp board and speaker panel board. I had Virtuapin install cabinet decals I already had. I knew I had my work cut out for me with the project. Assembling, painting, and putting decals on a cabinet was more than I wanted to take on. For what you get, Virtuapin’s prices and quality of work are amazing. Paul did an fabulous job. The cabinet was flawless. I couldn’t have asked for better. More on that later.
By now the complete plan had materialized. I contacted Wally Gorczowski and found a resource of people like him who had created new WPC games from scratch. Wally’s generosity and sharing of knowledge went a long way towards making this all possible.
Note: From here on out we have three iterations of games I’m going to refer to. The “Fire” game’s parts, the “Original” game I already owned, and the end result, the “New” game. The plan was:
- I would end up with a “new” TAF that would get all the new parts. New cabinet, playfield, backglass, plastics, topper, etc.
- The new TAF would get the cabinet and playfield wiring harness from my existing “original” game as they were unhacked and in nice shape.
- I would make a new cabinet wiring harness, this would go in the original game.
- I would splice on to the fire game’s cut playfield wiring harness, complete it, and install it in the original game.
- I would remove all the under playfield parts and mechanisms from the original game and use them in the new game. The reason for this is the fire game’s parts were grungy and would not clean up. My original’s parts were very nice, shiny, and cleaned up to look like new.
- The fire game’s circuit boards would go in the original game. The original’s circuit boards would go in the new game. Same reason as for the under playfield parts. Even after cleaning and scrubbing with (old formula) Wesley’s Bleche White, the fire games circuit boards were still a bit grungy. The original boards cleaned up really nicely and looked as good as new.
- I would keep the new game and sell the original game when finished.
Finally, I decided my goal would be to have the new game as close to a factory original as possible and within reason. There are tons of modded Addams Family games out there. I’ll be different by making it original. I tried to make it look as close as I could to what you’d receive from WMS back in 1990. I made an exception for a ColorDMD, and I incorporated the Stern sliding playfield mechanism and supports (I’ll go into this more later). There were a few parts that I could not obtain to keep it exactly like the original. Notably the cup for the power cord (I used a later WPC style box with removable cord) and the 555 IDC type sockets for the backbox backboard lights (They are now available, I used #44 staple down sockets). I also had the cabinet sides fully painted and I went with a plywood cabinet bottom instead of MDF. And a better cabinet woofer (still 6.5″ though). Okay, you have to make some exceptions for progress I guess.
Clear as mud?
Now to the wiring harness. Years ago a friend gave me a complete wiring harness from a Sega Goldeneye that he parted out. Most of the color combinations that WMS used were also available in the Goldeneye harness. So I set upon cutting apart the harness and organizing all the wiring.
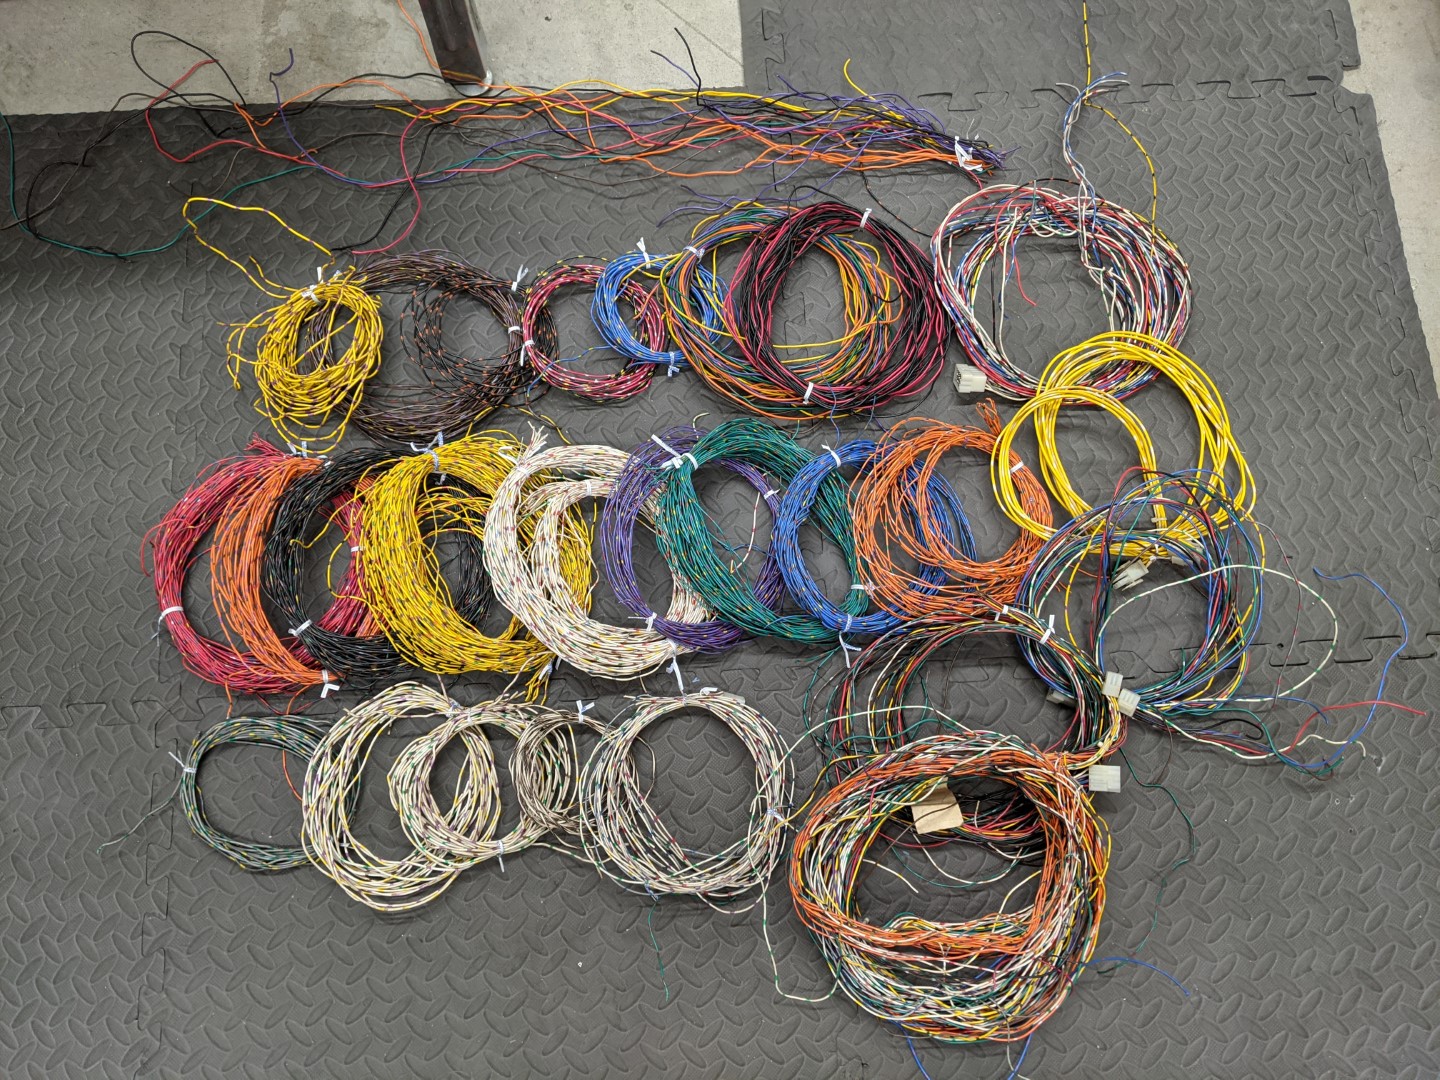
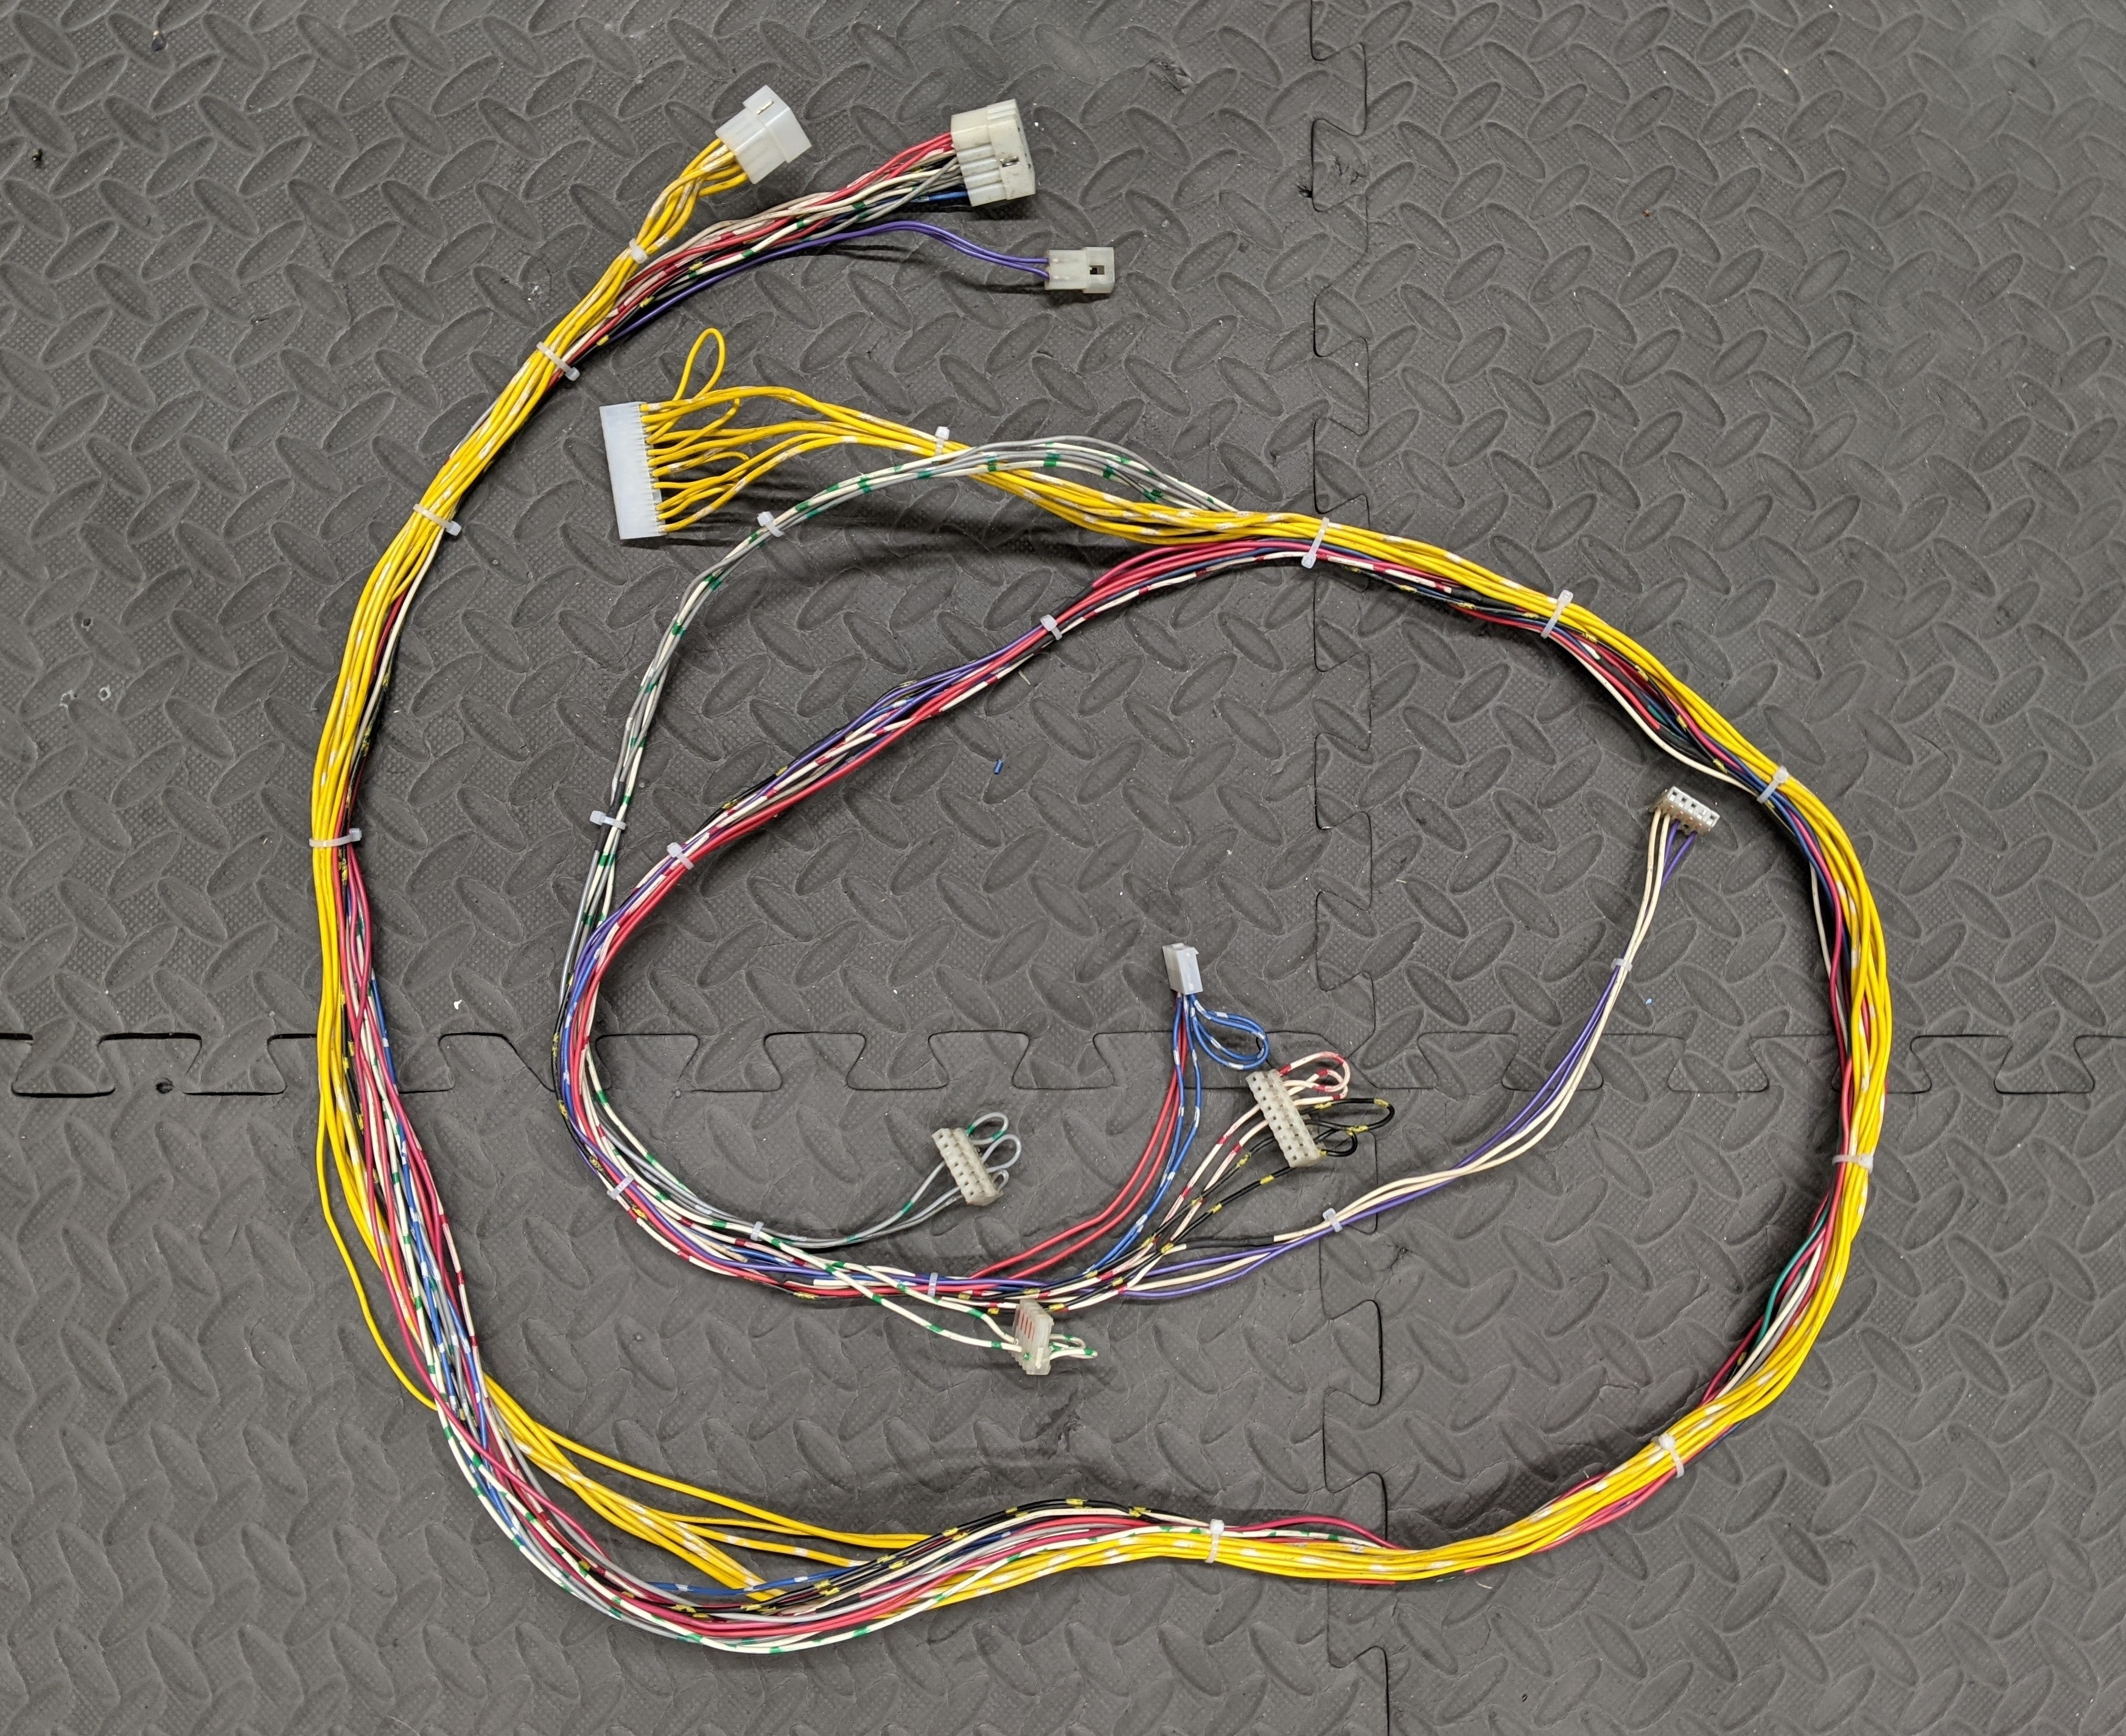
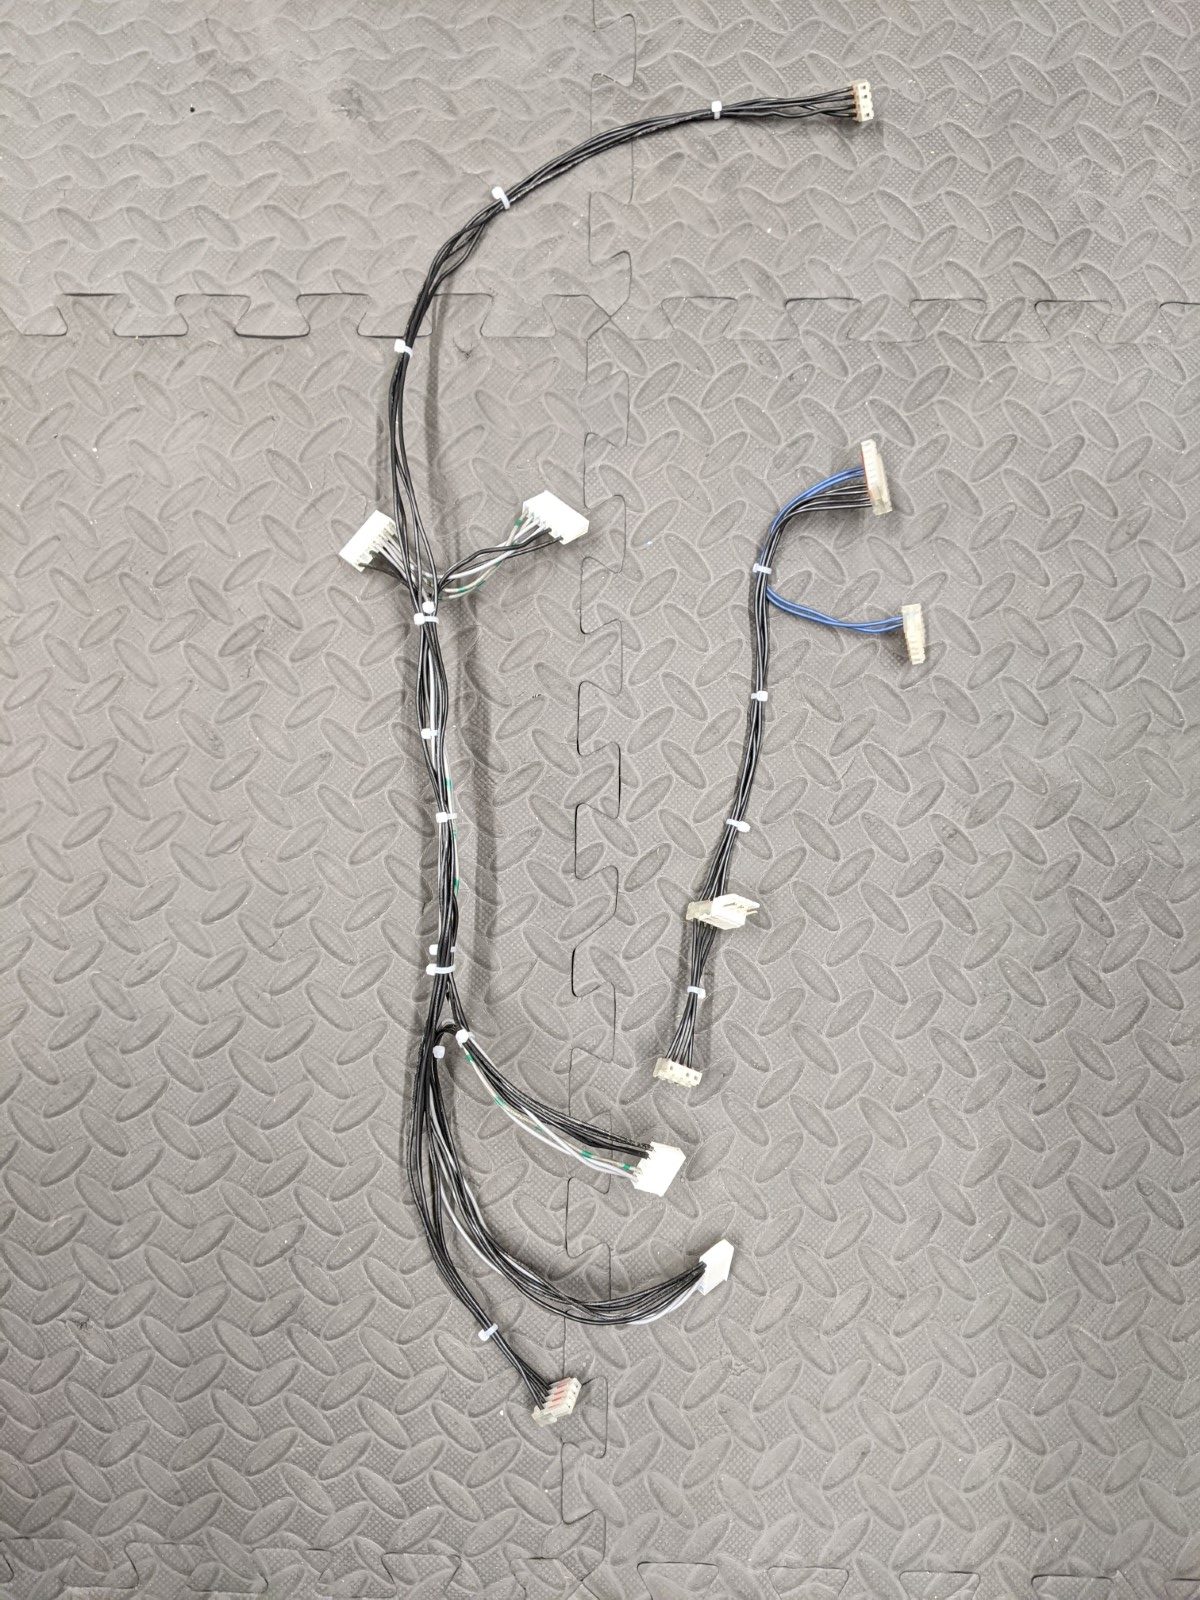
Once I had that all organized I recreated the cabinet wiring harness and the low voltage (5v and 12v) harness for the backbox.
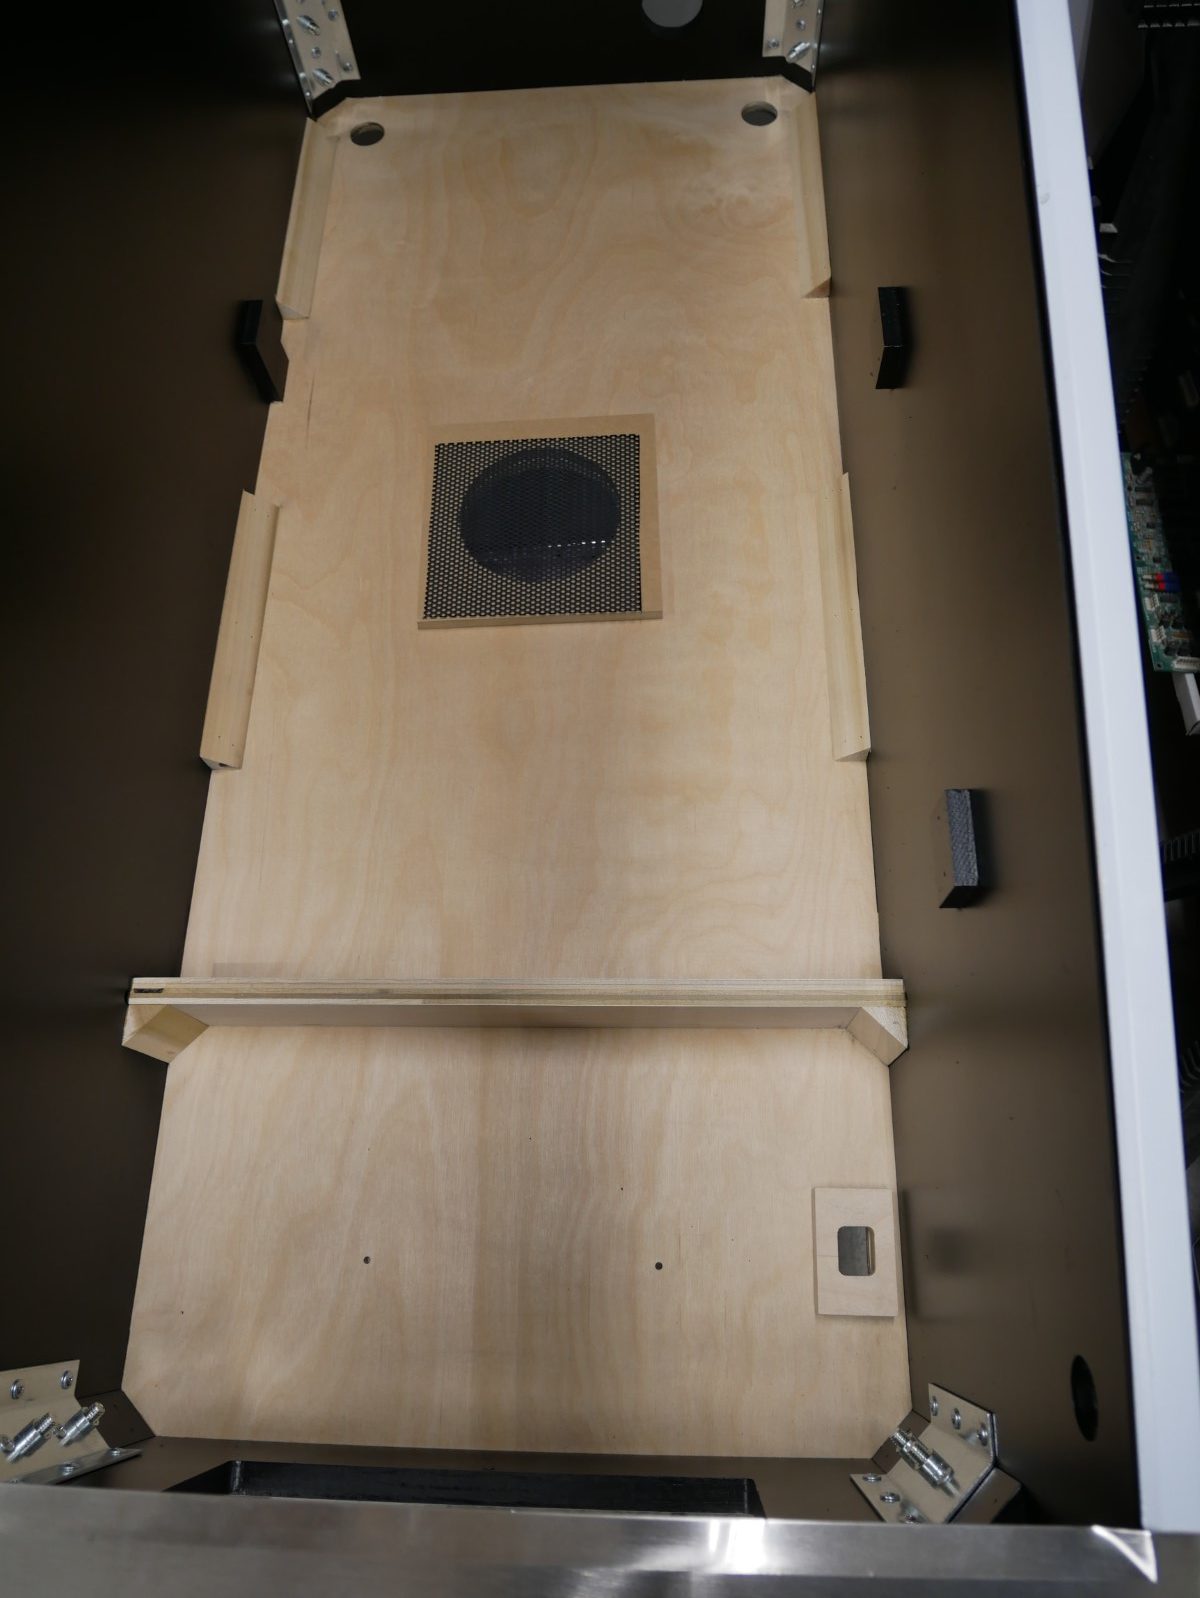
Next it was time to splice on to the under playfield harness. That was a lot of work. There are basically three harnesses under the playfield. Here’s the mess of the fire game’s cut harness set on the underside of the original’s playfield. No splicing has been done yet.
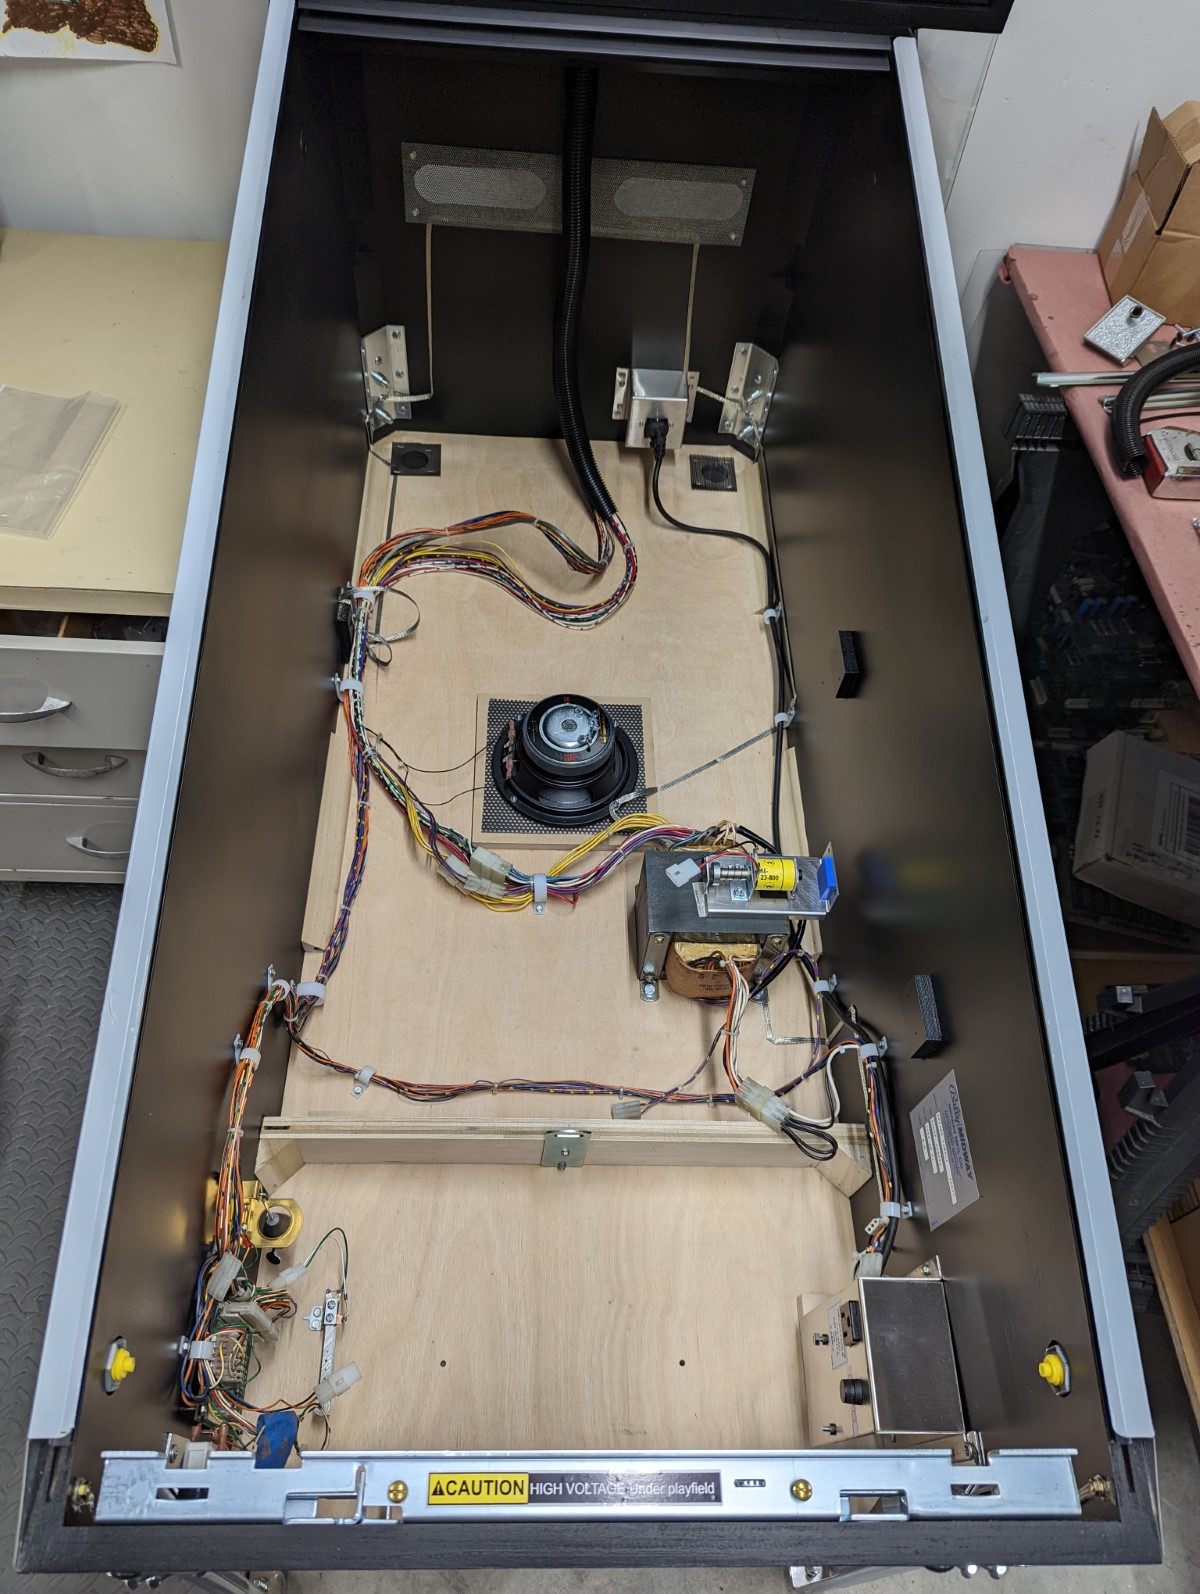
Below is after all the splicing. The original game’s playfield has been set back into the original game. I now need to terminate everything (cut wires to length and add connectors). Once that is done, I have to install all the under playfield parts and mechanisms from the fire game.

Below is the original game with the new cabinet harness and the spliced playfield harnesses with new connectors. For the most part the Goldeneye harness had what I needed and I was able to keep the wire color and markings the same as the original harness. There were maybe only three color/marking combinations that I didn’t have. In that case I used the solid color and attached a label to note the marking such as “purple-yellow”. But for the most part, if it is a red-green wire under the playfield, it is a red-green wire in the backbox, just as you expect.
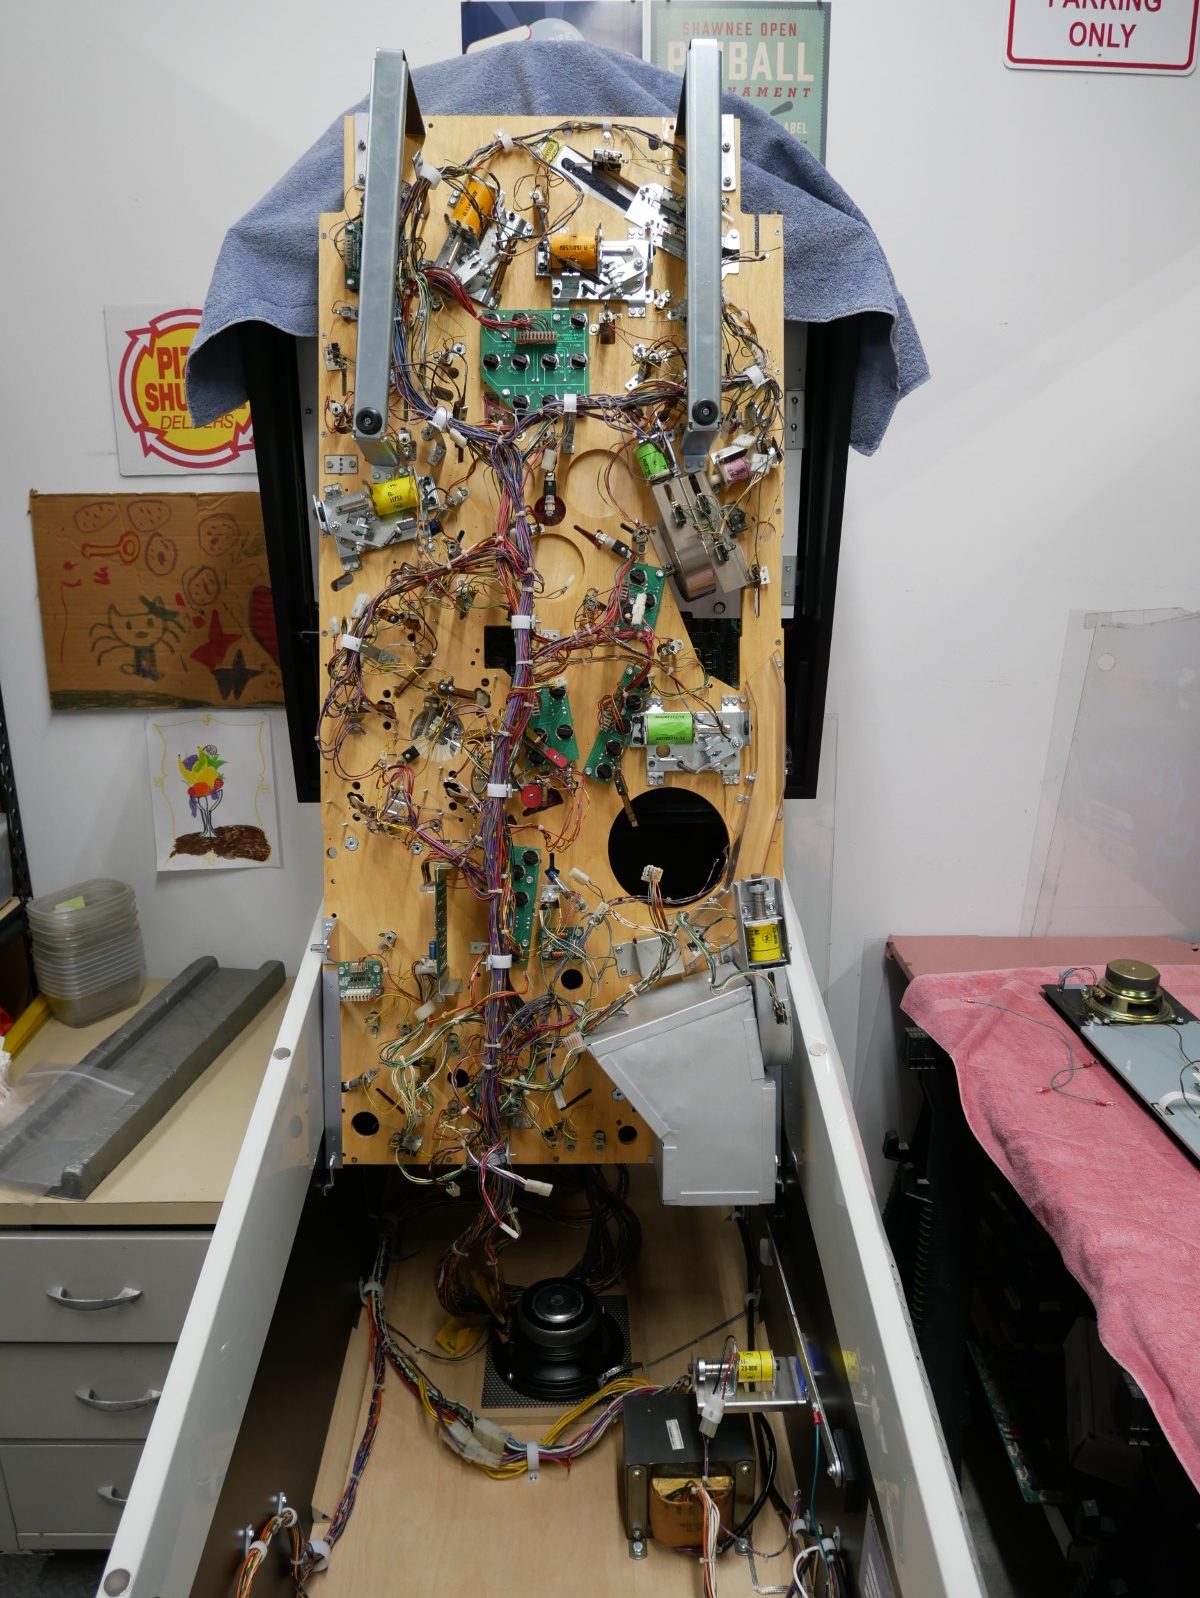
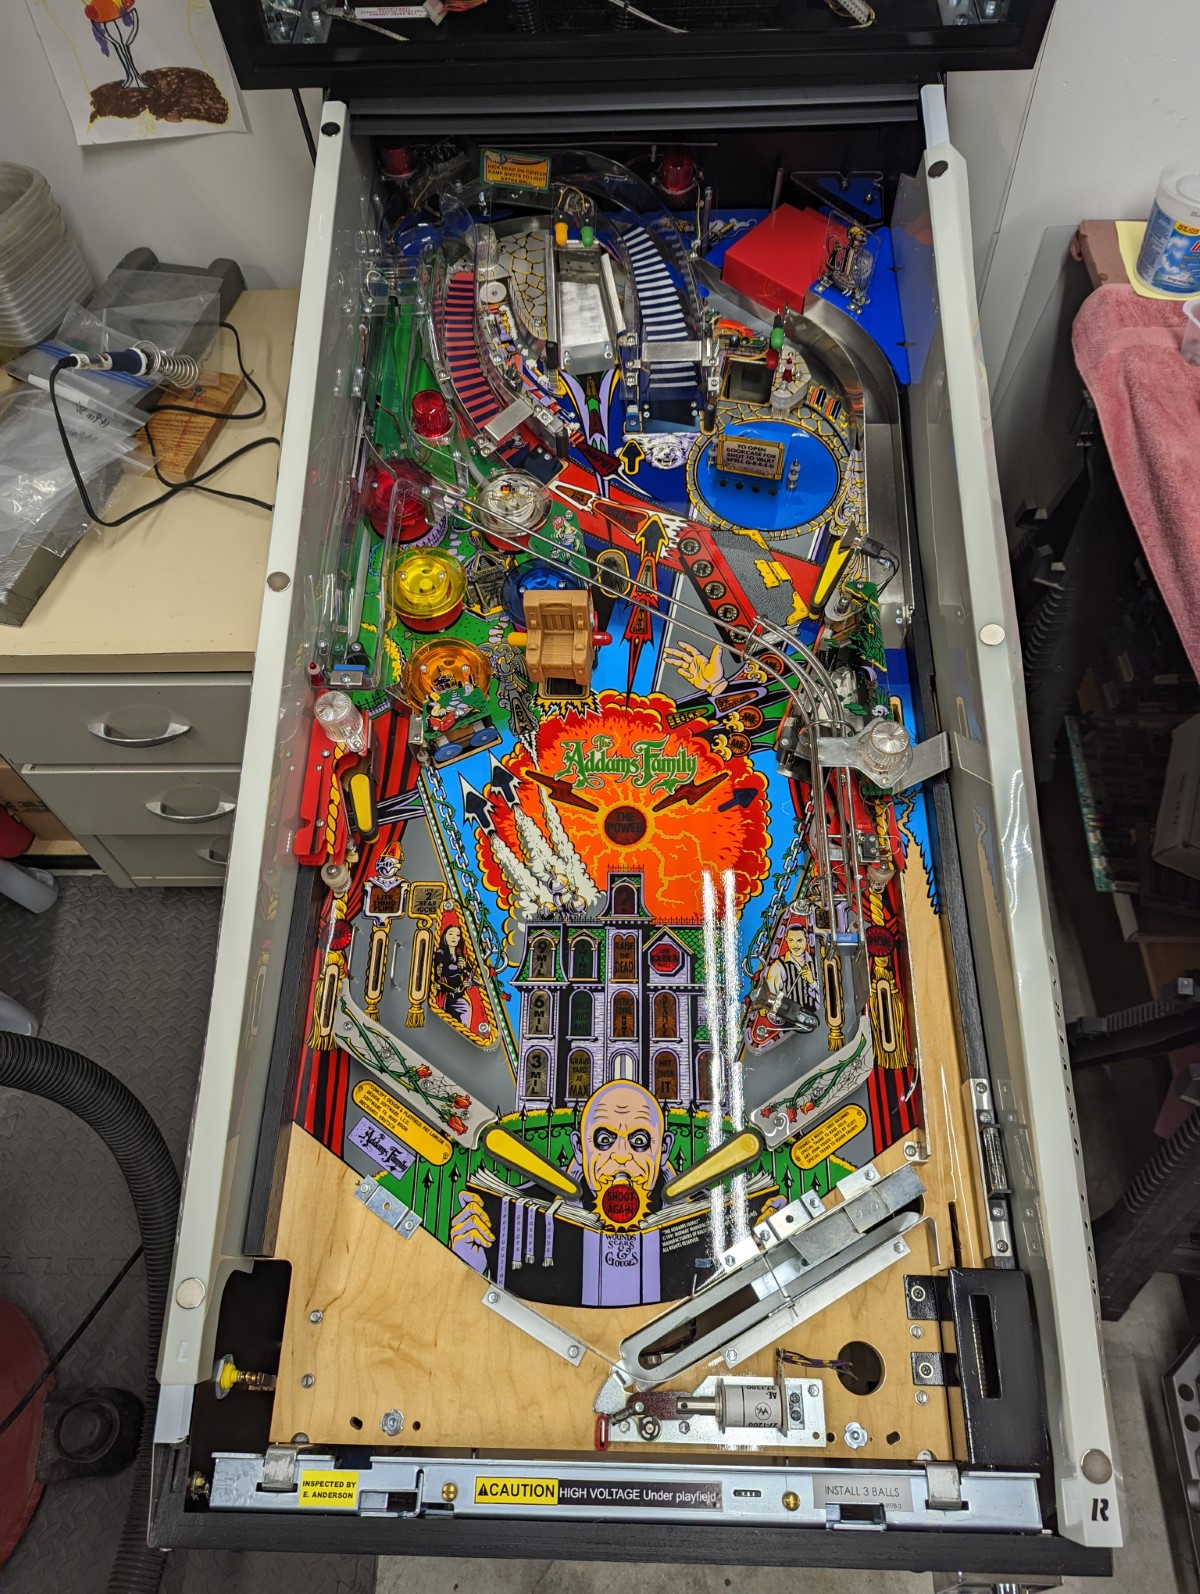
Success! Below is the original game back in working order. It now has a new cabinet harness, the spliced playfield harness and the under playfield parts from the fire game. The upper playfield parts stayed in place and did not move.
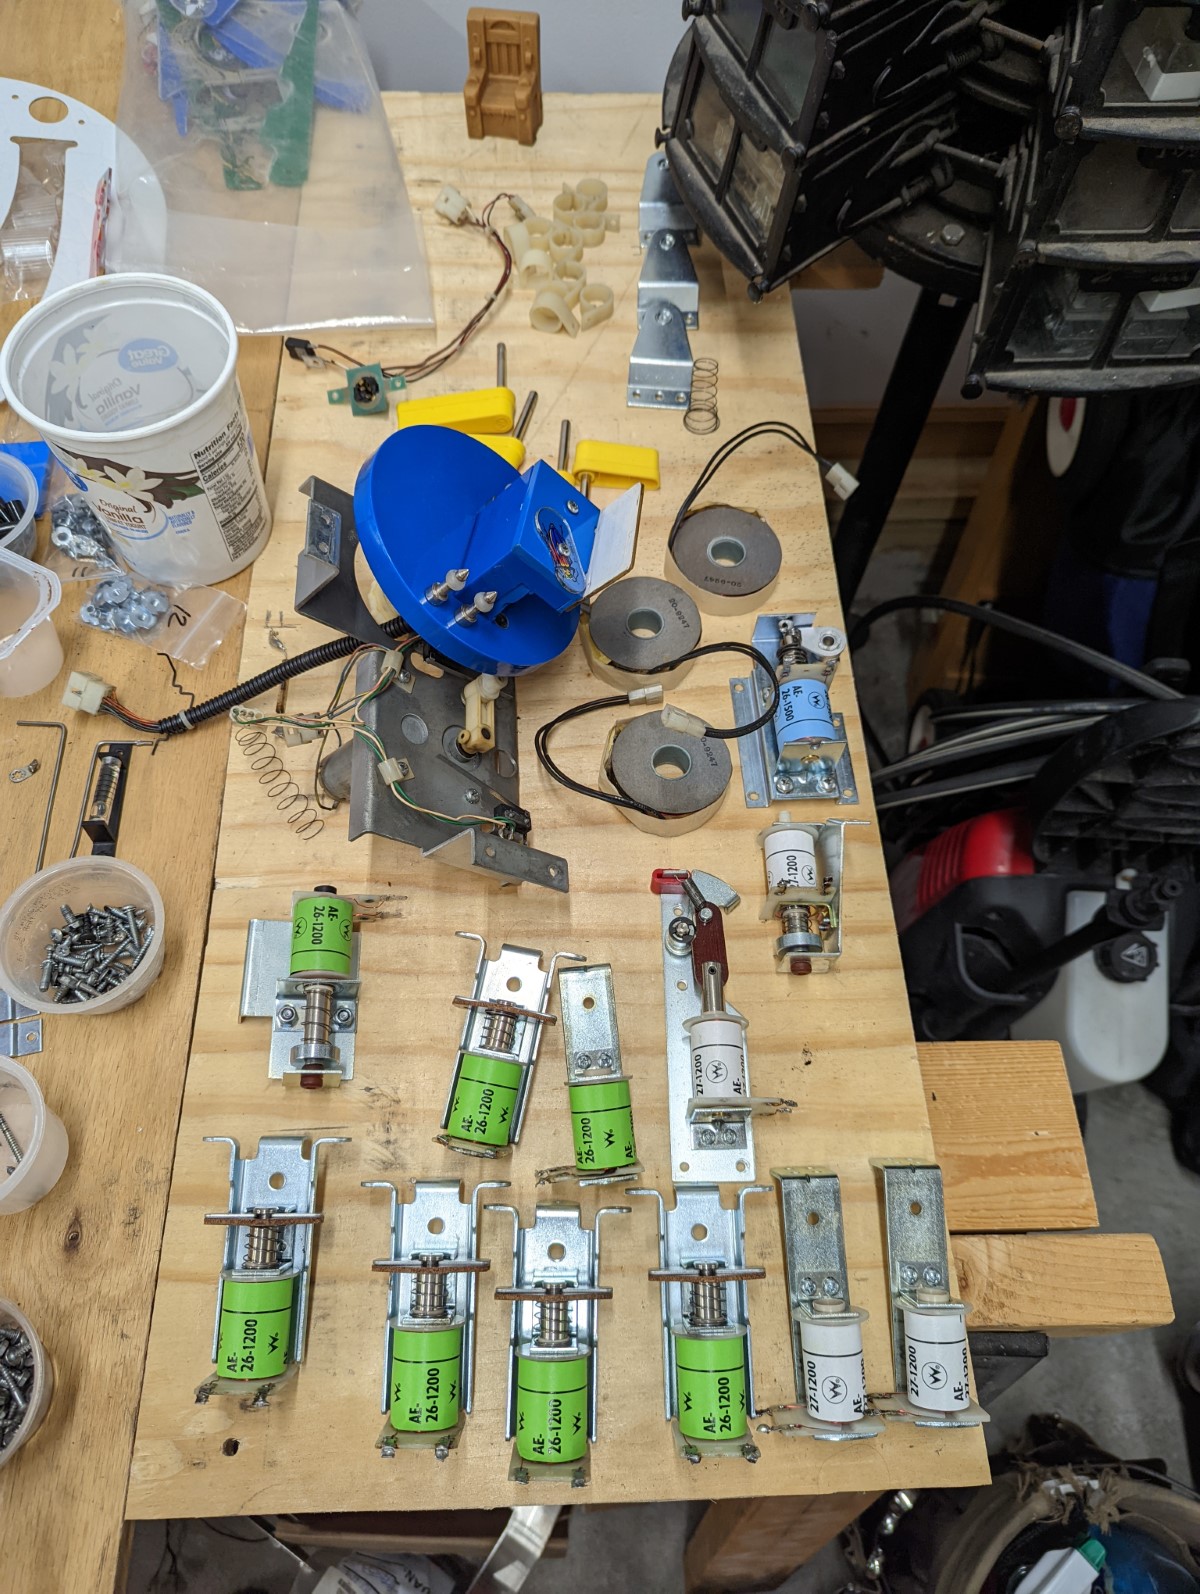
Now it is on to cleaning up all the parts removed from the underside of the original game. Everything was disassembled, cleaned, and polished. The wiring harness was scrubbed and cleaned. I purchased new coil labels from Planetary Pinball. I didn’t feel like recreating them myself this time around. New bookcase parts.
By this time we’ve reached early January 2022. I’ve got about everything done that I can and I now need the cabinet. While waiting on the cabinet I did a playfield swap and partial restoration of a Flash for a friend.
March 14, 2022, look what arrived from Michigan!

It is perfect! I couldn’t ask for a better job.
Now it is time to start putting everything into place.
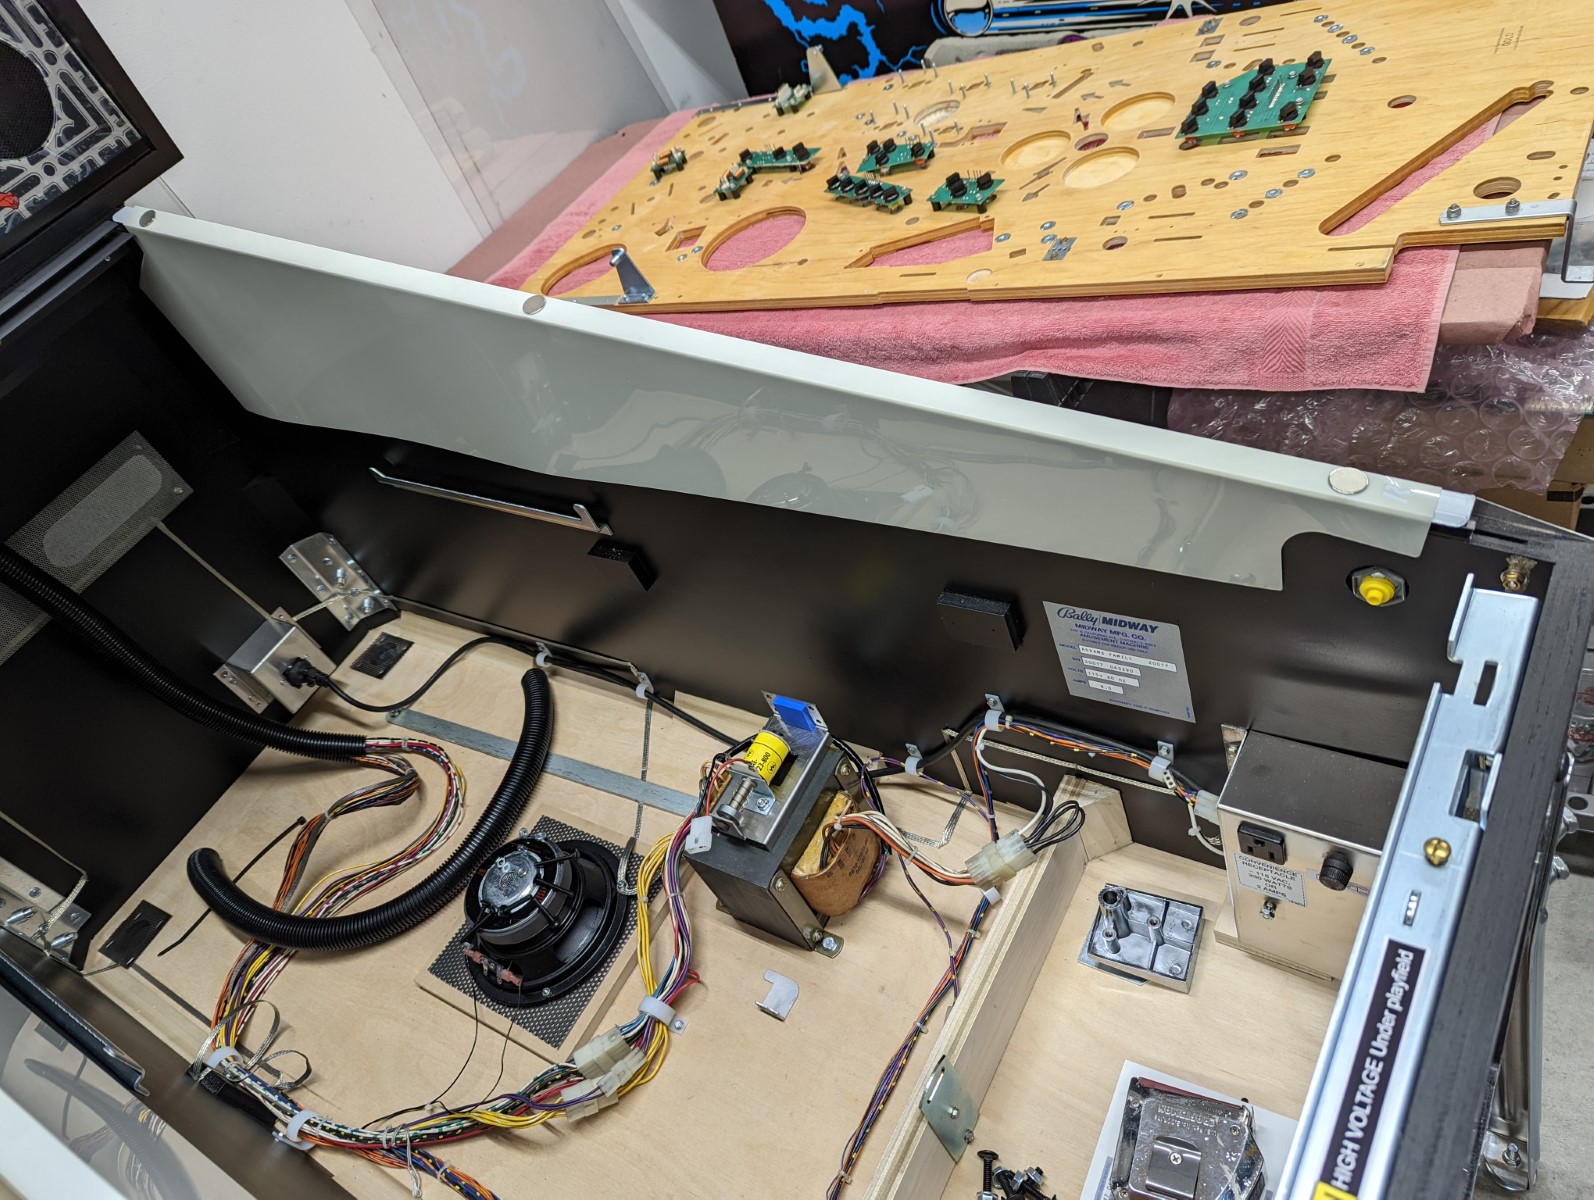
Now for some comments on the Stern playfield slide system. Why didn’t I use the later WPC style slides? There’s no way they’ll fit. The bookcase kickout is in the way as is the Thing mechanism. It was tough enough to get the Stern setup to work. Thanks to Wally Gorczowski for doing it first and sharing pics of how it can be done. More on this below.
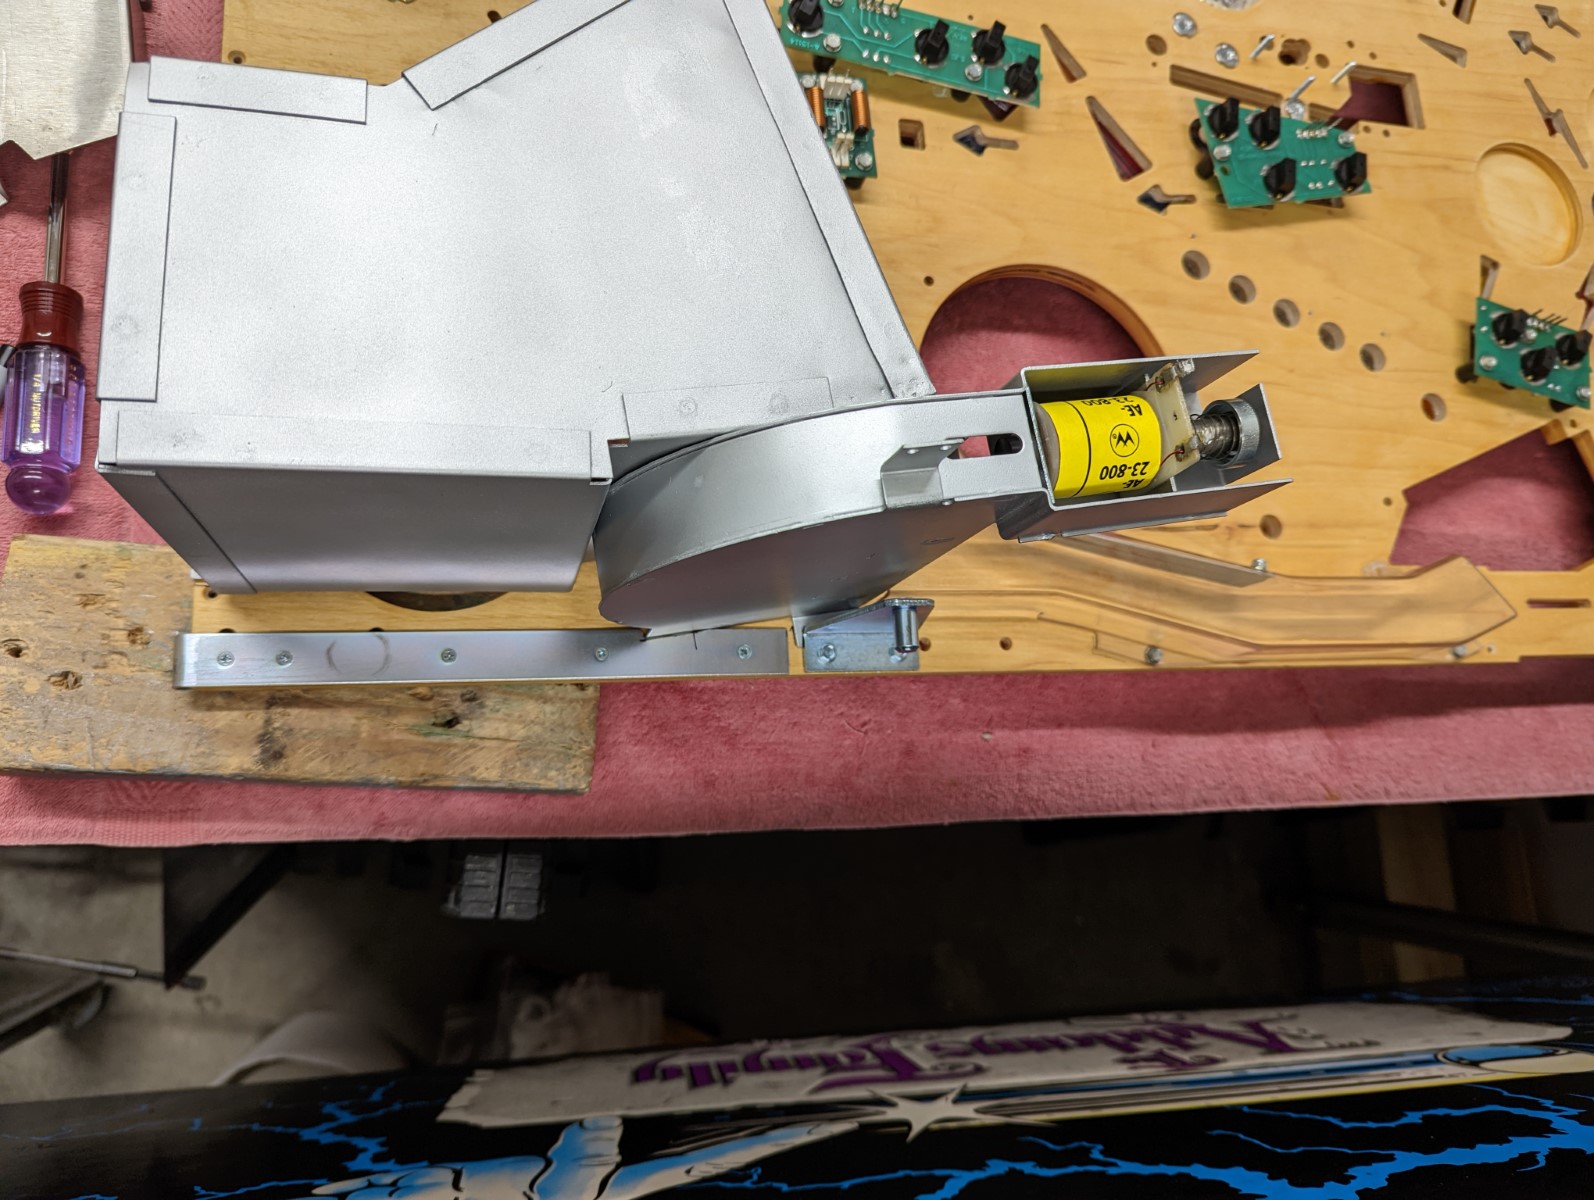
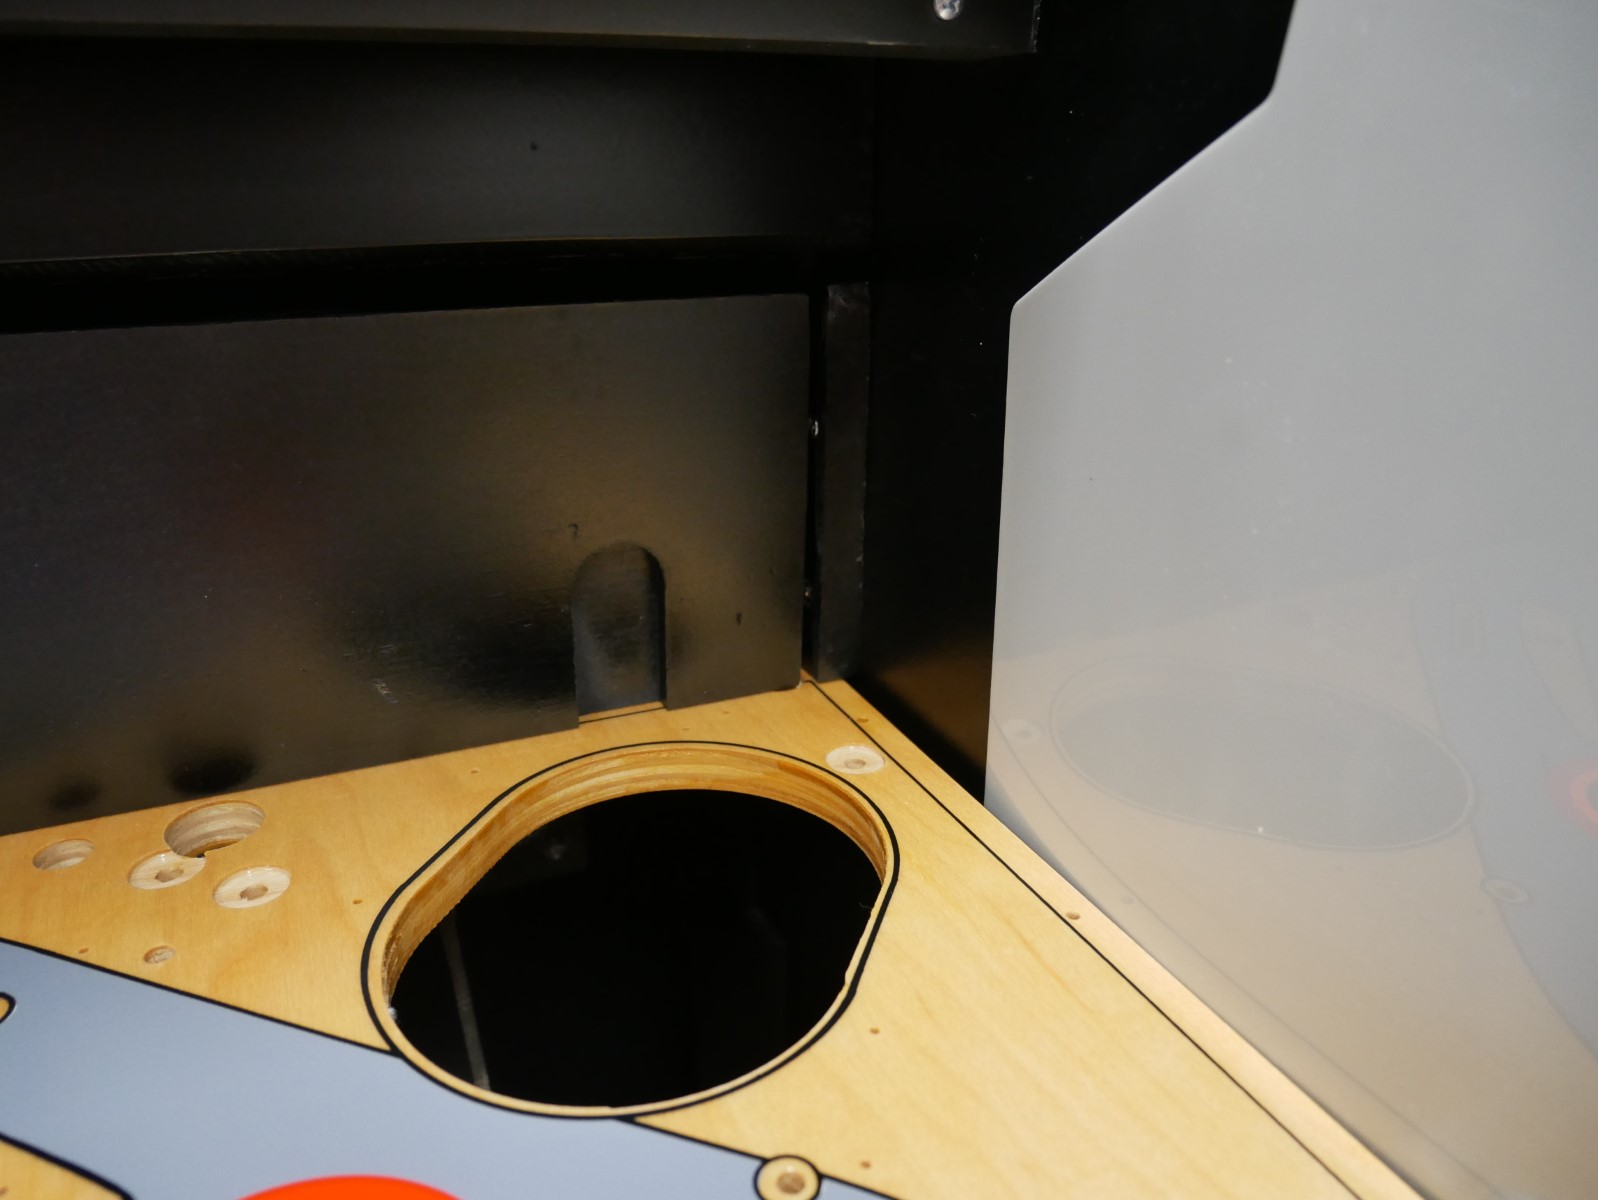
Hopefully this will make sense, it is kind of hard to describe. The WMS pivot and slider setups secure the playfield in place. It can’t move when in the cabinet and the lockdown bar is installed. The Stern setup leaves the back of the playfield free to move. Stern solves this issue by installing blocks at the back of the cabinet that secure and hold the playfield when it is in the cabinet.
Another thing with the Stern system, the playfield backboard has to be able to fit between the slider rails on the side of the cabinet (see 5 photos up where I comment on the sliders). So you can see in the above photo where I cut off the sides of the playfield backboard. I then used the sides as a block to secure the playfield so it can’t raise up when the game is being moved and transported. You can see how the block meets the top of the playfield and holds it down. I also installed another block in back of the playfield that makes it unable to shift back and forth.
Finally, since the Stern setup has the playfield swing down below the slides, I had to notch part of the ramp on the left and a plastic on the right. Hard to explain without seeing it, I know.
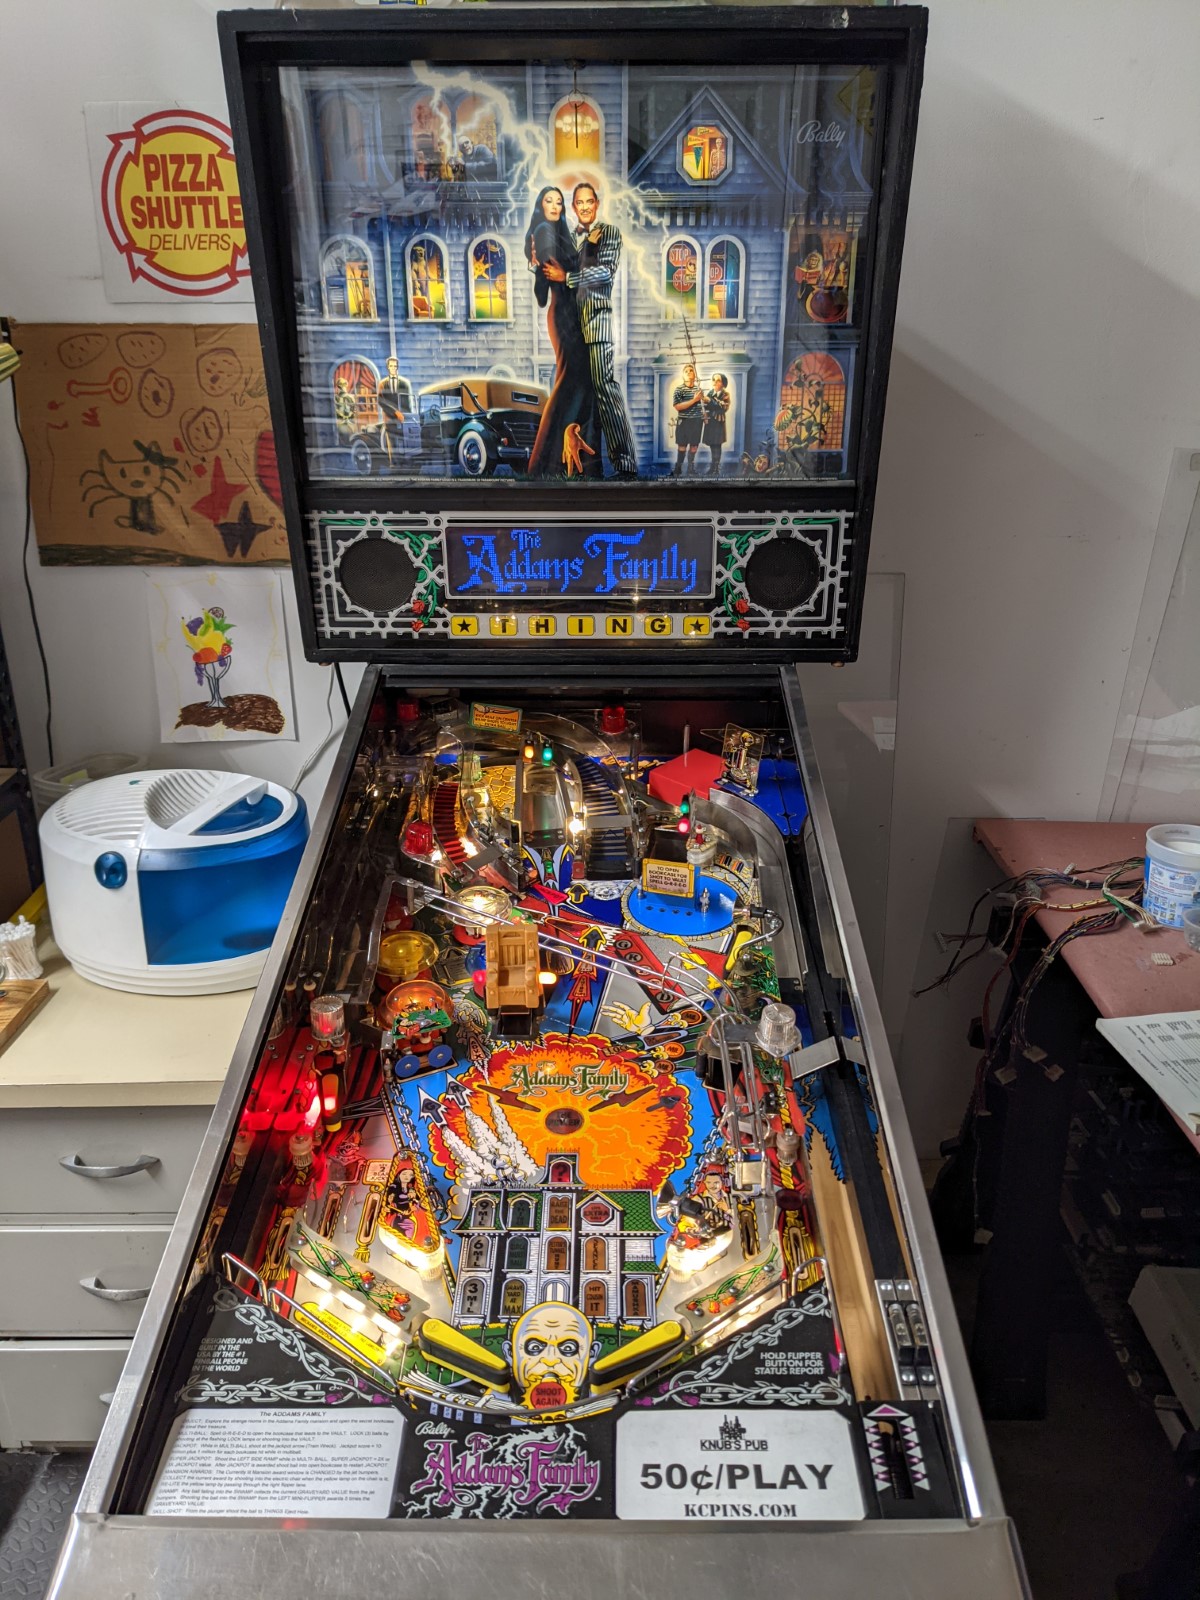
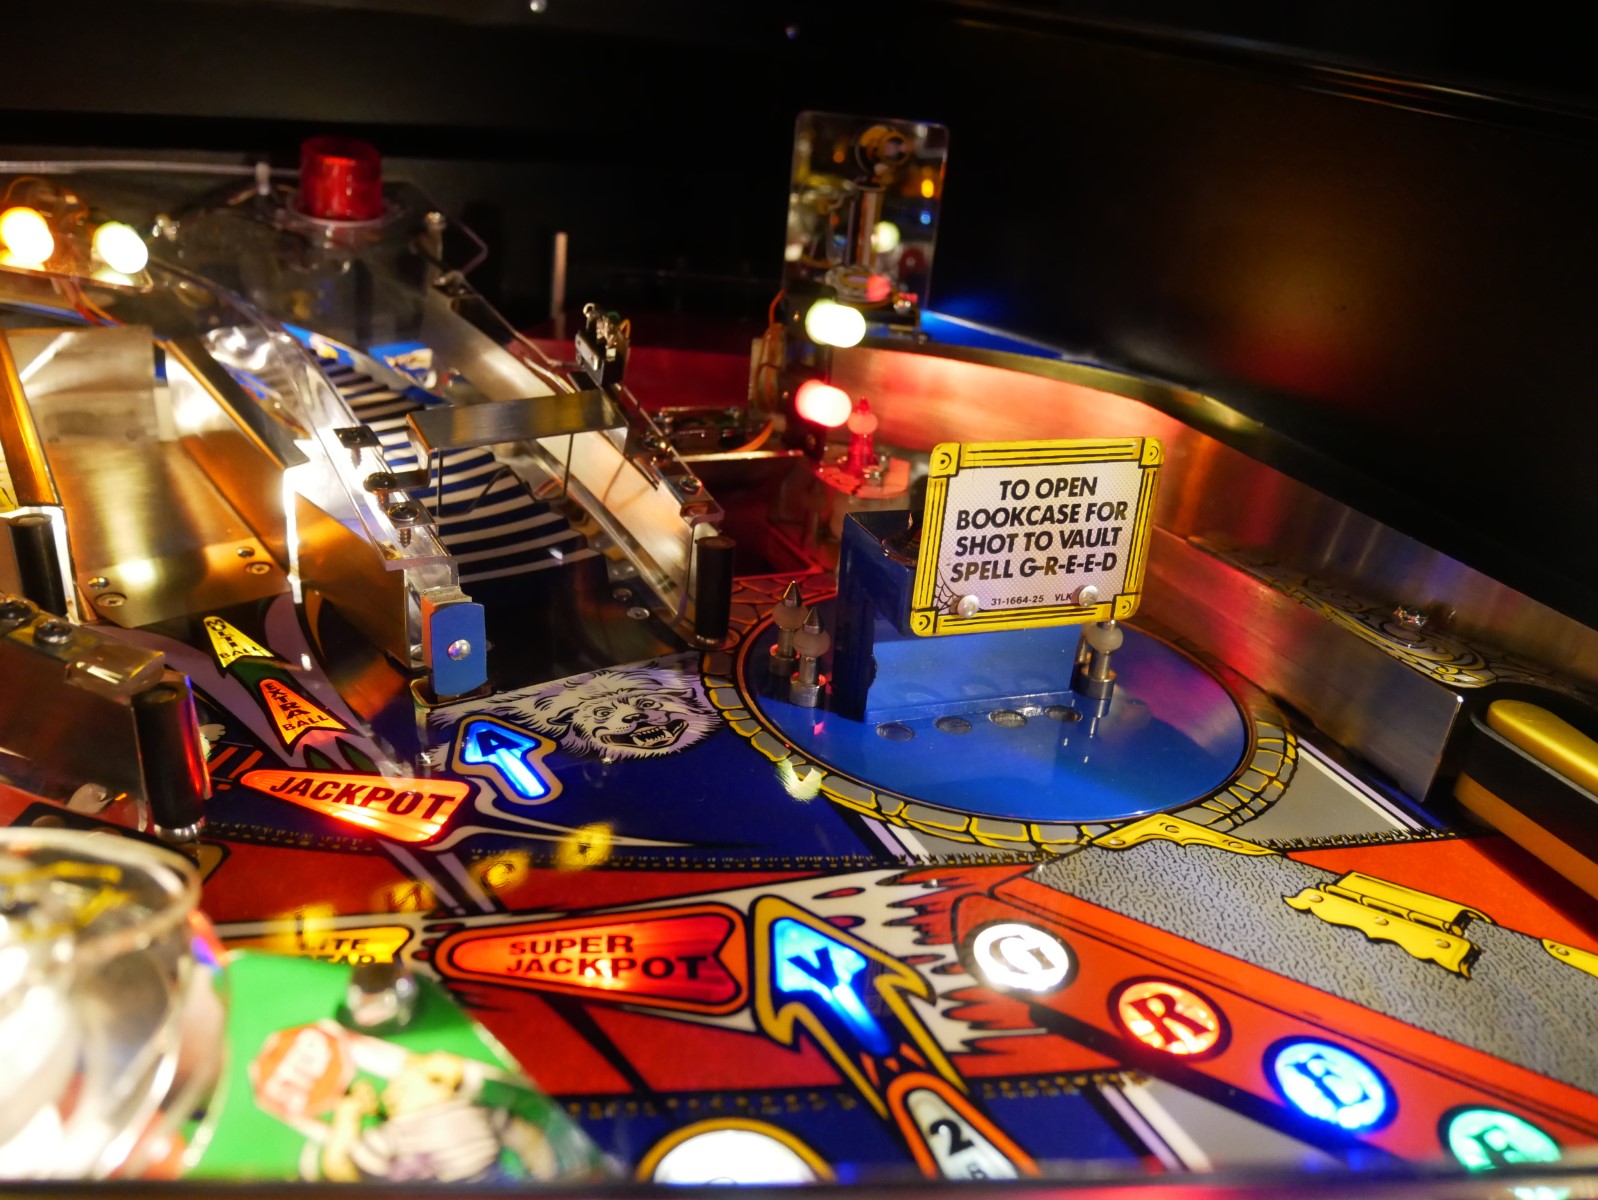
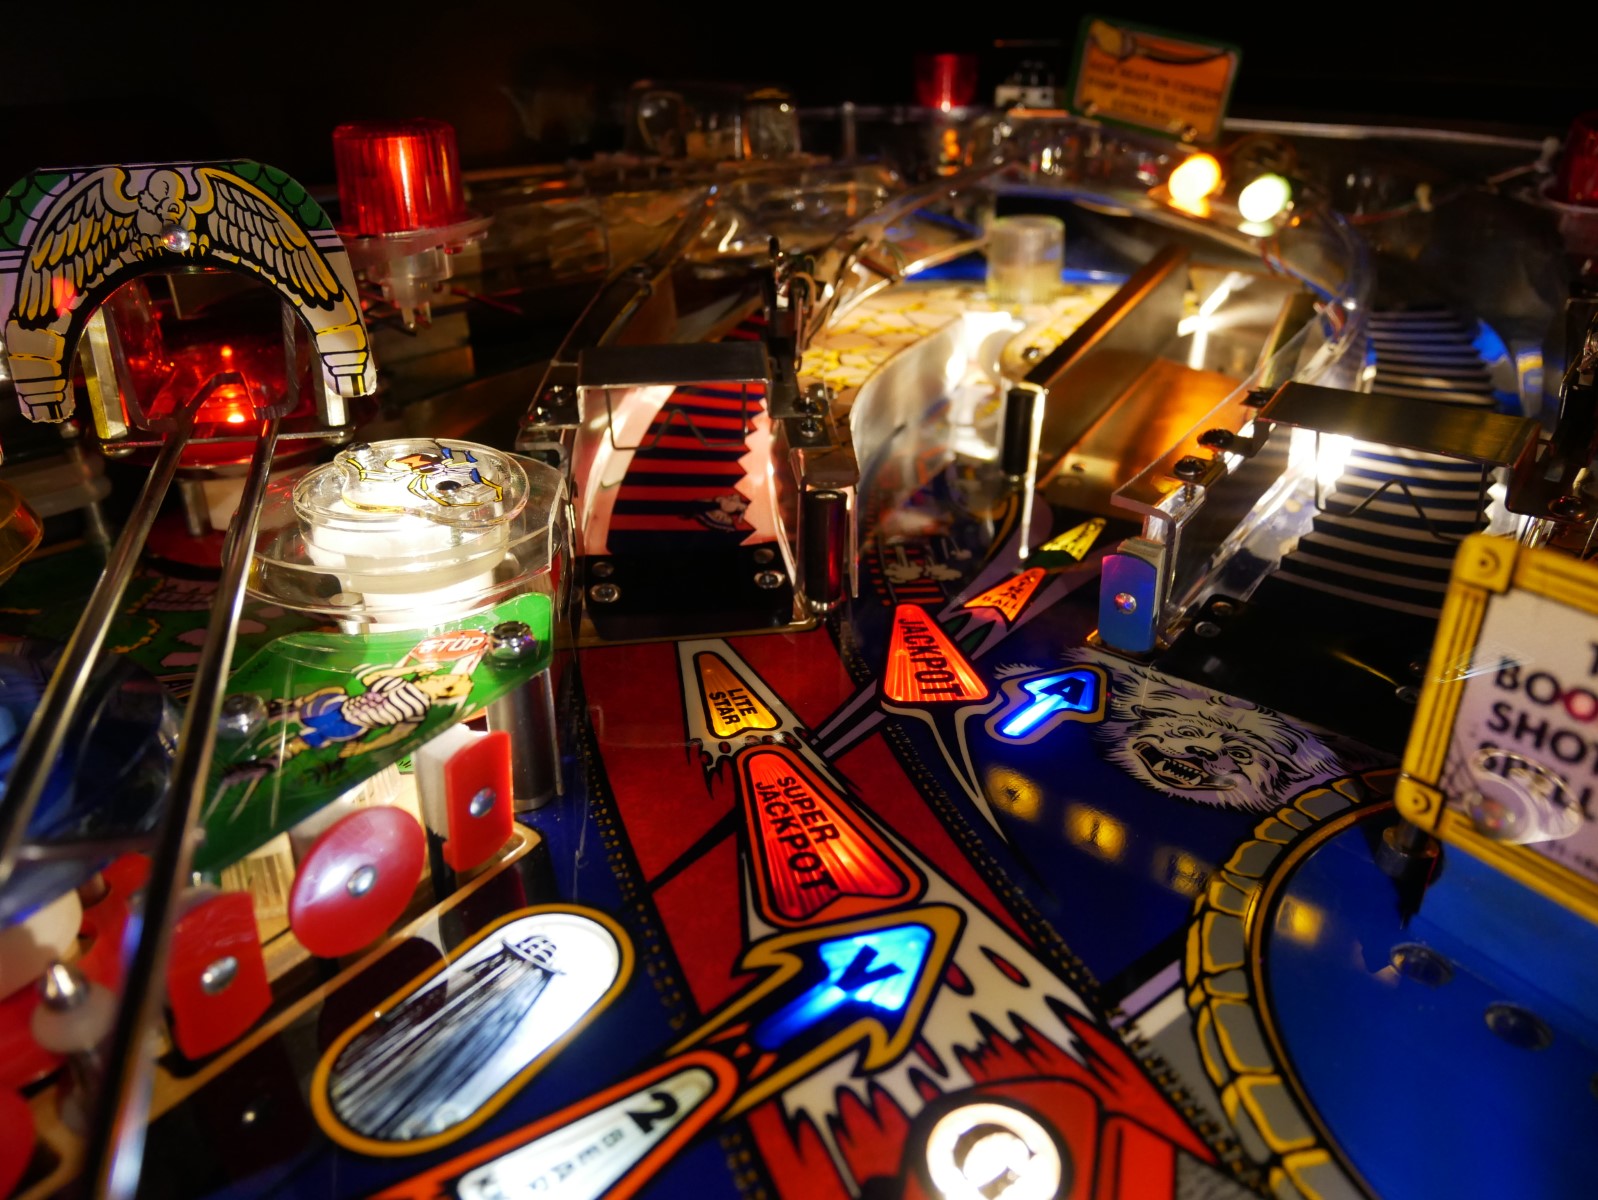
Almost everything is together and the game is working. Now for some finishing touches.
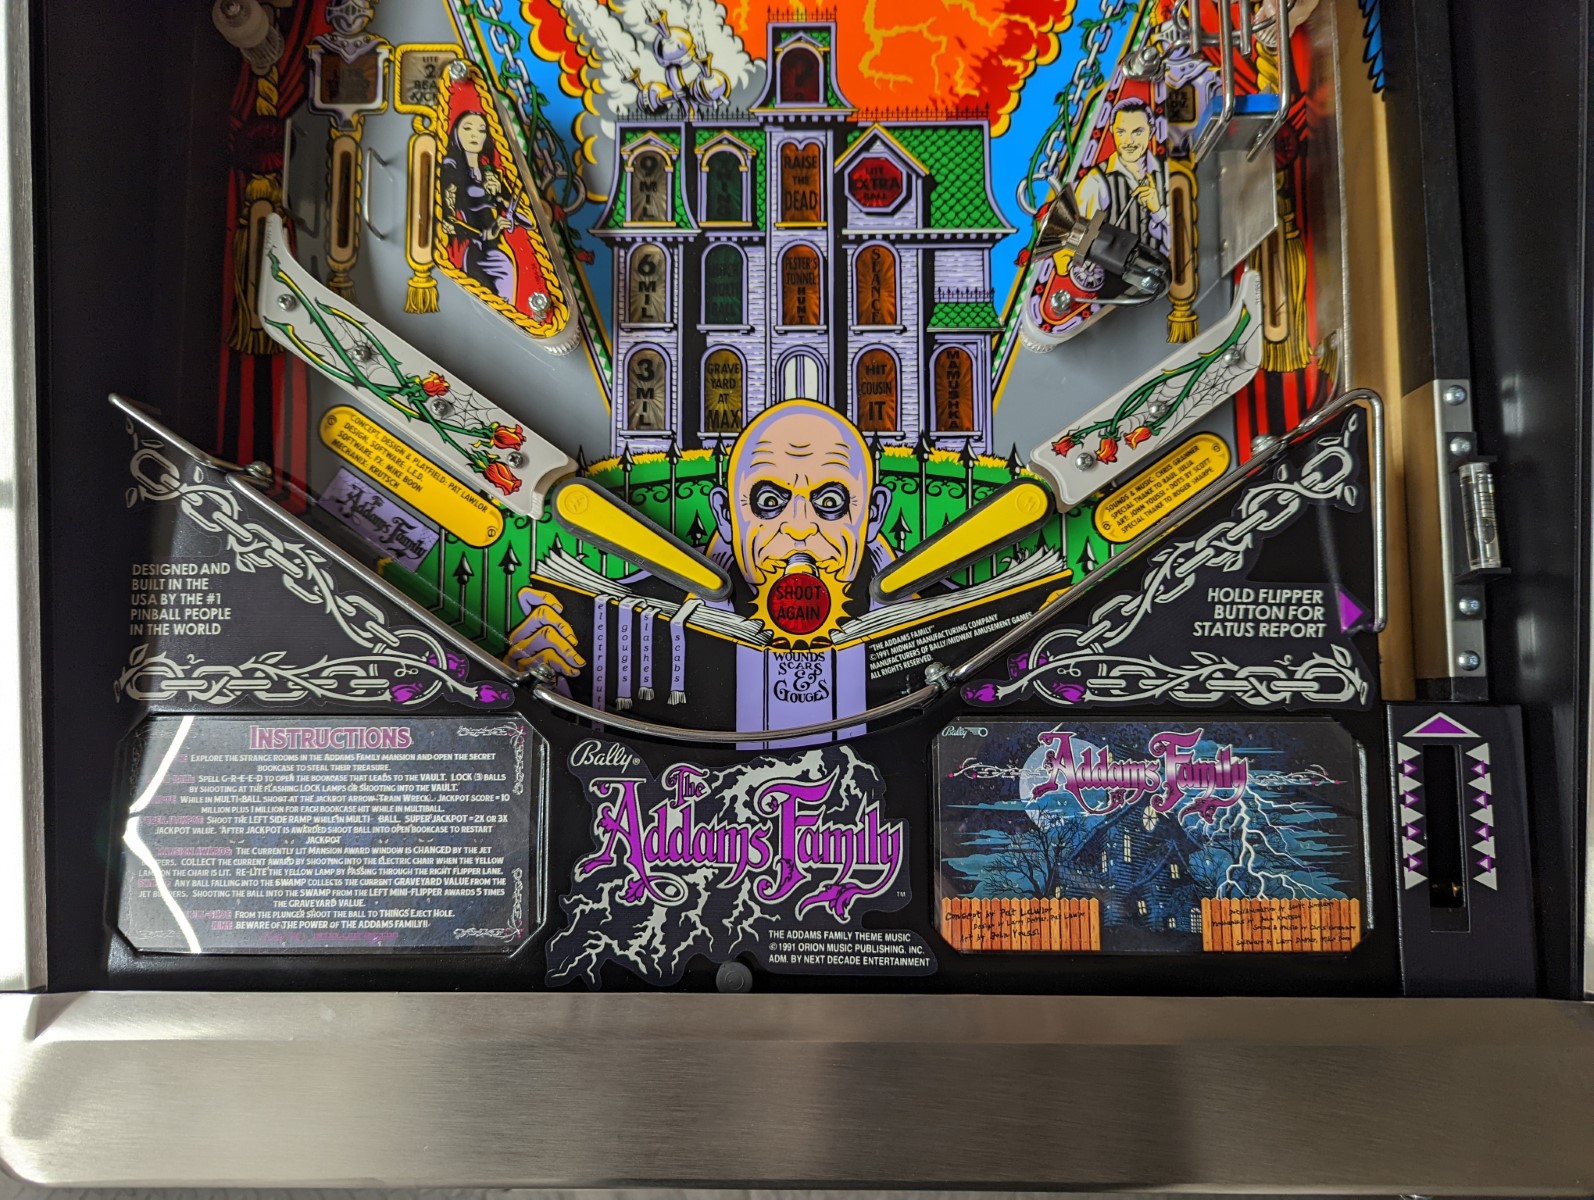
Below are some more photos of the finished game. I need to take some more showing some details that aren’t visible. I made sure all decals were recreated and are in their proper place. Including all serial number stickers and new EPROM lables, etc. I also need better photos of some of the under playfield details. The back of the cabinet is really nice, I had Virtuapin silkscreen all the warnings and info and it looks great. But I’m not going to pull it out and take pics of this.

Below is where I purchased various other parts used in the build.
- Plastic set and Topper – Pinball Inc
- Speaker panel plastic and coil wraps – Planetary Pinball
- Knocker bracket assembly, power box, power line box, U channel for speaker panel, chair protector, ramp flaps – Mantis Amusements
- Ramp – Starship Fantasy
- Playfield and Backglass – Classic Playfield Reproductions (CPR)
- Assorted electronic parts (caps, connectors, header pins, sockets) – Great Plains Electronics and Big Daddy Enterprises
- Game specific and hard to find cabinet parts (backboard hinges and brackets, cash box brackets, PCB stand offs, Thing coil, speaker panel brackets, assorted wiring, and more) – Marco Specialties
- More generic parts (Stern playfield mechanism and support sliders, ground braid, playfield parts like pop bodies, lamp sockets, light domes, rubber, star posts, hardware, nuts, bolts, screws) – Pinball Life
- Backbox Ground Plane – Send, Cut, Send (Thanks to Wally Gorczowski for .dwg file to get it laser cut)
- Cointaker Warm White Retro bulbs were used in the playfield GI. Warm White Mini bulbs were used in the backbox GI.
- Apron decals – Treasure Cove
- All stickers (warning, serial number, etc.) from Peter Koch’s site, laser printed on adhesive paper from Amazon. http://www.pinballrebel.com/pinball/cards/