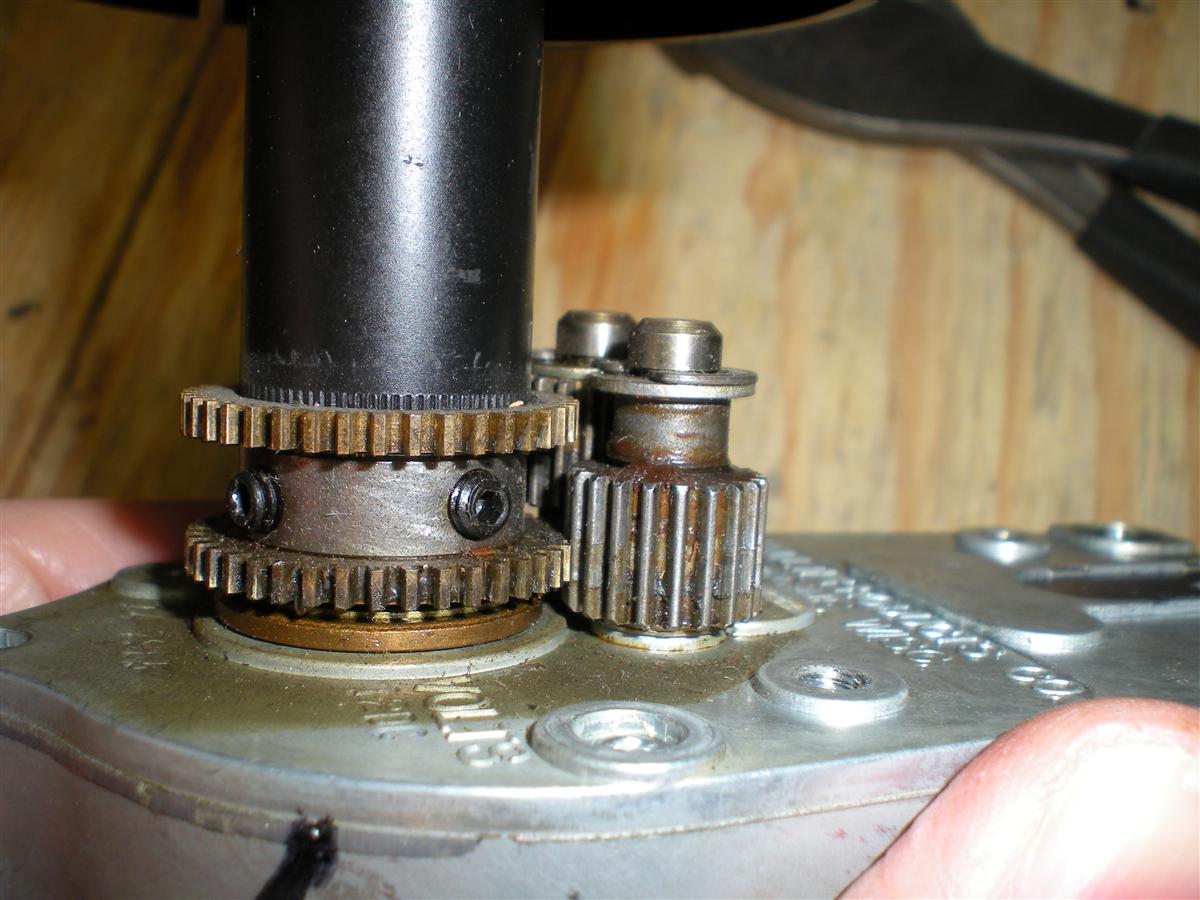
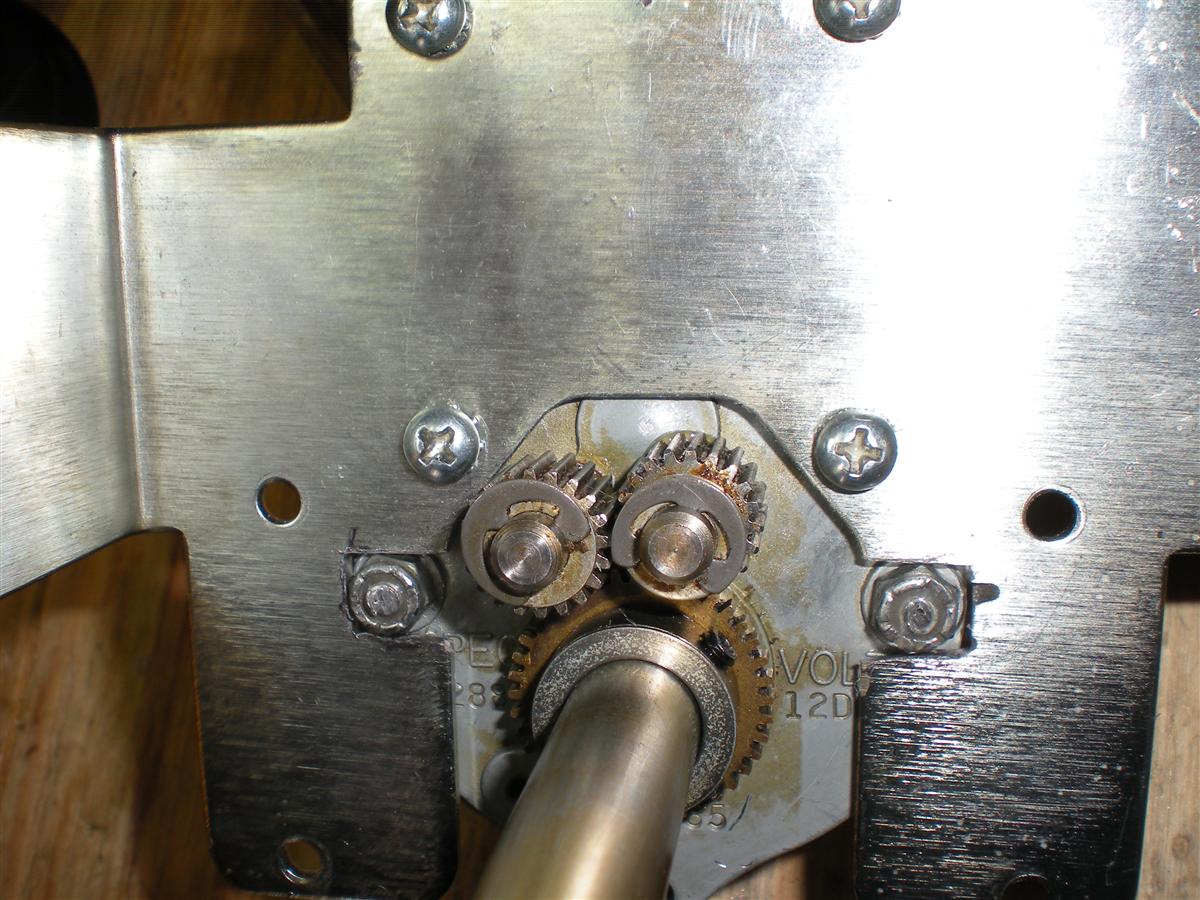
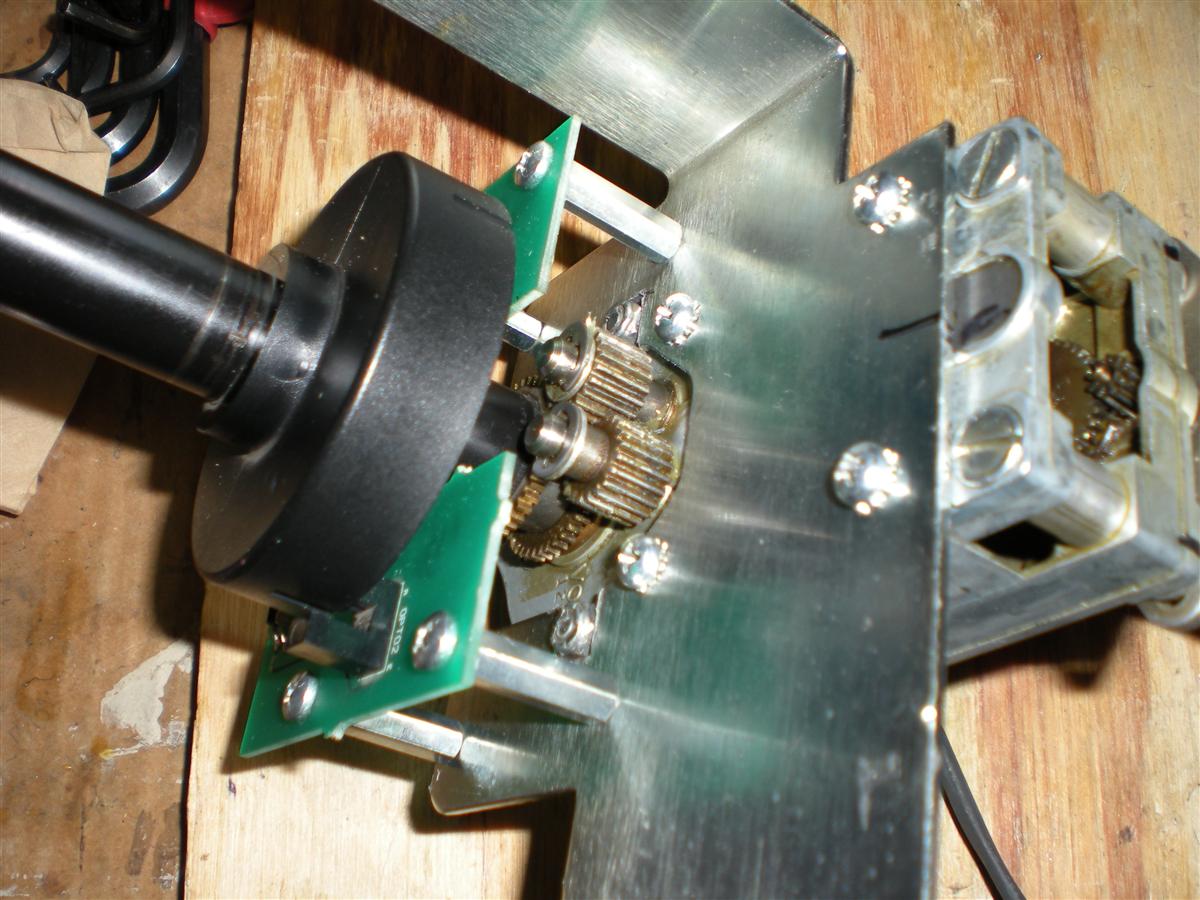
I was asked to look at a gearbox for the Deadworld assembly on a Bally Judge Dredd. Something was wrong and the assembly would not rotate.
There is another motor and gearbox assembly for this game that you can buy from Marco Specialties for $69.00, but I don’t believe this gearbox is available anywhere. So repairing it is the only option.
I hooked up the motor to the 12v DC power supply on my bench and the motor worked. One side of the gearbox is open and I could see gears turning inside, to a point. Obviously something was hung up and broken. The external gears that rotate the outer tube were not frozen, and neither was the outer tube.
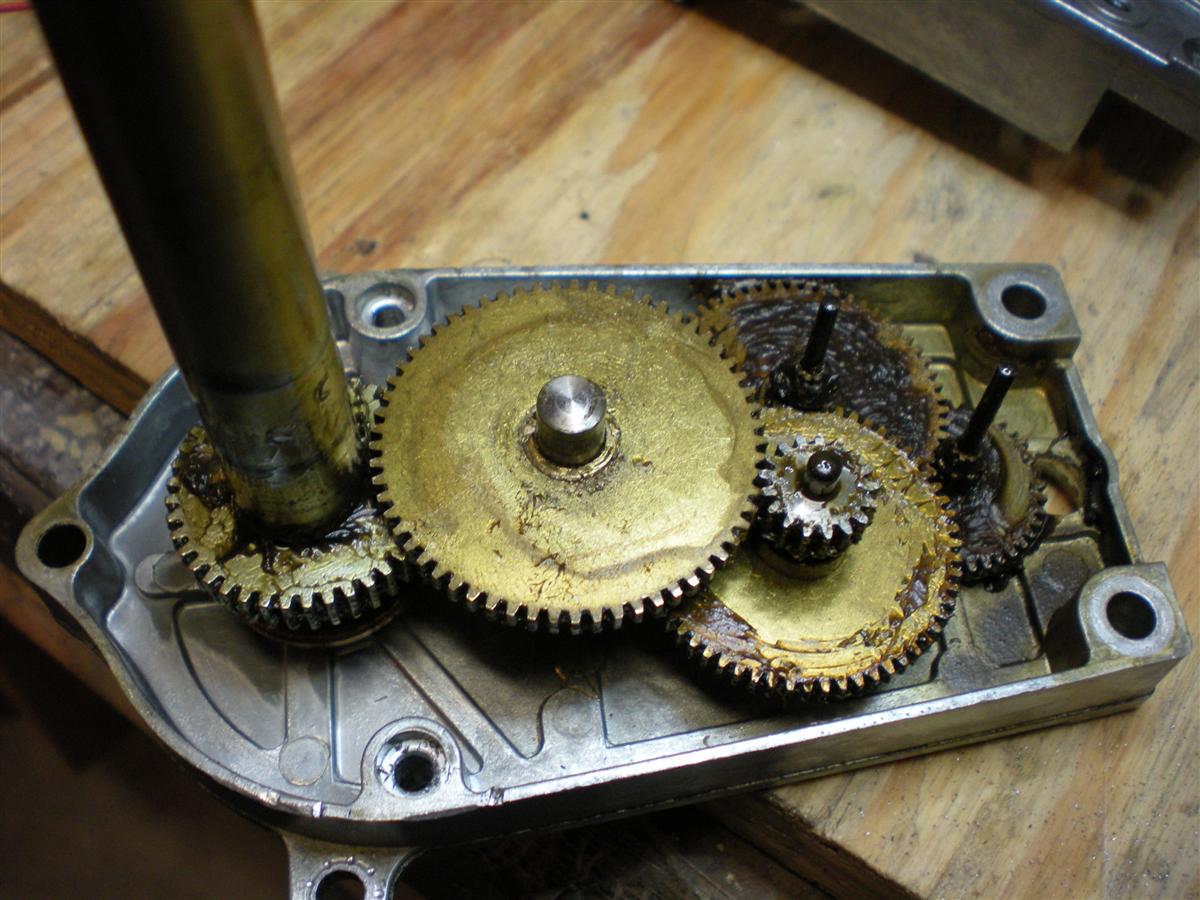
Time to start tearing the gearbox apart. There’s a bit to remove to get to the gearbox and get it open. The gearbox is held together at at two points with long rivets. This allows it to be flush mounted to the bracket that holds the assembly underneath the playfield. I drilled out the rivets and got the gearbox open. Kind of a mess of grease and gunk.
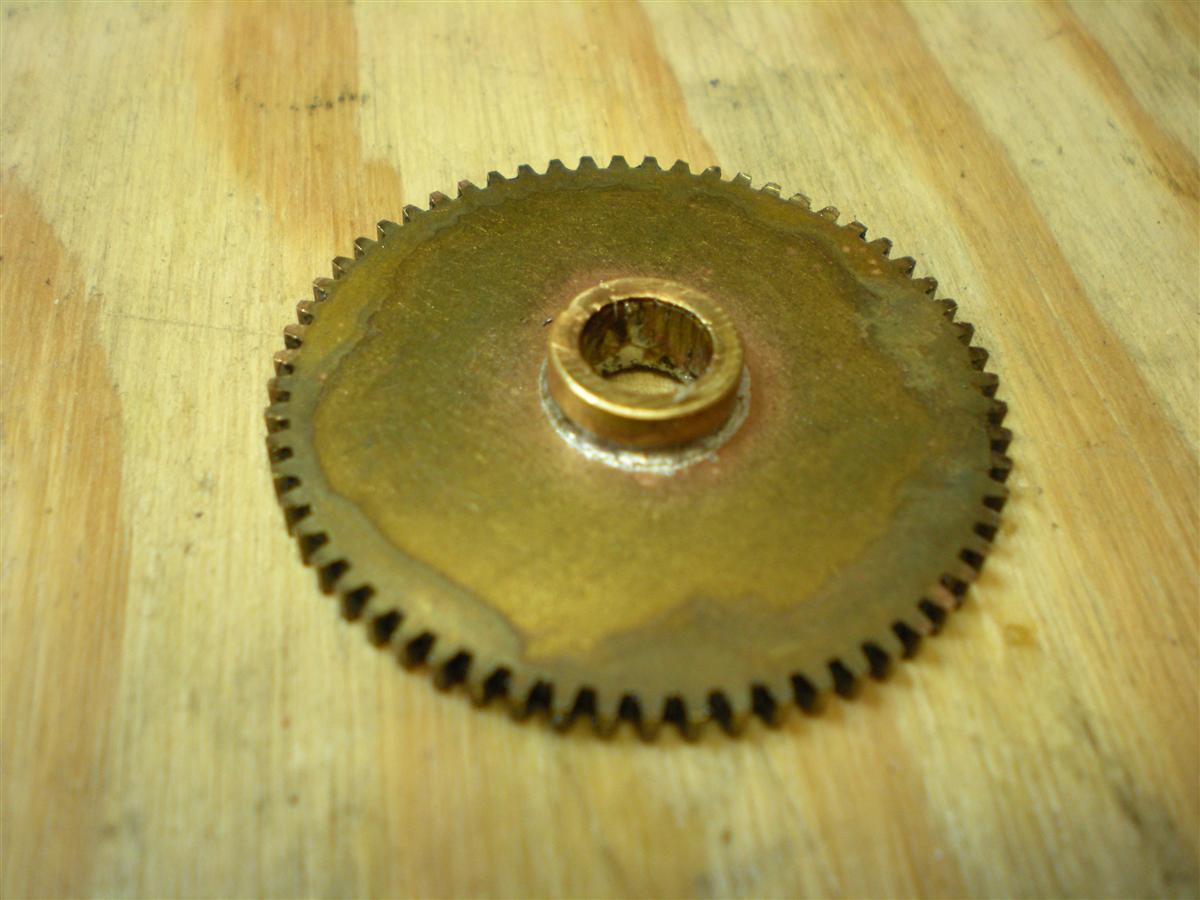
Below is a photo of the culprit. This large gear is pressed onto a splined shaft. The shaft is inserted into a brass bushing which fits into the brass gear. The bushing has teeth which mate up with teeth on the gear. These teeth had stripped.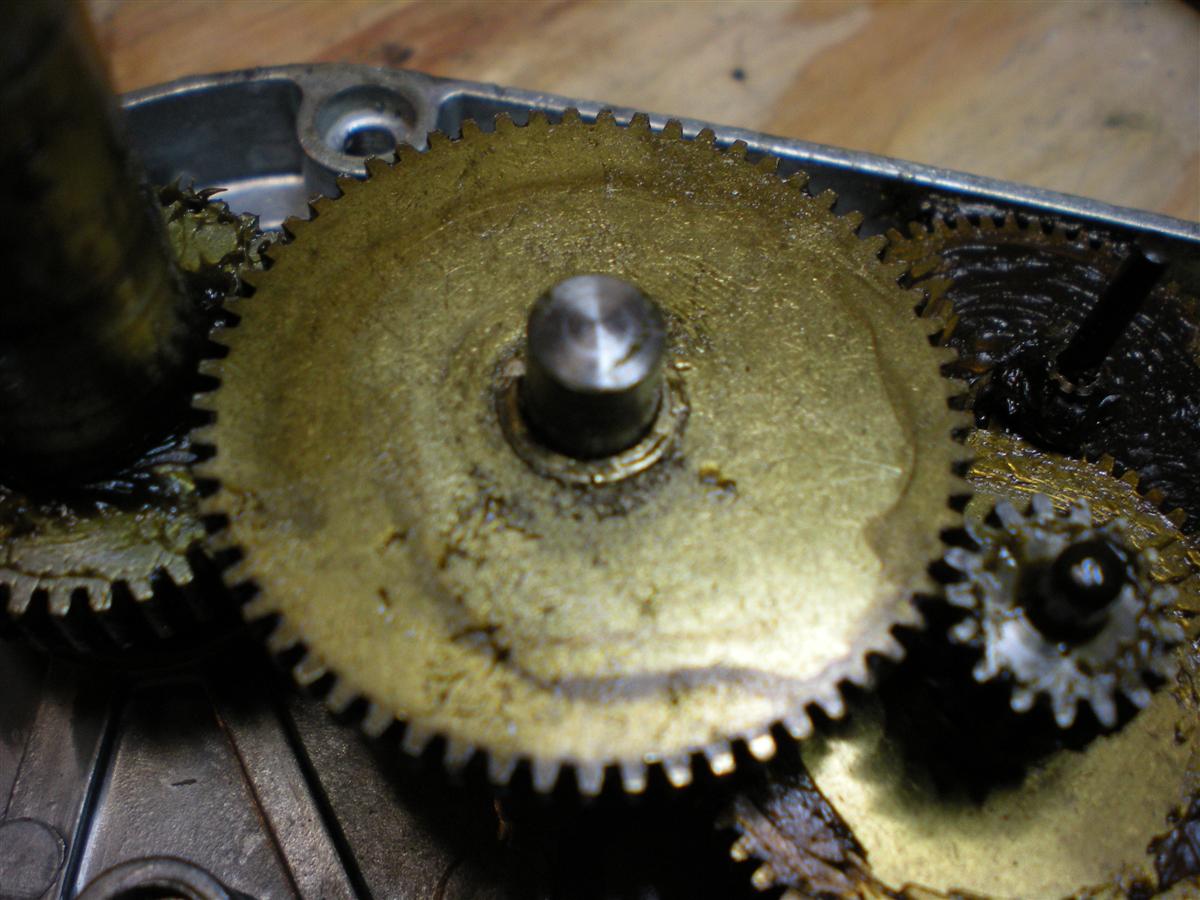
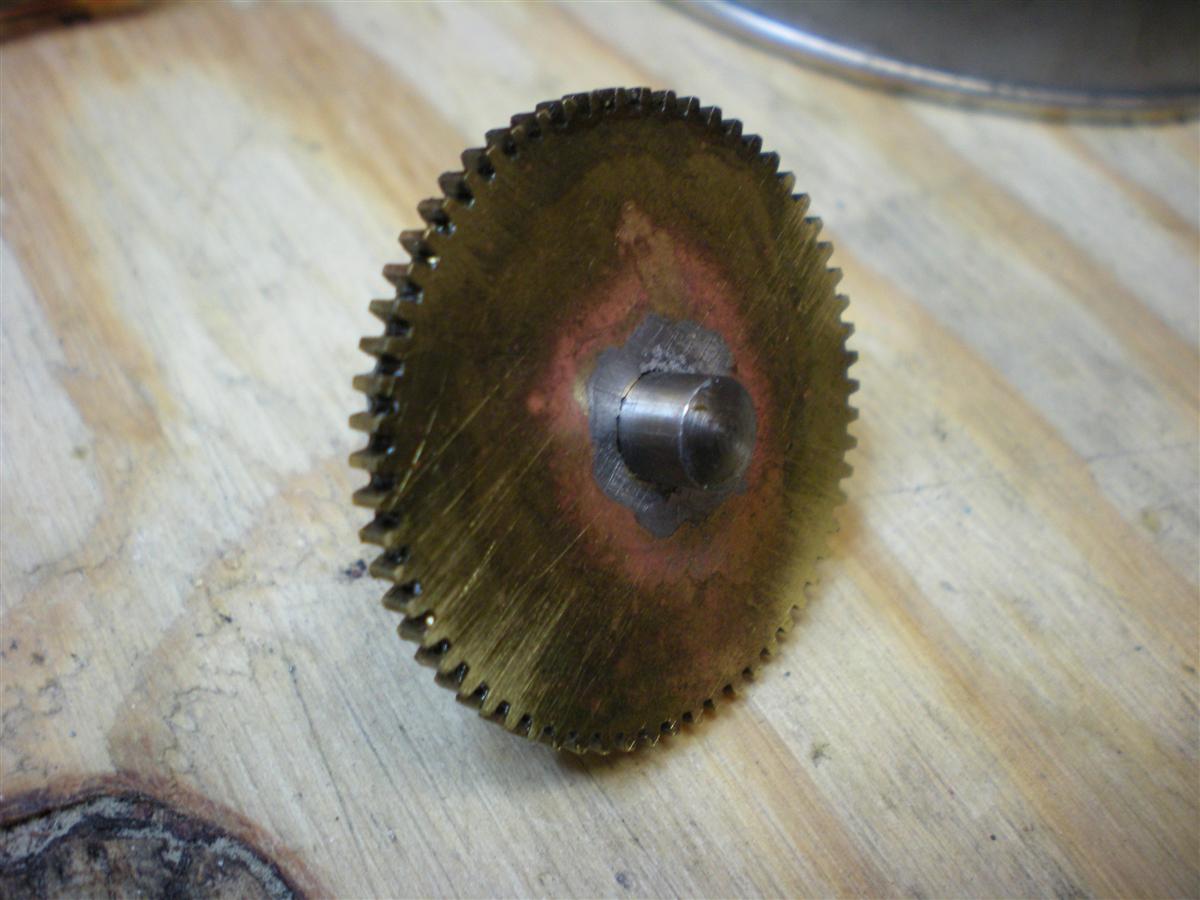
I used my press to remove the gear from the shaft. The bushing then came out. My idea was to solder the bushing to the gear. They are both brass, and they will solder together fine as long as I have everything nice and clean. I cleaned all the grease and grime off the gear and bushing and made sure to use a good amount of flux so that I got a nice and wet solder connection between the two pieces. Here’s the end result, seen from the back (opposite of the view above.)
I used my press again to install the gear onto the splined shaft.
I reassembled the gearbox. Although I have a rivet press and quite a few different sizes of rivets, I did not have the long rivets needed to hold the gearbox together. So I used bolts and locknuts. Unfortunately, the locknuts protrude from the gearbox and keep it from mounting flush to the playfield mounting bracket. There is another bracket on the other side of the gearbox, so I could not simply install the locknuts on the other side. I had to notch the bracket to make room for the lock nuts and allow the gearbox to fit.
Here’s everything reassembled and working. It took a while, but I’m really glad I was able to get this going.


