Edit 12/9/2018
If you are having issues with the diverters on STTNG, I recommend reading through the writeup at Pinwiki found here. I especially recommend doing the modification to move the tieback wire and run it directly from the driver board to the auxiliary driver board.
As an update to the game that is discussed below, the problem with this game continued for years. The upper diverter would lock on, cook the coil, and blow the fuse. I had done everything in the Pinwiki article to no avail. The game would work for quite a while after repairs, but eventually it would lock on the diverter again. It seemed the game was possessed. It was finally determined that the issue was the ribbon cable that runs from the MPU board to the little auxiliary driver board. The game has been running trouble free for over a year after the ribbon cable issue was diagnosed. New ribbon cables can be ordered from Great Plains Electronics. Also realize that the problem can be the connectors on the MPU board and the auxiliary driver board. So keep this in mind while trying to diagnose and troubleshoot issues with the diverters on STTNG and other games that use an auxiliary driver board.
Below continues the original post regarding this issue:
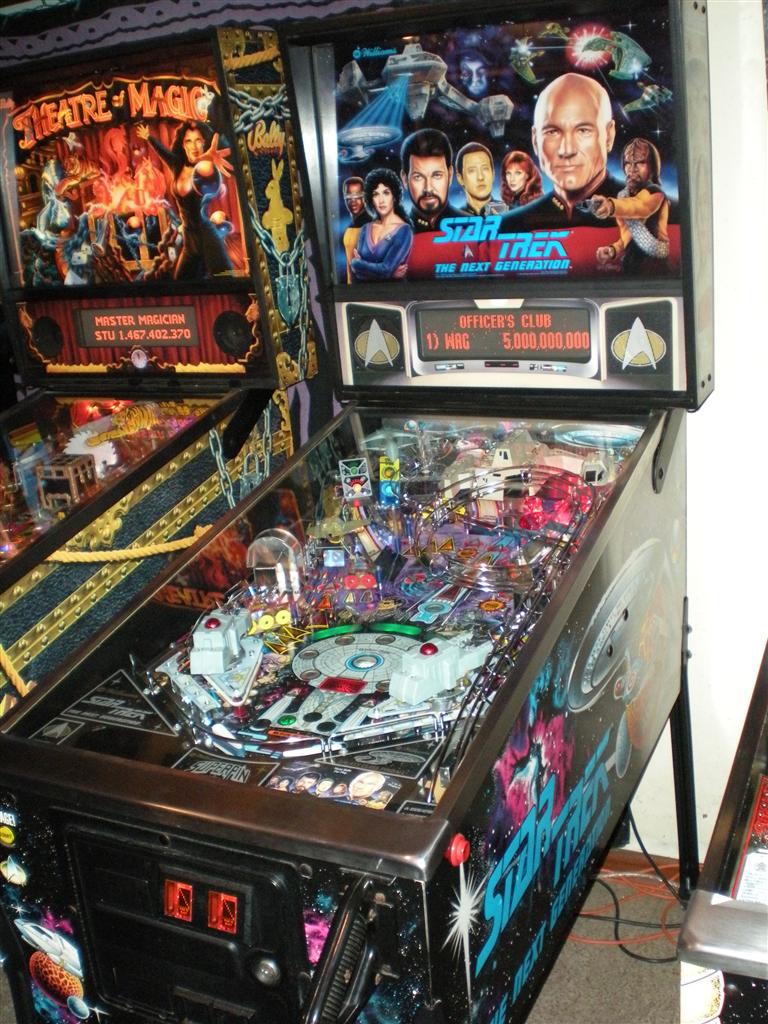
I had the opportunity to work on a beautiful Williams Star Trek the Next Generation (STTNG). The game was not loading the under playfield balls correctly and was cycling the loading sequence.
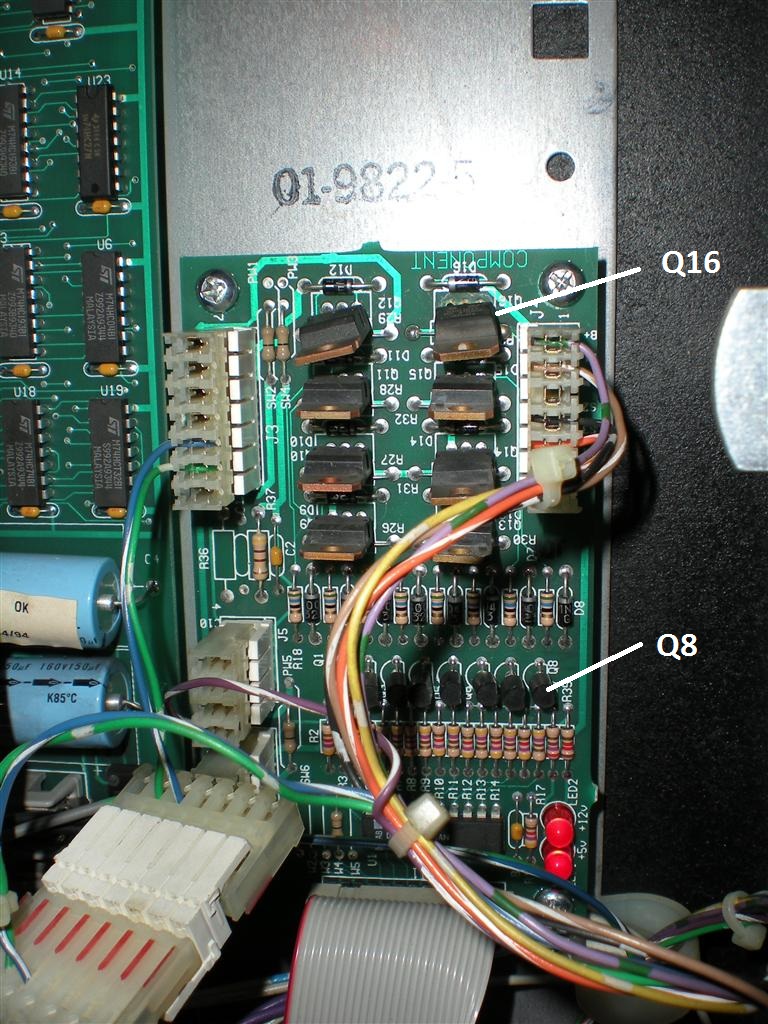
The upper diverter was not working, so the balls could not correctly load the cannons. The diverter’s coil was burned out, and Fuse 103 was blown. The diverter is controlled by an auxiliary driver board in the backbox. The owner had purchased a new Rottendog driver board, but the game still didn’t work right and kept blowing the fuse.
Although I can’t be 100% certain, I think the following is what happened. I believe Transistor Q16 on the auxiliary driver board went bad and shorted, causing the diverter’s coil to lock on. At some point, the coil also burned and shorted. The owner purchased the replacement driver board from Rottendog, installed it, and the shorted coil then burned up its respective transistor (actually a MOSFET). So in the end we had two driver boards with burned up components and a shorted and burned up coil.
I replaced Q16 and the coil and the game operated correctly. But that’s not all that needed to be done. While talking and discussing all things pinball with the owner, I forgot to also replace the pre-driver transistor located located at Q8. After a few games, the diverter coil started acting funny again and blew the fuse. I attributed this to me not replacing the pre-driving transistor, so it was replaced.
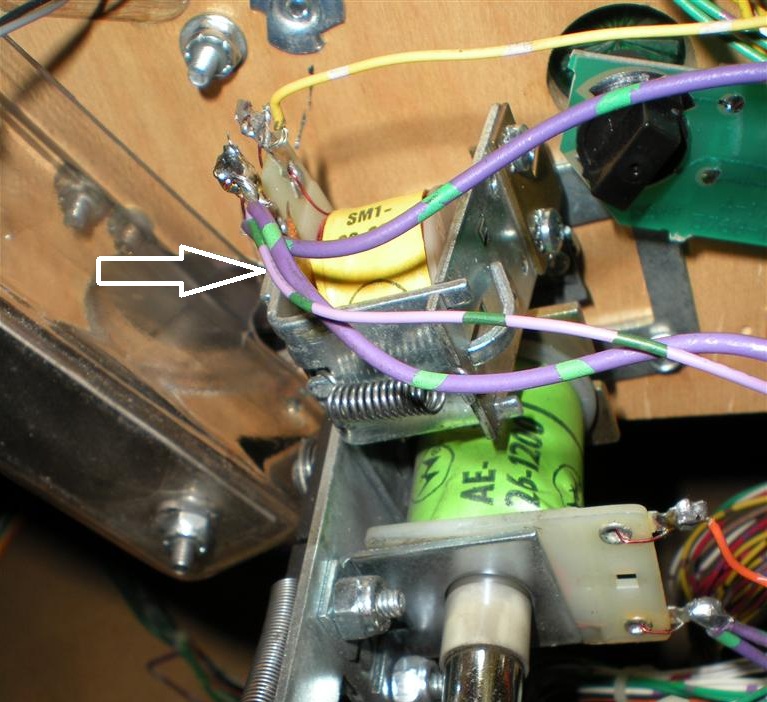
The game played correctly for probably 50+ games and eventually the fuse blew again. There was more back and forth and diagnosis involved with the replacement Rottendog board, I’ll save those details for another day. I finally traced the problem to the tieback wire that is attached to the 50v supply voltage for the coils.
One of the first things I did when I started the repair was to check the tieback wire, shown above. Not only did I verify that it was in place, I checked continuity with my meter from the wire’s attachment through the backbox connector to the driver board. This wire provides 50v to the auxiliary driver board and must be in place for it to work correctly. Although it was in place when I checked earlier, it appears that it must have come loose at some point during the repair and troubleshooting process. With the tieback installed correctly and everything repaired, the game is now working fine. This ended up being a good exercise in troubleshooting the typical STTNG diverter problems. I think I ended up covering all the usual suspects, and the take away for me is to always check and double check the tieback wire.


