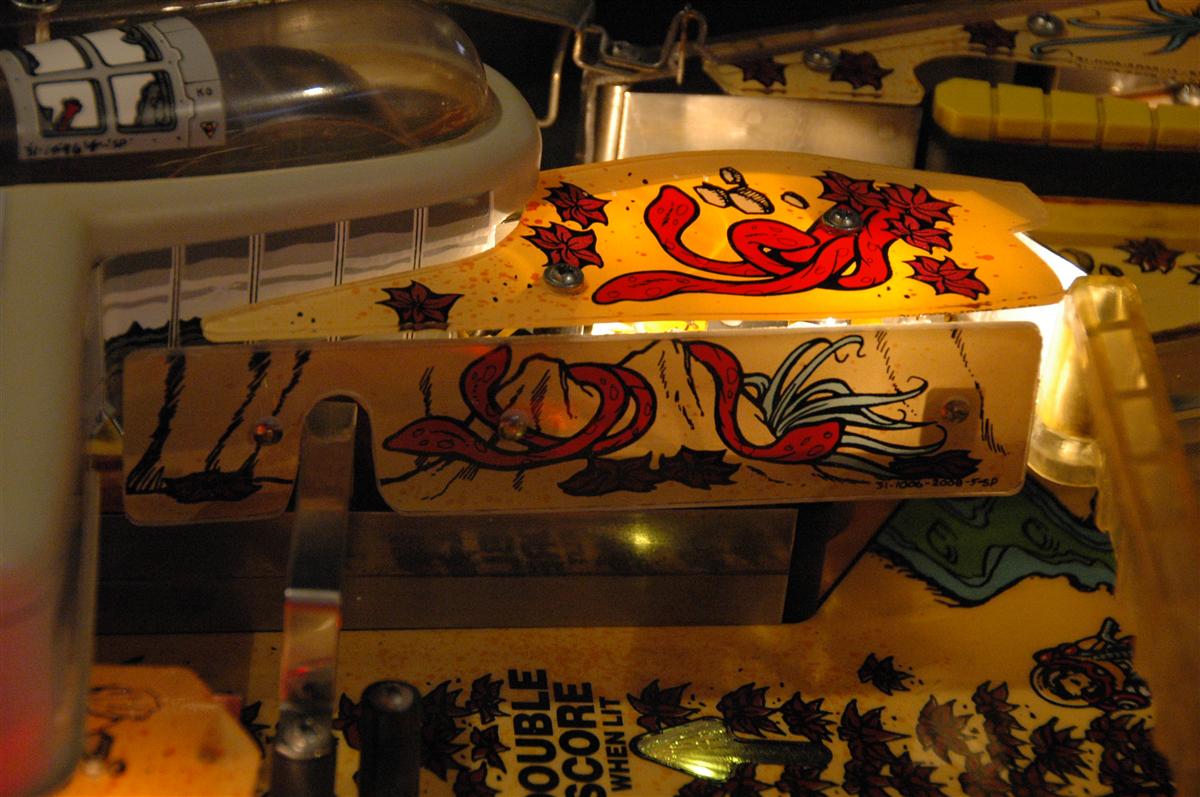
I picked up a Bally Transporter the Rescue that was missing a plastic piece.
This piece is subject to ball hits and is often cracked and damaged. Transporter is a fairly uncommon System 11 game with only around 859 produced. So the chances of finding a replacement are slim. And the chances of them ever being reproduced is practically zero. So if you want a new plastic, you have to make it yourself.
I was able to get a scan of the plastic piece from an individual on RGP. I really appreciate how the pinball community helps each other out. Here’s what I had to start with.
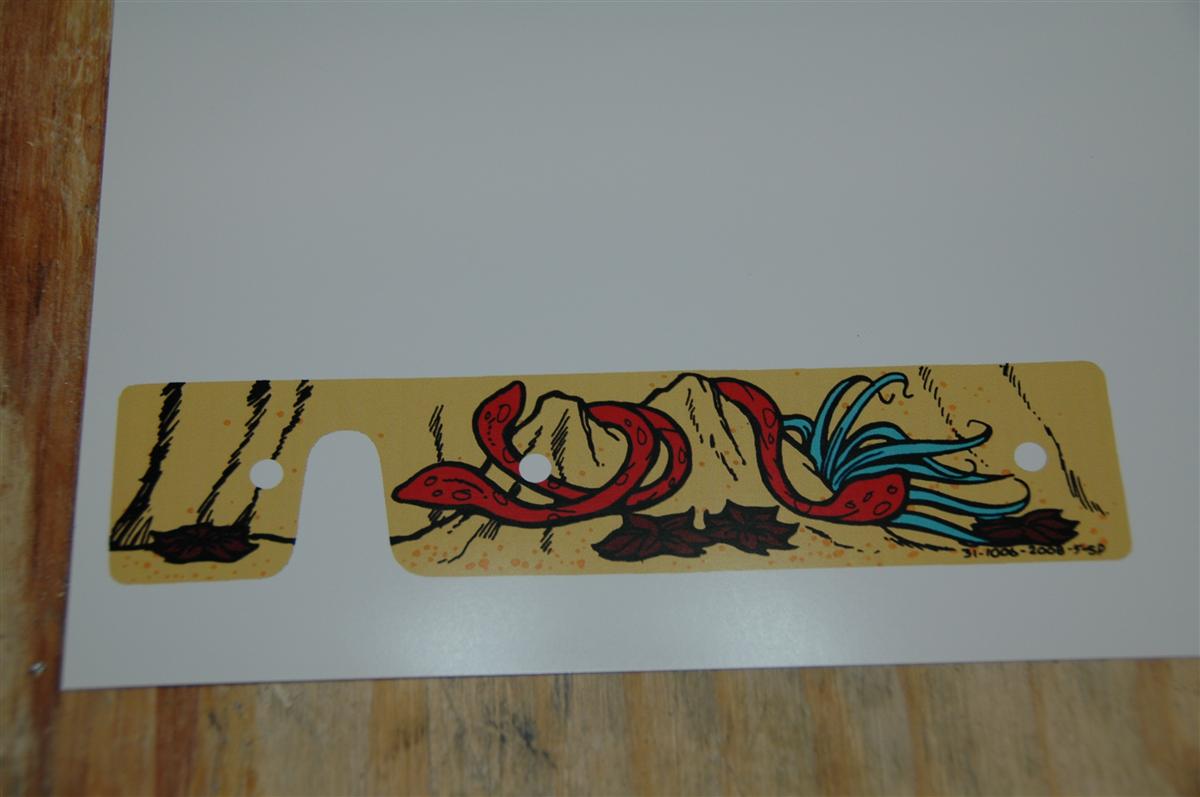
As you can see, it is cracked and will need some work to get the image ready for printing. I edited and cleaned up the image with GIMP. Once I was done, I printed it on some decent quality photo paper that wasn’t too heavy or thick. I didn’t want it so thick that it obscured the light from the bulbs behind the plastic. Below is a print that I didn’t use. I actually should have used this print as the yellow matches better than the one I ended up using.
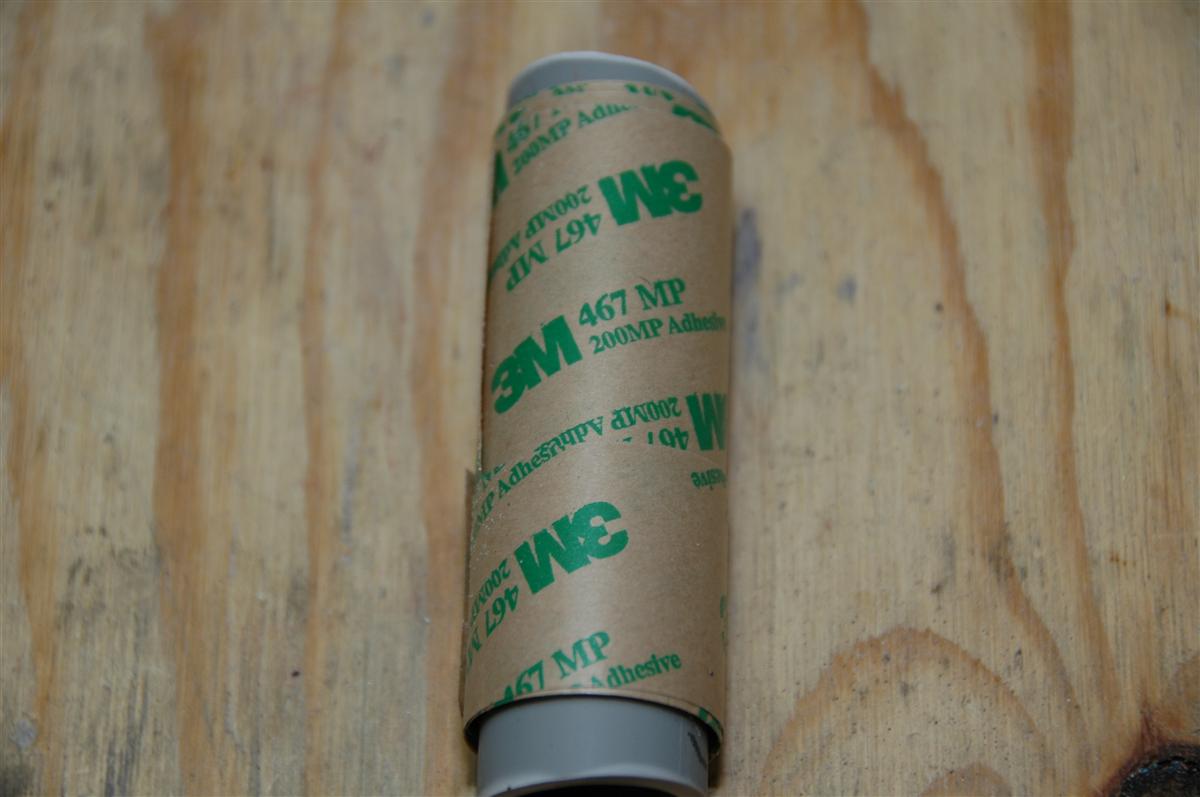
I picked up some Lexan from Lowes and cut out the correct shape with a cutoff wheel and my Dremel. I trimmed the print, and adhered it to the Lexan with 3M 467MP adhesive that I purchased from PinRestore (now defunct). The 467MP works great and is practically invisible. You end up with a part that looks remarkable close to an original plastic piece.
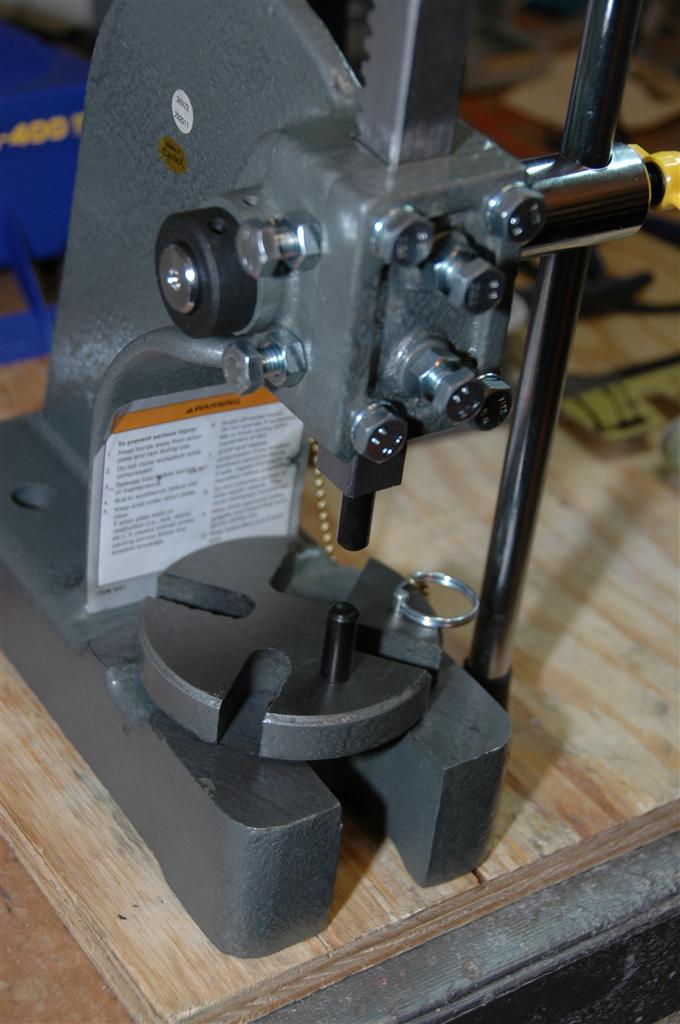
This was also an opportunity for me to use my new rivet press. I purchased a 1/2 ton arbor press from Harbor Freight and modified it with PinRestore’s Rivet Press Kit.
Below is the end result.
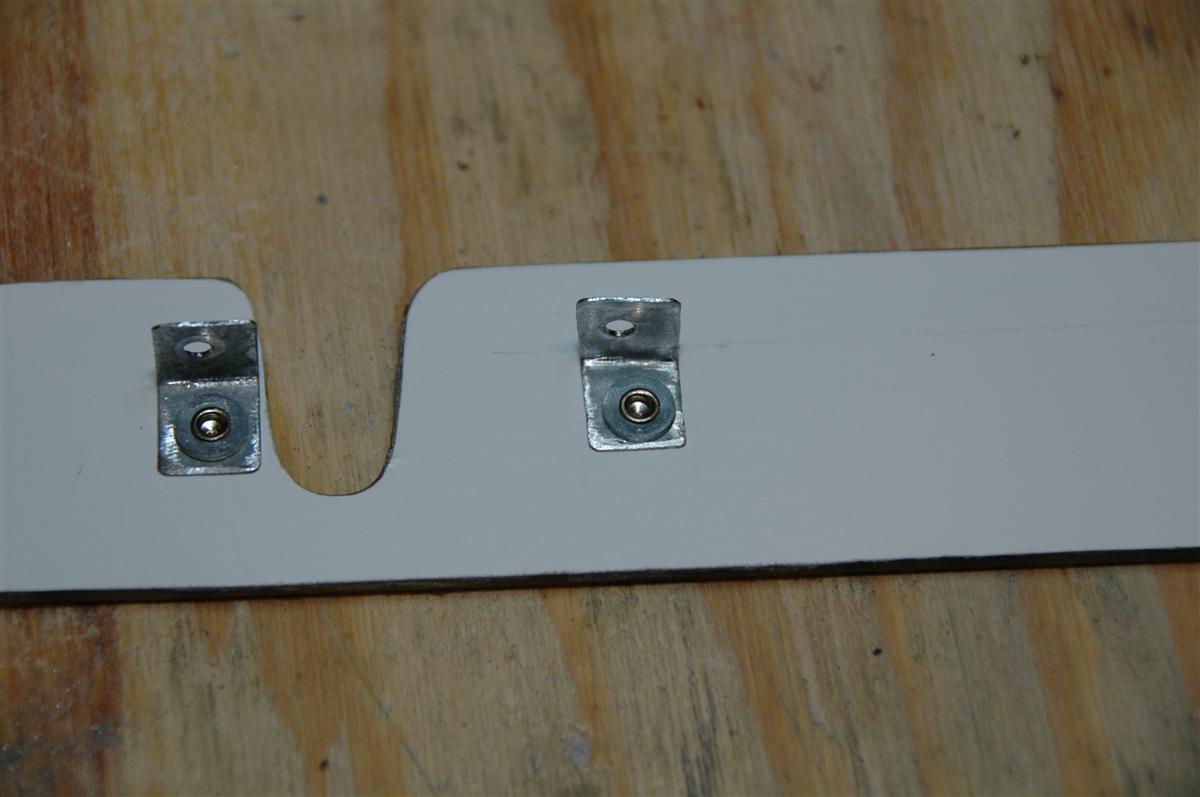
I had to make some brackets since nothing I could find was the right size.
Here’s the end result. If I was doing it over again, I would have used the other print shown above as its yellow matches better when illuminated. But I’m still very happy with the end result.


