This Bally Strange Science had problems with its displays. They were displaying garbage, making playing the game not much fun.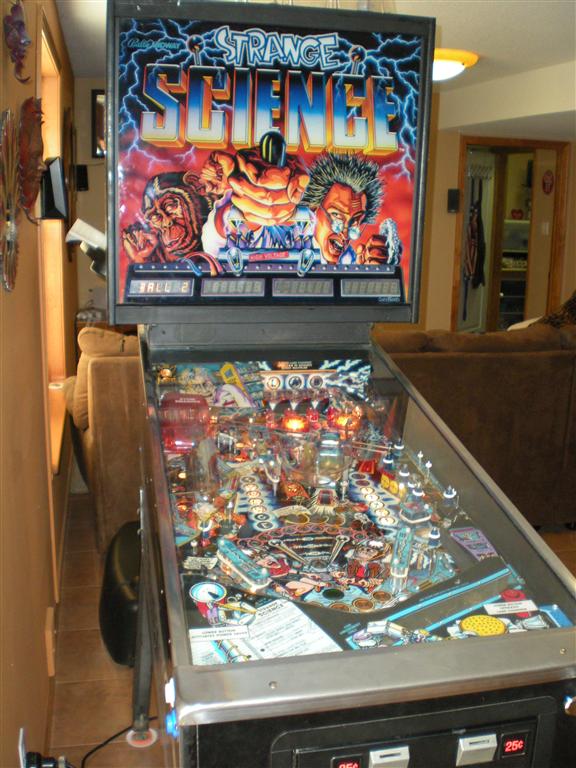
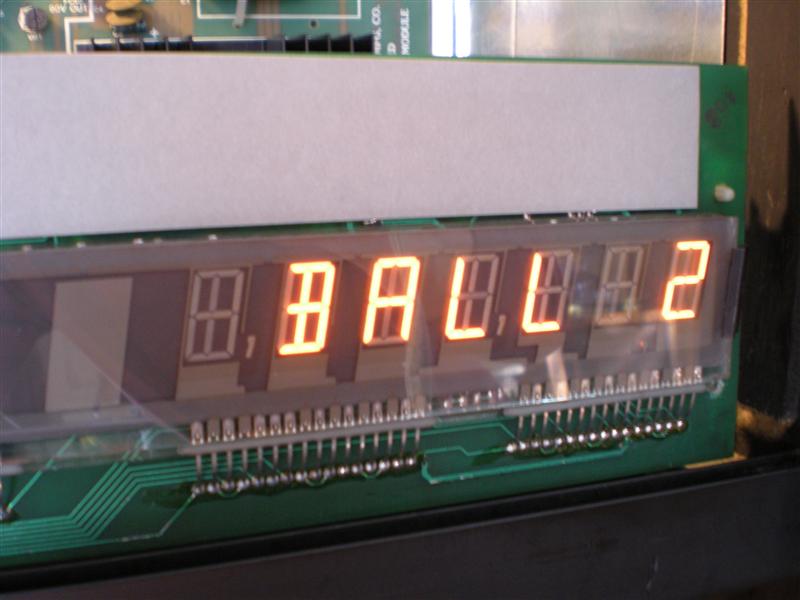
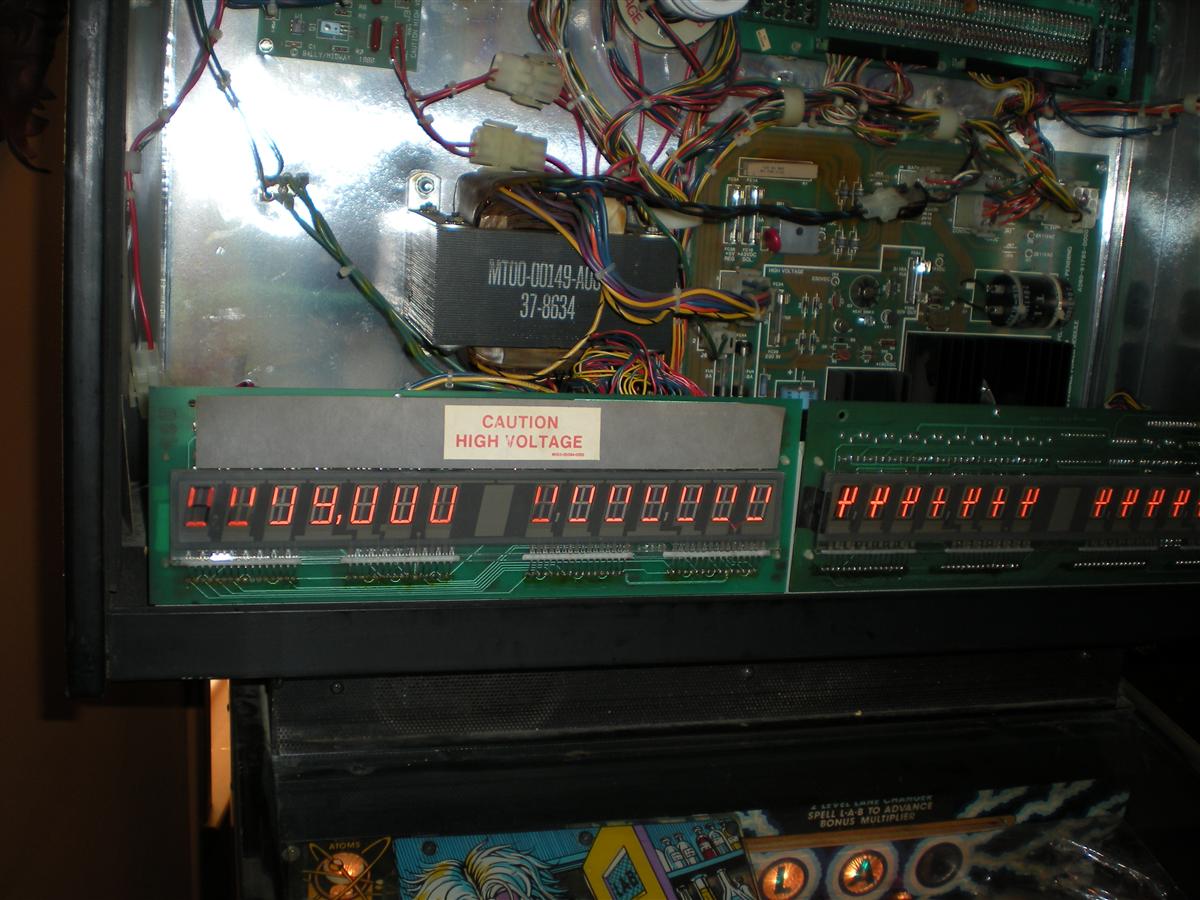
Below is what we were looking at. You could see that the digits were trying to display, but there were segments that were locked on or locked off.
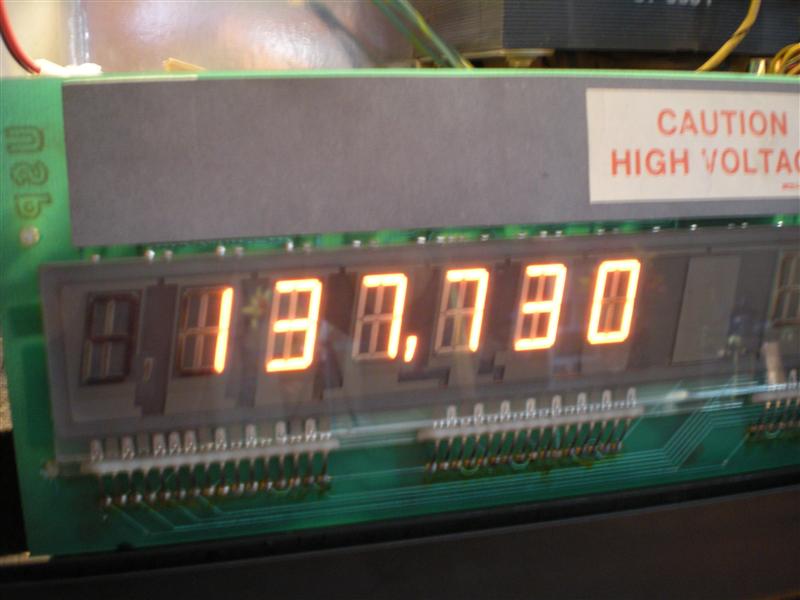
Reseating the connectors made no difference. All voltages checked out fine and were within specifications. I did notice one potential problem with the power supply (more on that later.) The connector pins on the display boards looked fine with no cracked solder joints. The next suspect is two integrated circuits (ICs) on each display board: a 4514 decoder at U1 and a 74HC373 octal latch at U2. The 74HC373 had been replaced on one of the display boards, and was socketed. I removed the other ICs from both boards and installed sockets. After installing new ICs, the displays were up and running fine. Sorry for the blurry photo.
The next issue was a few computer controlled insert lamps that were not illuminating. The diodes under the playfield for each lamp tested good. So the next place to look is the lamp driver transistors on the CPU board. With my multimeter set in the diode testing mode, the respective transistors tested bad, so they were replaced. The lamps now worked.
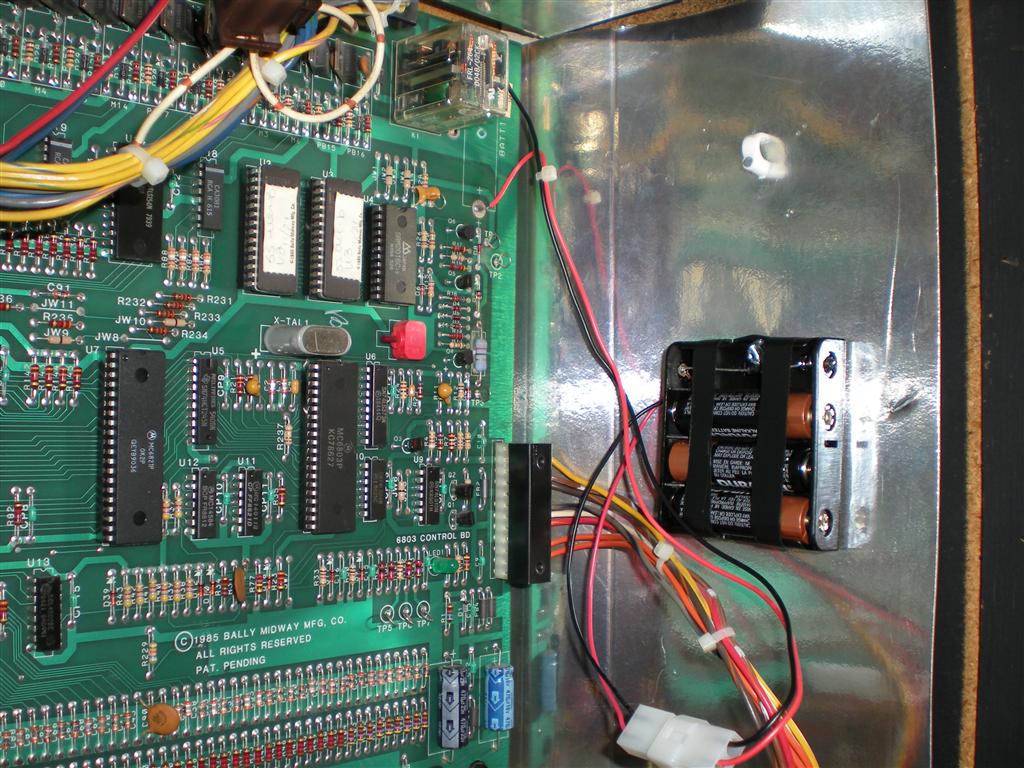
The game still had its Ni-cd rechargeable battery on the CPU board. Luckily it had not leaked and it was still providing power to the game. However, leaving the Ni-cds on the board is an accident waiting to happen. The battery was removed and a remote battery holder was installed. You must install a blocking diode in the battery pack to prevent the game from trying to charge the alkaline batteries.
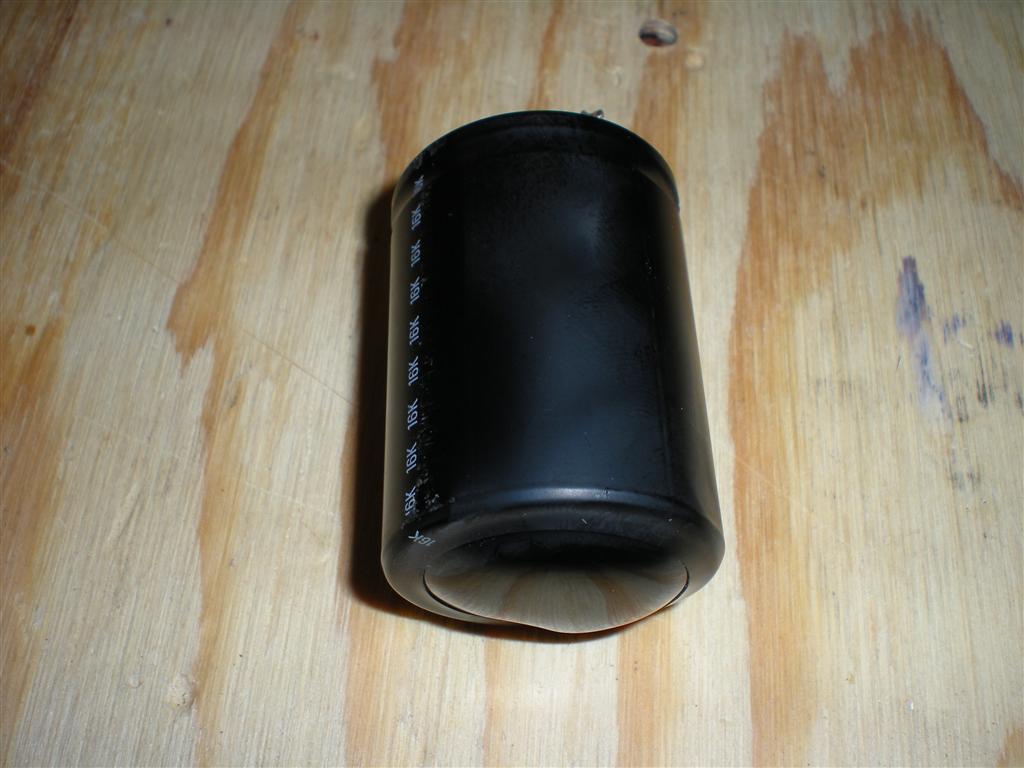
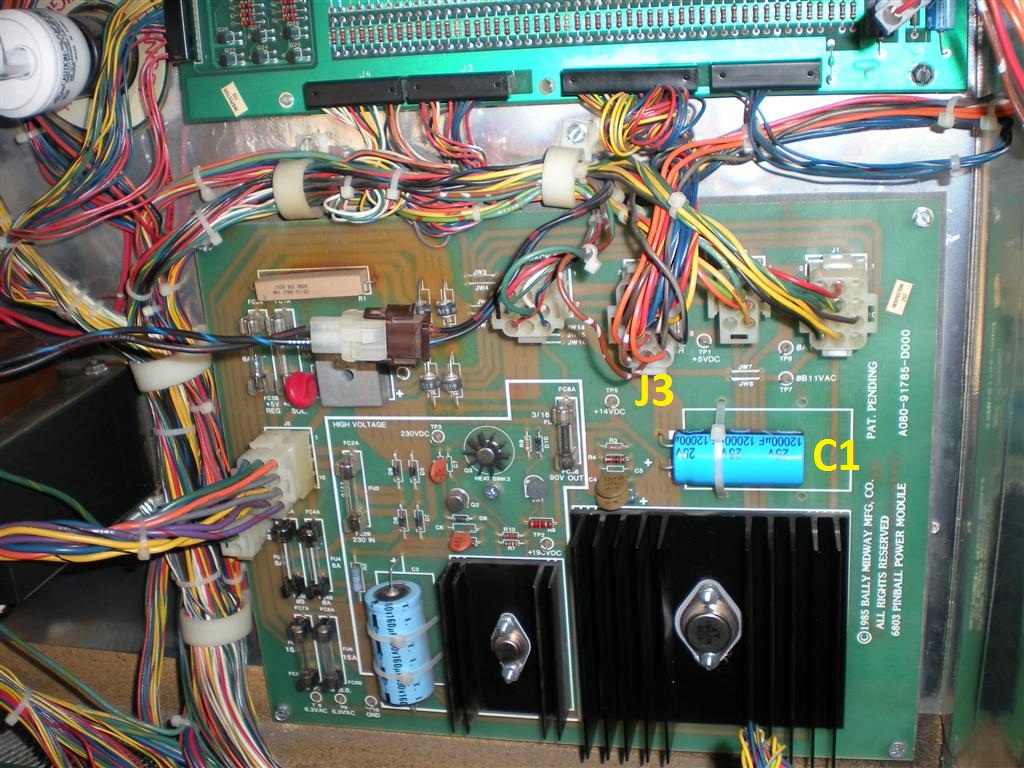
At this point, the game appeared to be working fine, but there were occasional times when it would not boot correctly to attract mode. The owner pointed out that by applying pressure to the 5v regulator’s heatsink on the power supply board, the game could be made to operate. As mentioned earlier, there was one potential issue with the power supply that was immediately obvious. Capacitor C1 looked like it had seen better days.
I looked over the rest of the power supply, did some continuity testing, and didn’t see any problems off hand. There had been previous repairs, but nothing looked suspect. Unfortunately I didn’t have a replacement for this capacitor on hand. I needed to pick one up and return later to finish up the repair.
In the mean time, the owner continued to play the game. However, before I could get back, a transistor for the close atom smasher coil shorted and burned out the coil. When this happened, the displays quit working again.
When I returned, I replaced the transistor for the burned out coil as well as its pre driving transistor, and the associated resistor and capacitor. The owner had replaced the burned out coil and had narrowed down the intermittent power issue to Connector J2 or J3 on the power supply.
On the power supply, I replaced Capacitor C1 and inspected the connectors. Connector J3 provides 5v power to the CPU, so issues with it could be causing the booting problems. I inspected the pins on the board and in the connector. After some work on J3’s male and female connectors, the power supply went back in the game and worked fine. We could not reproduce any problems with the game not booting despite pushing and moving the connector or the 5v regulator’s heatsink. So between the capacitor and the work on the connector, the issues appear to be solved.
With the power supply repaired and the transistor fixed, it was time for the displays. I replaced both 4514s as they were bad, and one of the 74HC373s. The displays were back up and the game was playing fine.