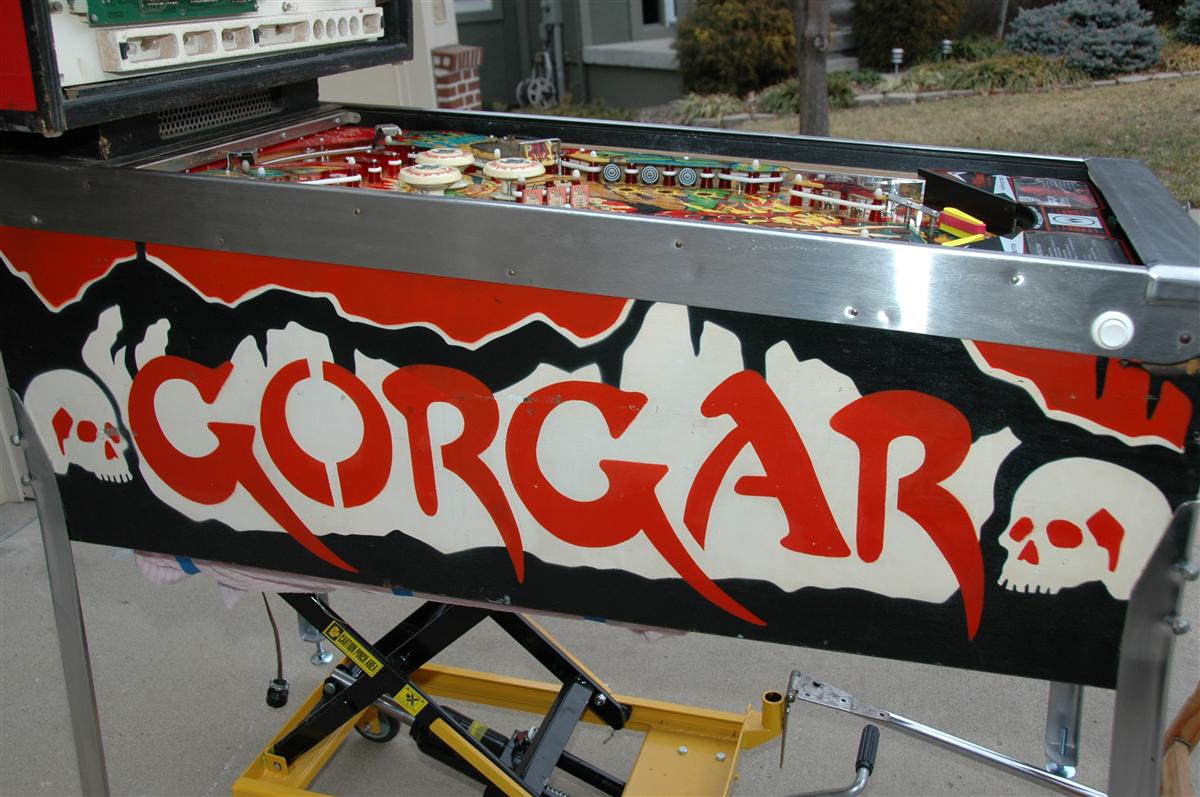
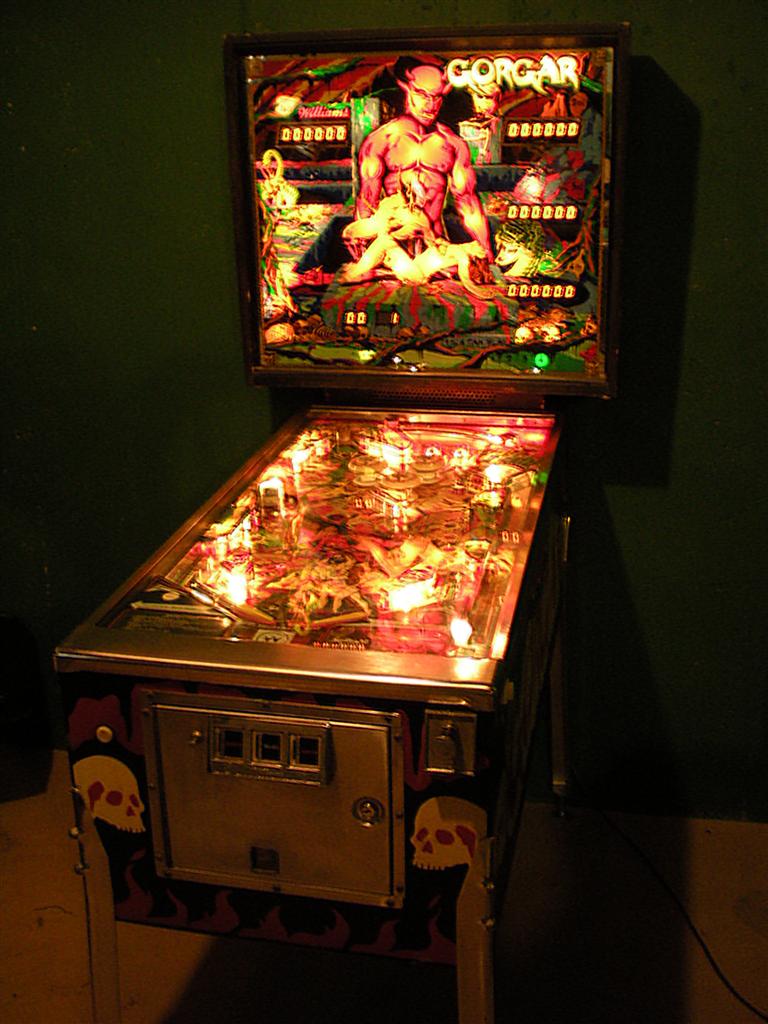
I was called to look at this game in the owners home. It was in nice overall condition underneath all the dirt and grime, however it was beyond the point of being fixable in a day.
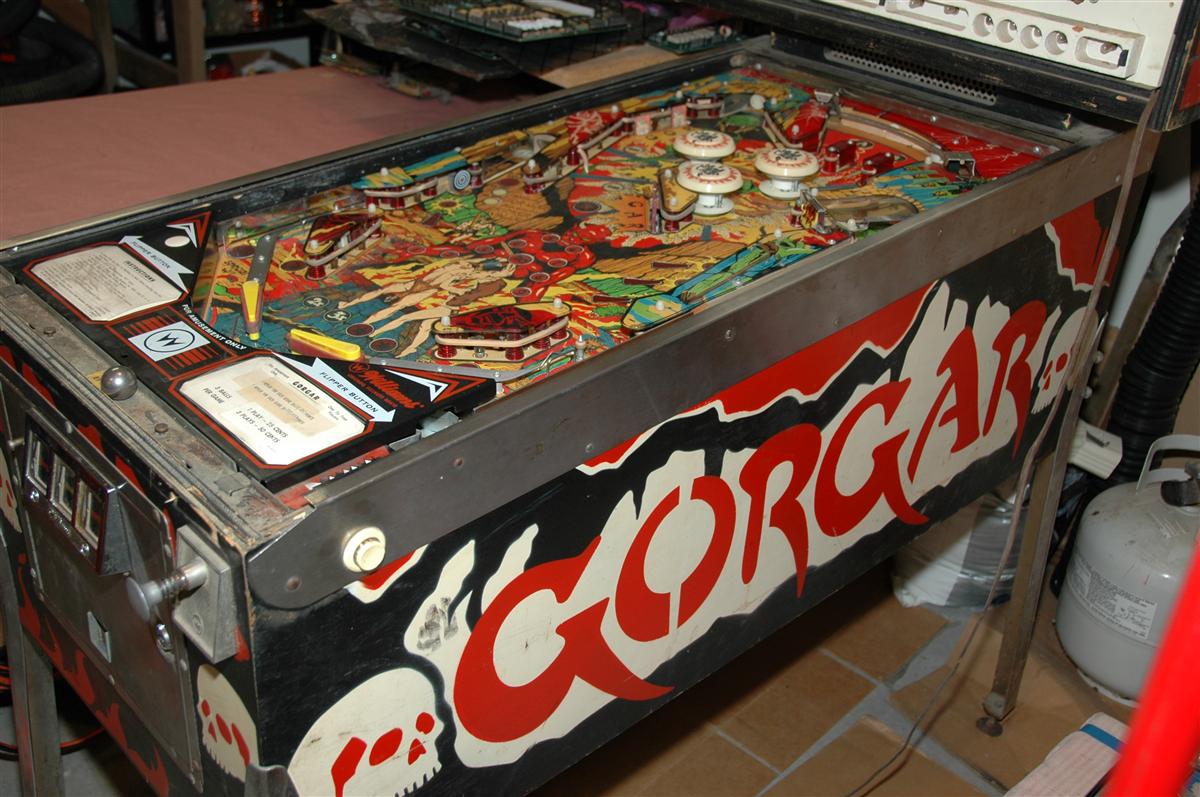
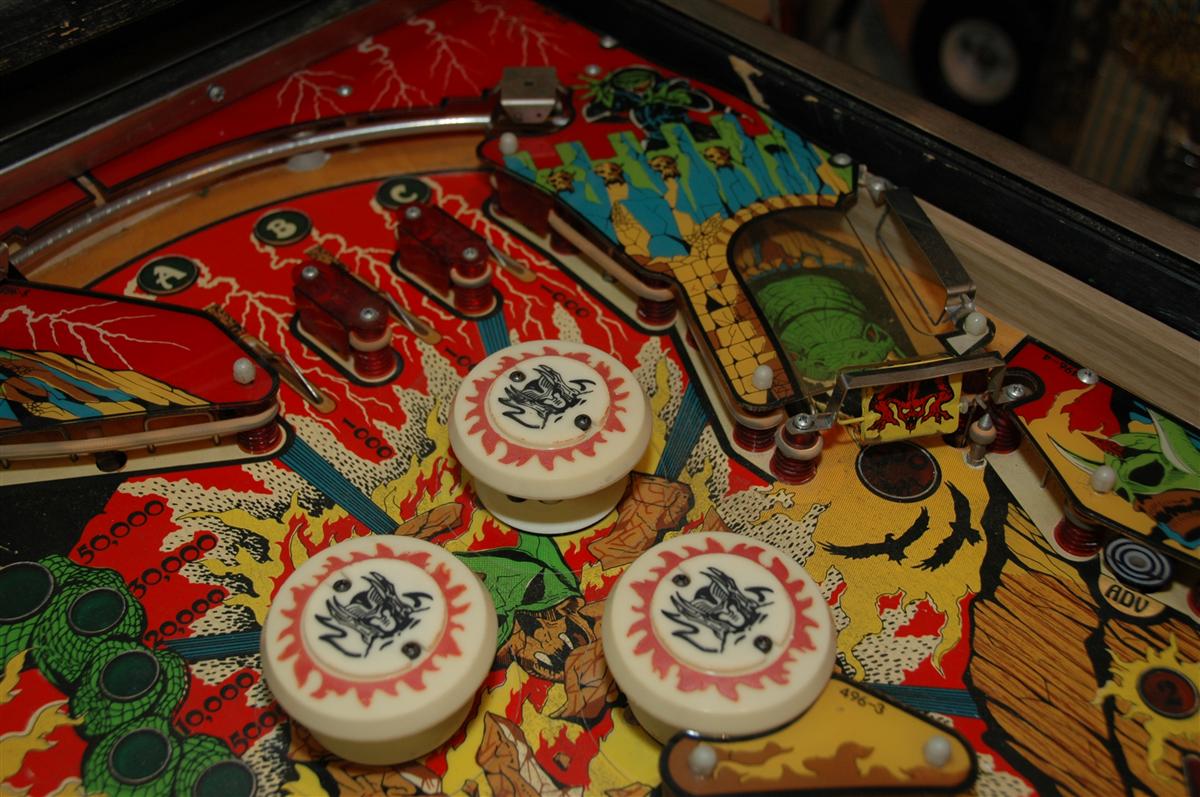
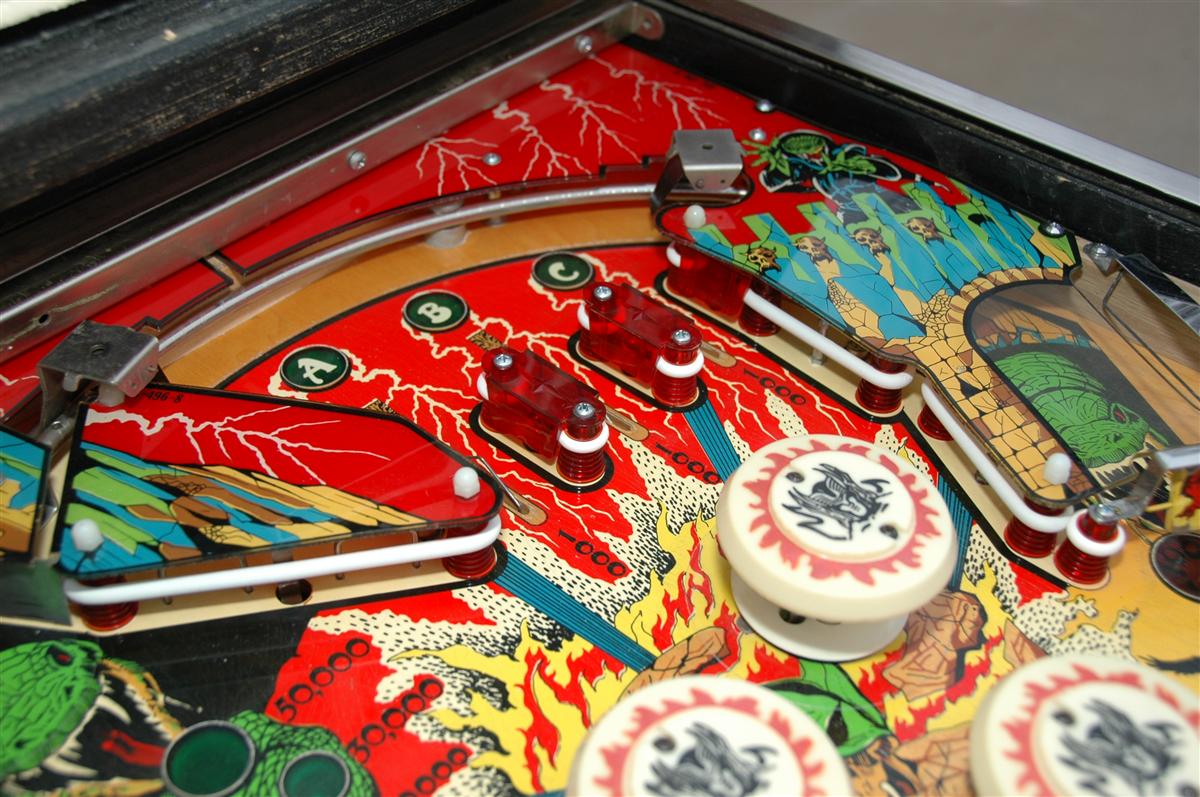
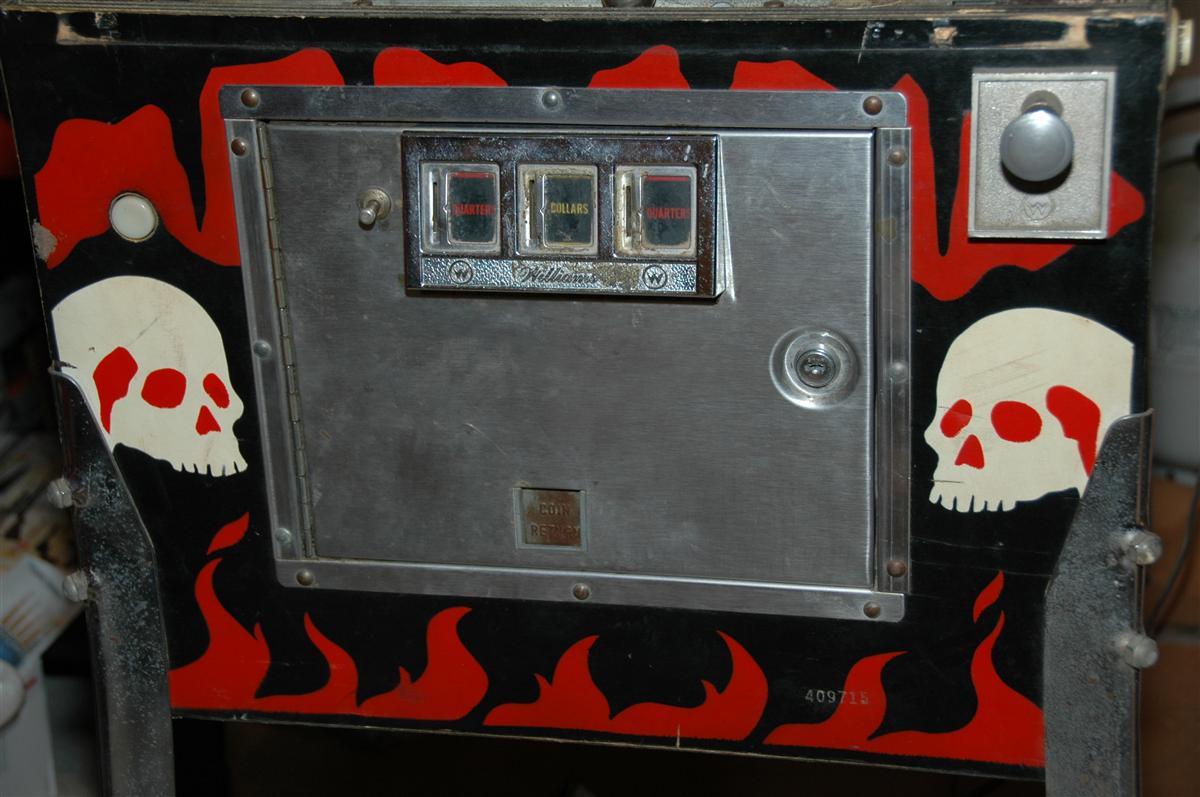
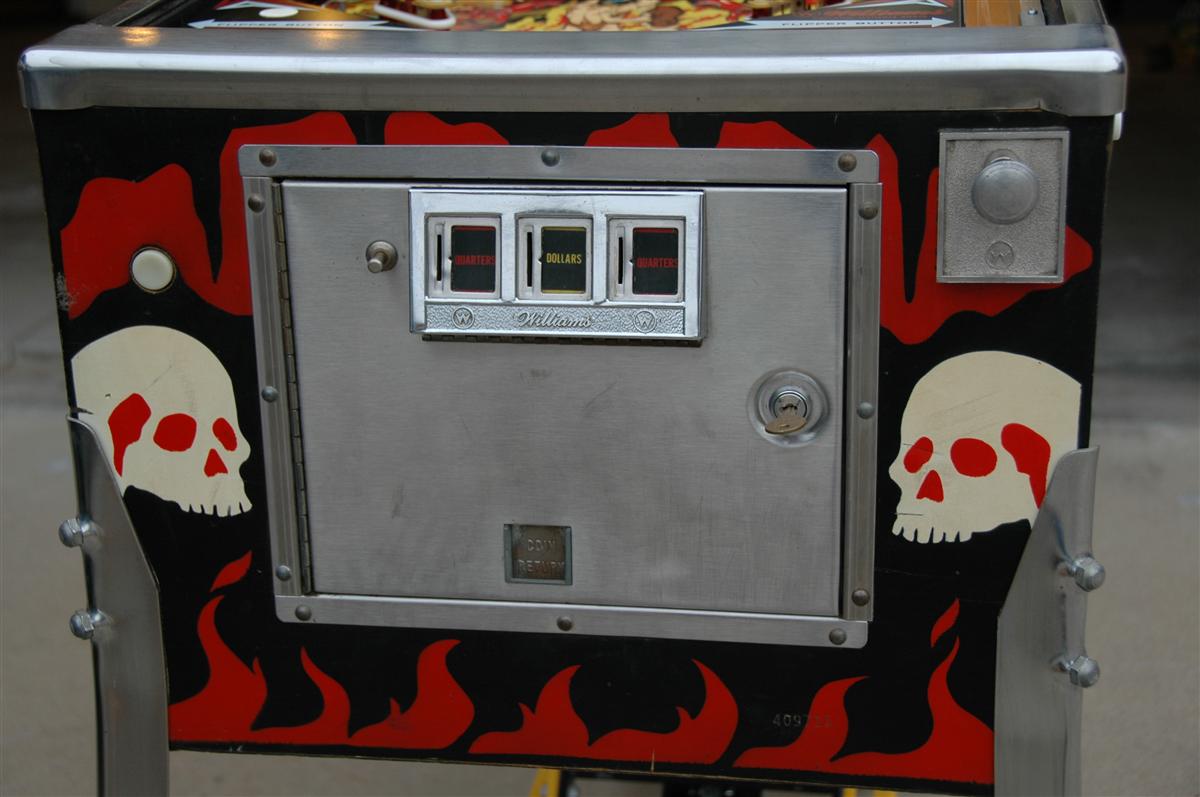
The game was complete with very little playfield wear despite there being no Mylar. All plastics were in place, the backglass was nice, and the cabinet had very few scuffs and not much damage. In other words, it was definitely worth fixing and bringing it back to life. The owner agreed and I ended up bringing it home to repair. The intent was to get the game going on a budget. This wasn’t going to be a restore, but the amount of work was beyond a typical “shop job.”
The game had corrosion damage from leaking batteries and would not boot. I cleaned up the CPU, replaced a few damaged components, and replaced all the ROM sockets. The driver board needed a new 40 pin connector as did the CPU. All electrolytic capacitors on the game were replaced, from the power supply to the sound boards. I also replaced all the header pins on the driver board for reliability. This was probably overkill, but I did it anyway to try and prevent future problems. This game’s power supply is the one on the left, before any repair work was performed. The power supply on the right is for my Tri-Zone, also before repair.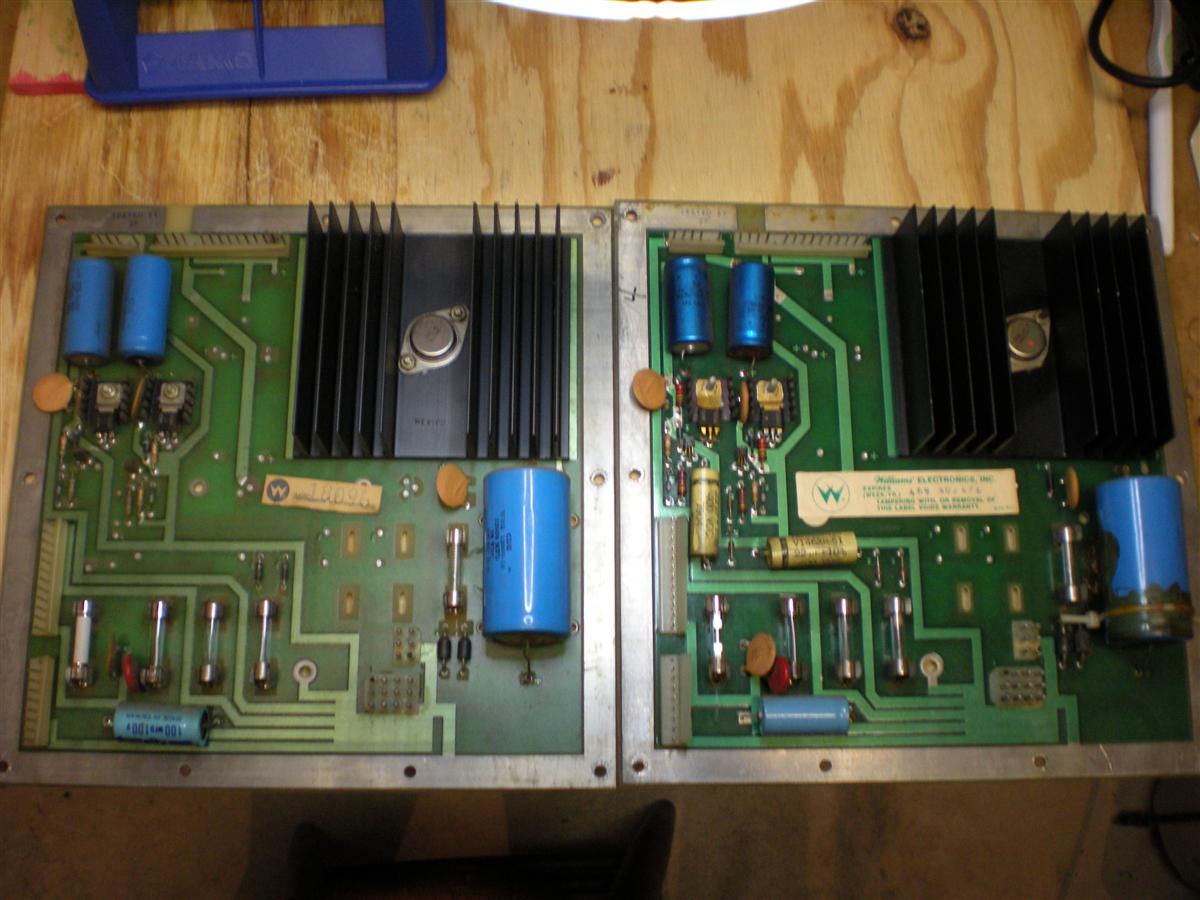
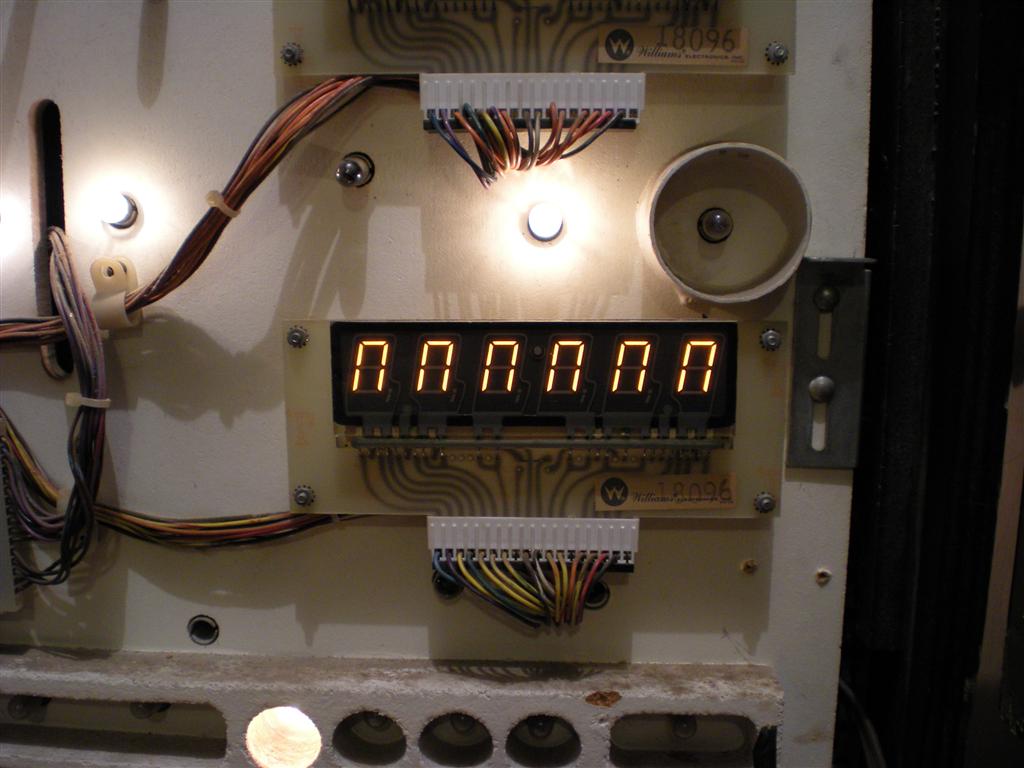
After this, the game booted and Gorgar spoke. However the player four display had issues.
Unfortunately, or fortunately depending on how you look at it, this was due to the display glass itself being bad. The bottom segments are shorted and were burning up their respective resistor on the display driver board. I managed to find a reasonably priced replacement glass and soldered it in place.
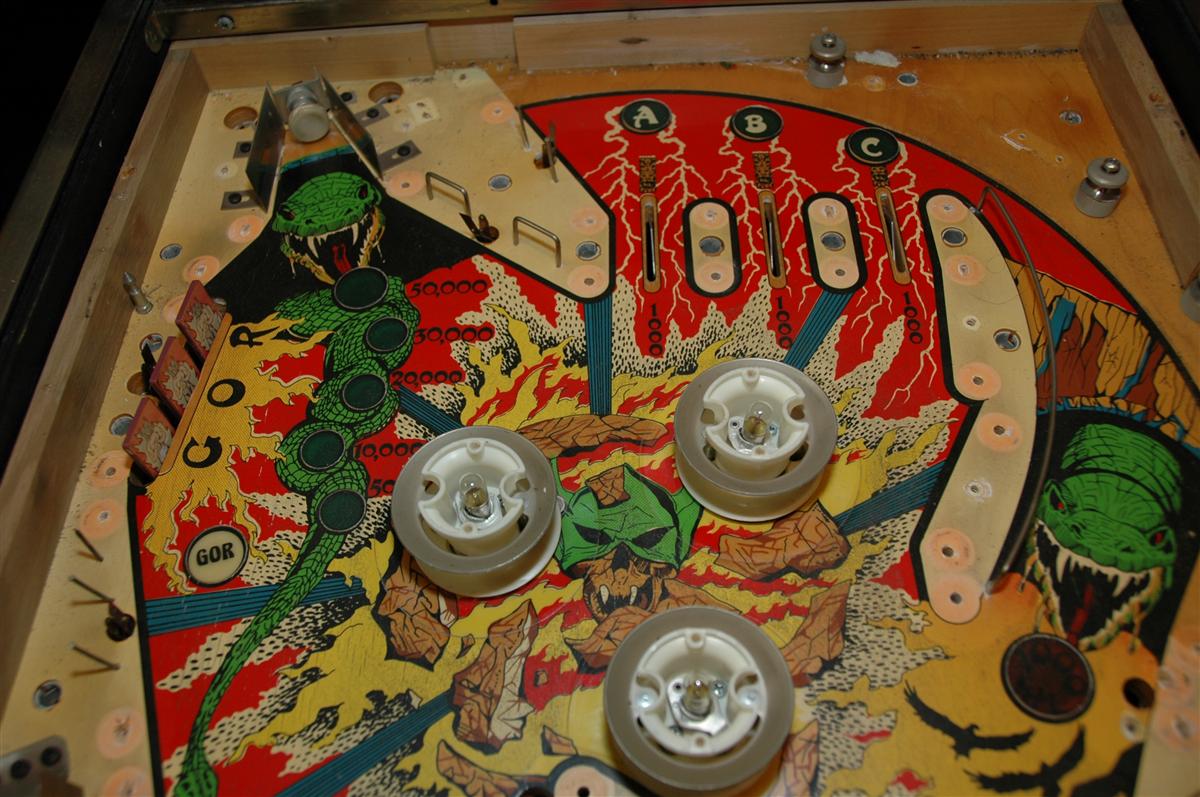
With everything working from an electronic standpoint, now it was time to tear it down. I removed all the upper playfield items. All the plastics were cleaned and flattened where needed. Plastic posts were soaked in Bleche White and scrubbed. Metal parts were tumbled in a vibratory tumbler. The drop targets were disassembled, cleaned, and worked fine after reassembly. Pop bumpers were disassembled, cleaned, and parts replaced. Flippers were rebuilt, and the slingshots were disassembled and cleaned. The stand up targets were in good shape, but a couple had come apart due to the rivets failing. I reassembled them with bolts instead of rivets.
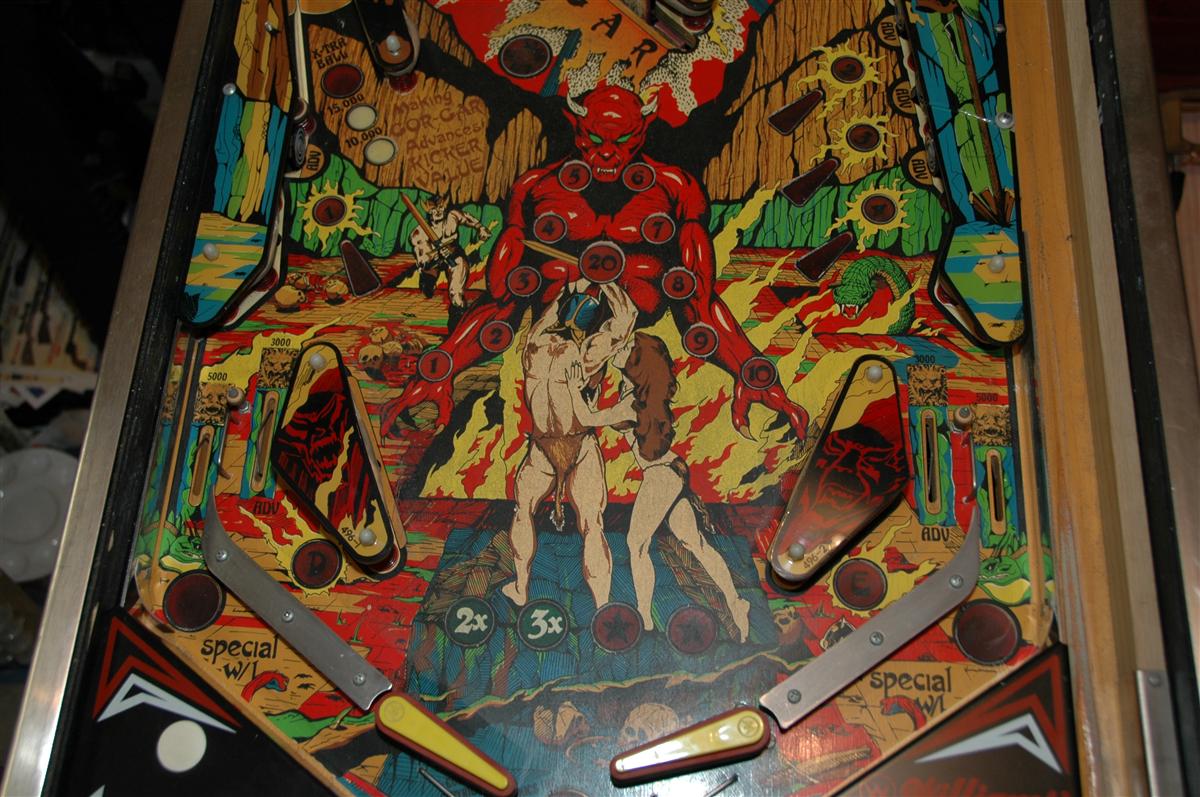
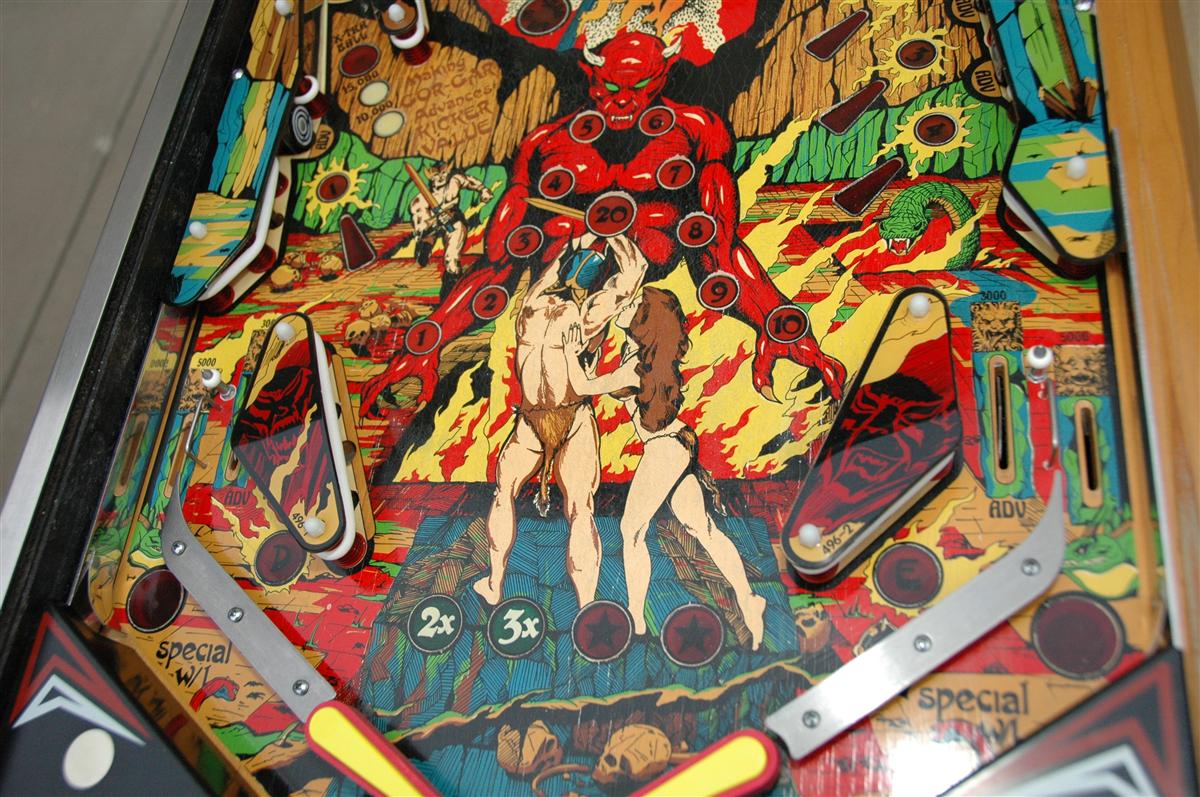
I cleaned the playfield and then used a Magic Eraser (melamine foam) wetted with alcohol to deep clean the ball swirls. You have to be careful with a Magic Eraser. It is abrasive and scuffs the surface. If one gets too aggressive, you can wear off the lacquer and damage the artwork. The intent is to get as much dirt as you can out of the cracks in the lacquer, but not take off too much of the surface. I err on the side of caution and don’t go crazy with the scrubbing. If the playfield was going to be clearcoated, you can be more aggressive with your cleaning. Once the cleaning is done, the playfield will be dull since the lacquer is now scuffed. I then polish with a mild automotive polish or Novus 2 and then wax the playfield. As you can see in the following before and after photos, it cleans up nicely.
A few more before and after photos. I didn’t do any restoration type of work on this game as cost was a consideration. I basically repaired and cleaned it. I think it ended up looking pretty nice.
Here it is in its home.

